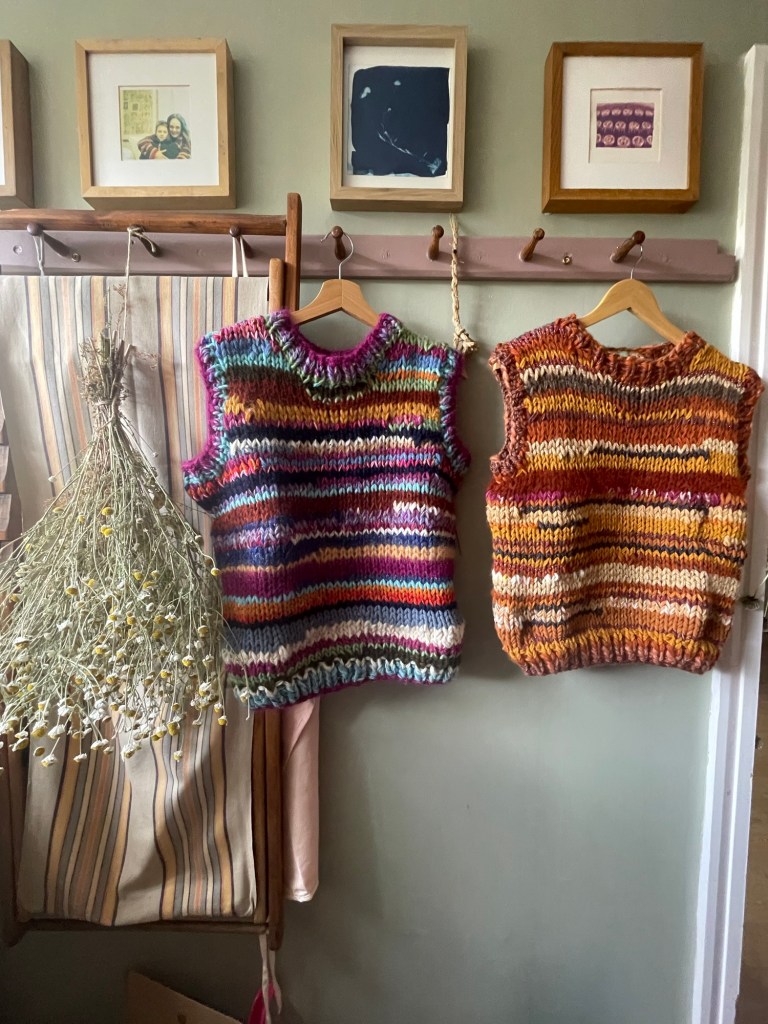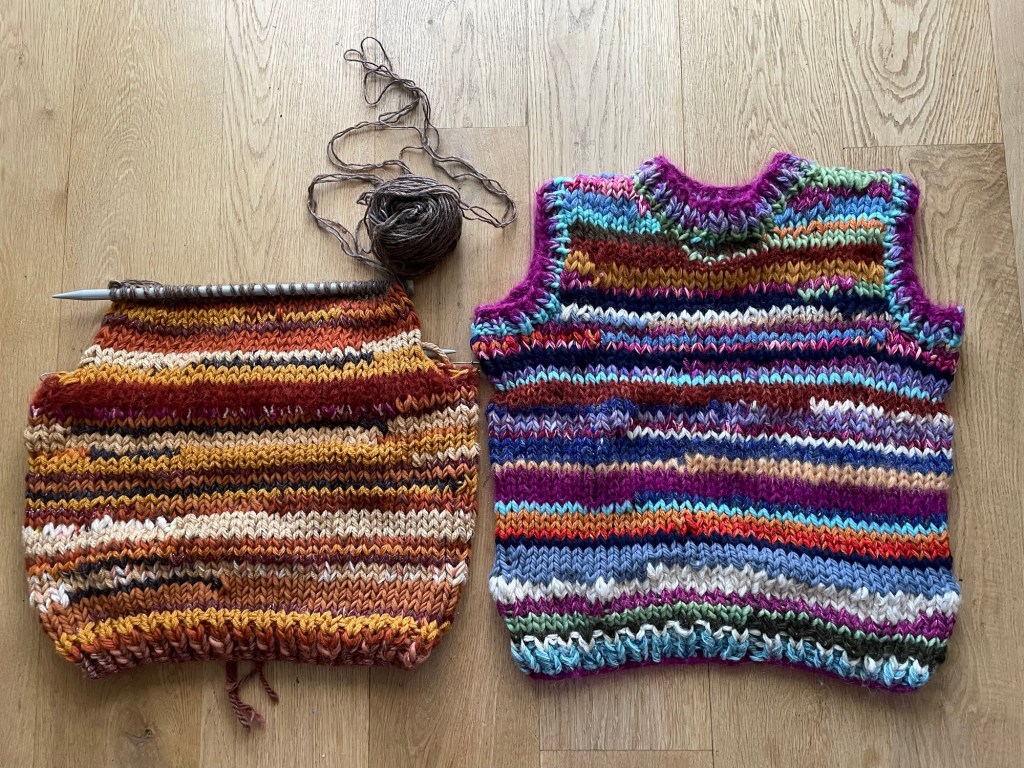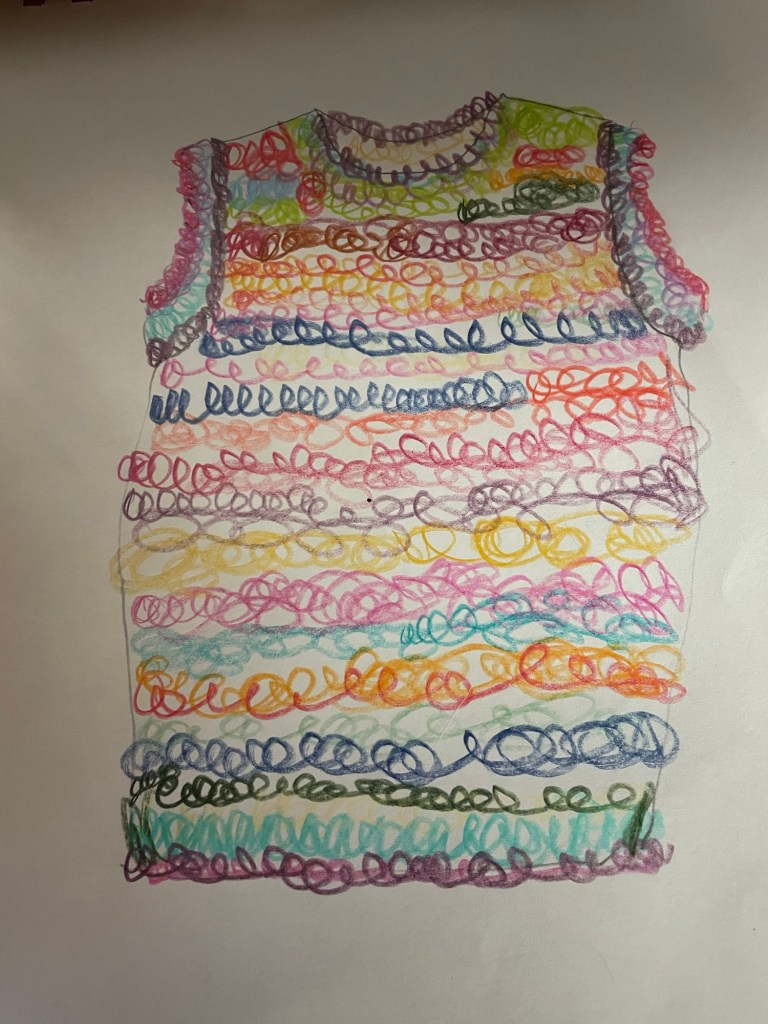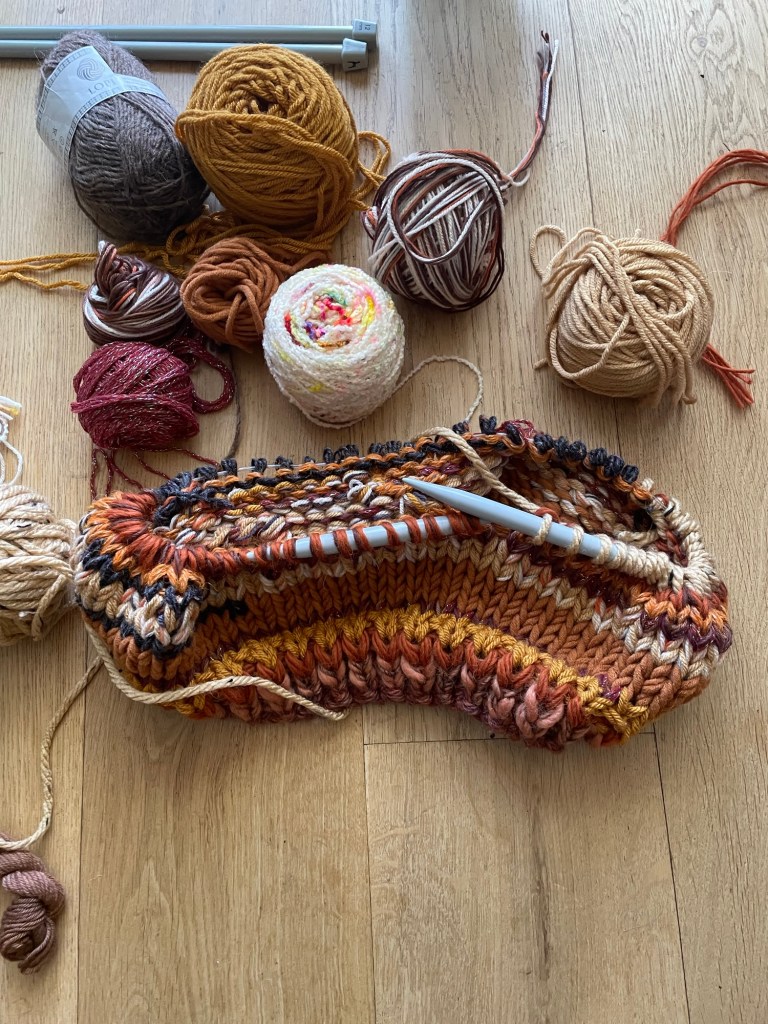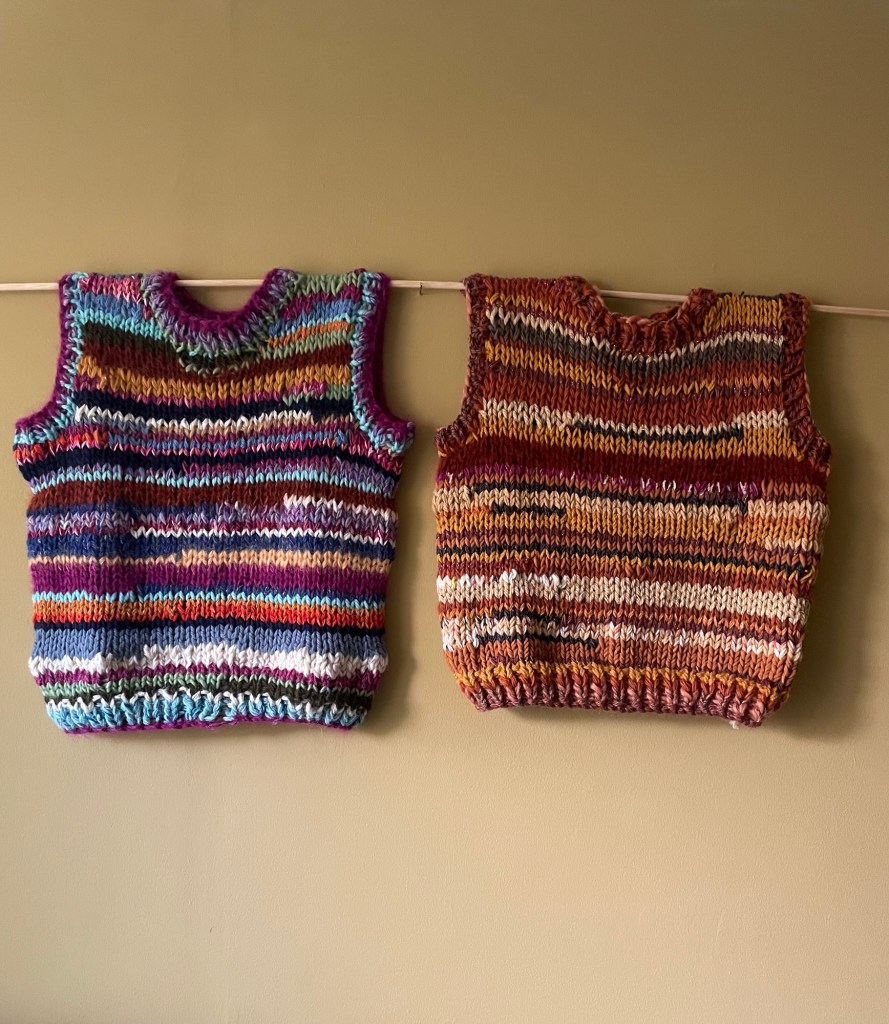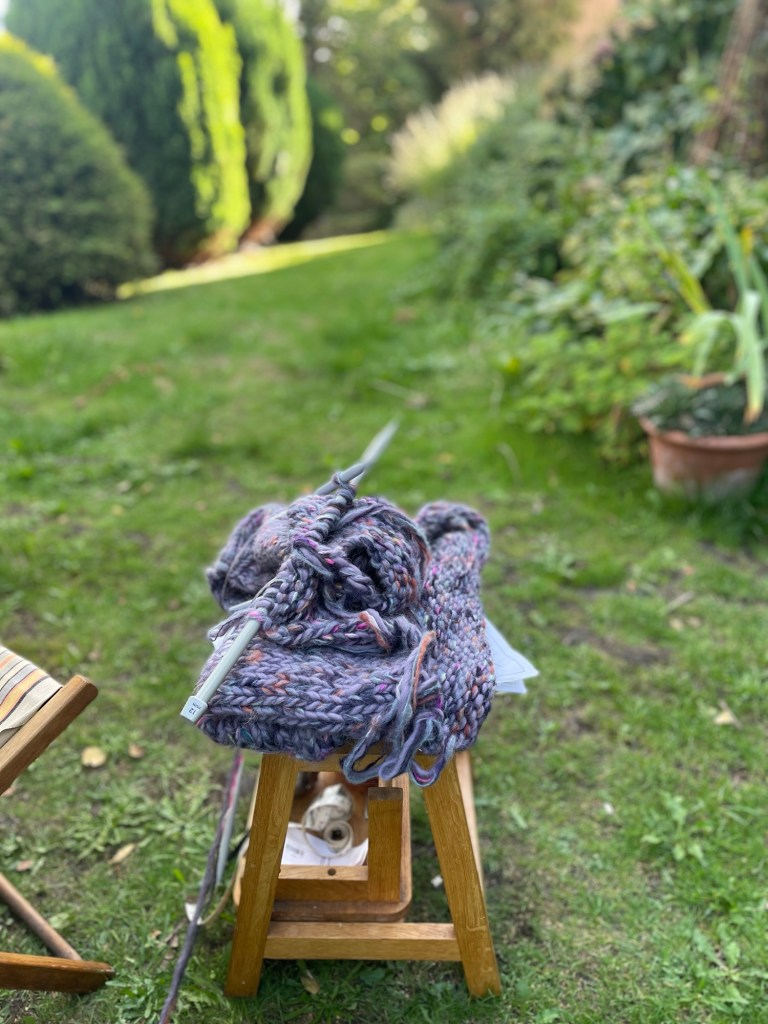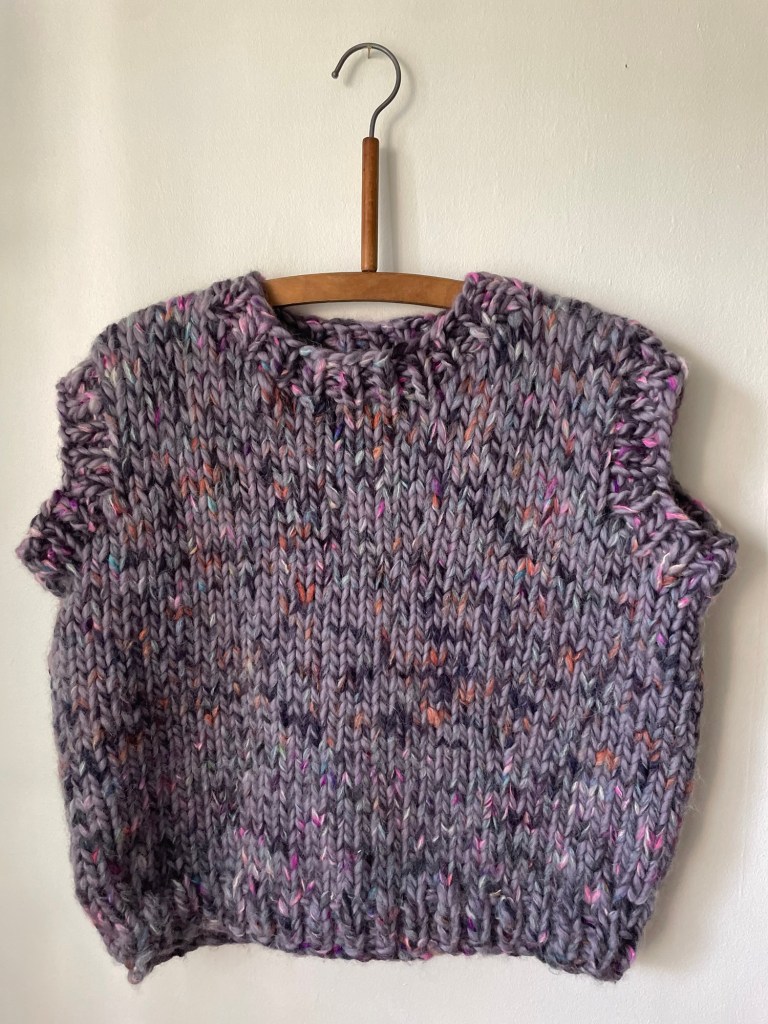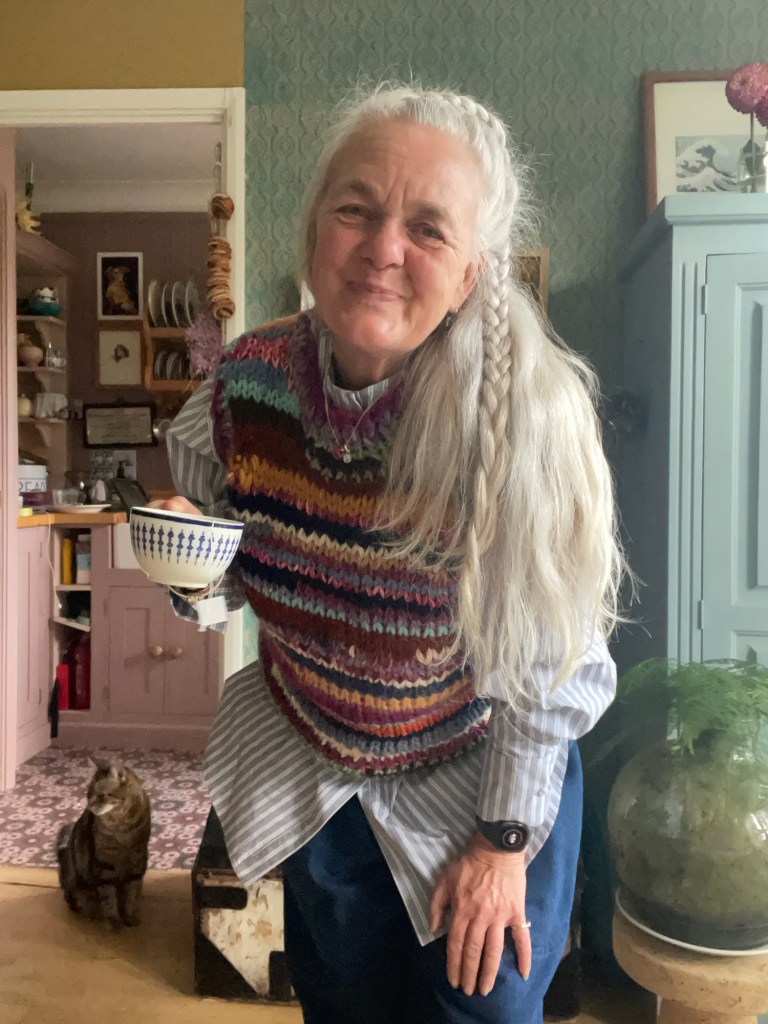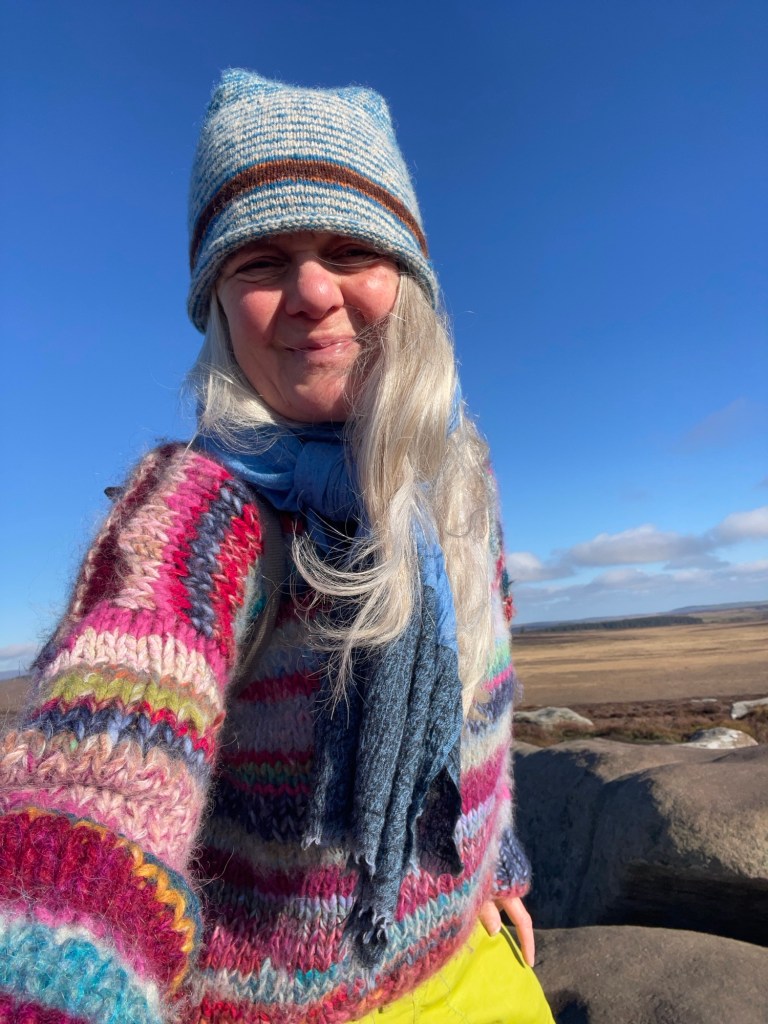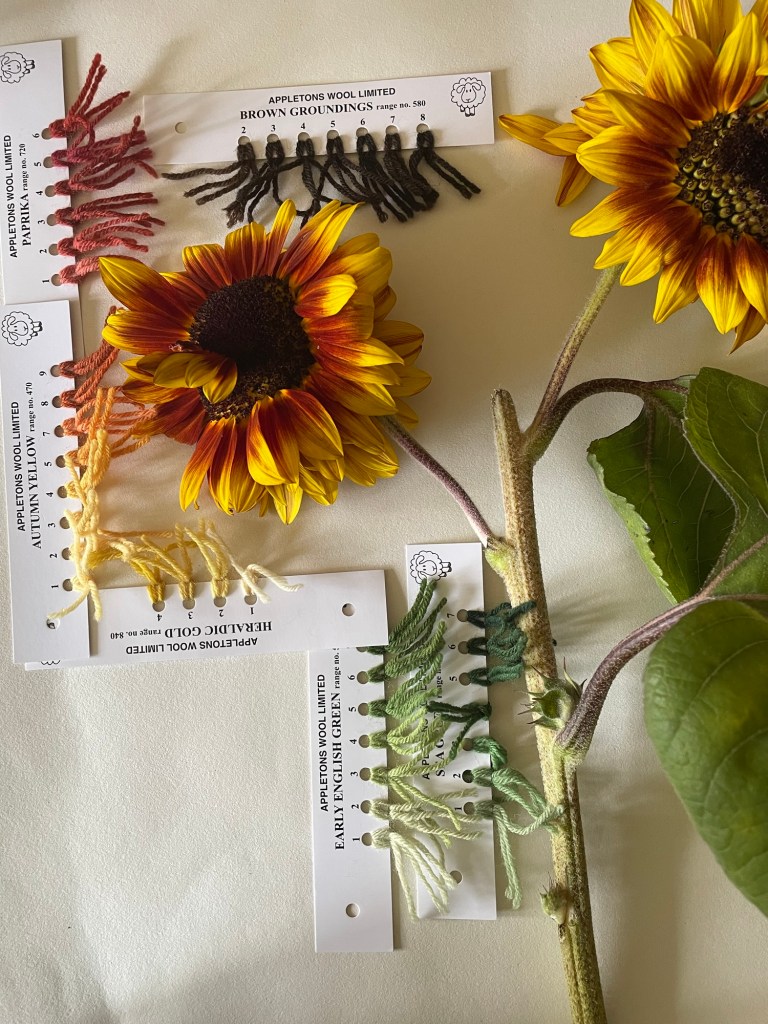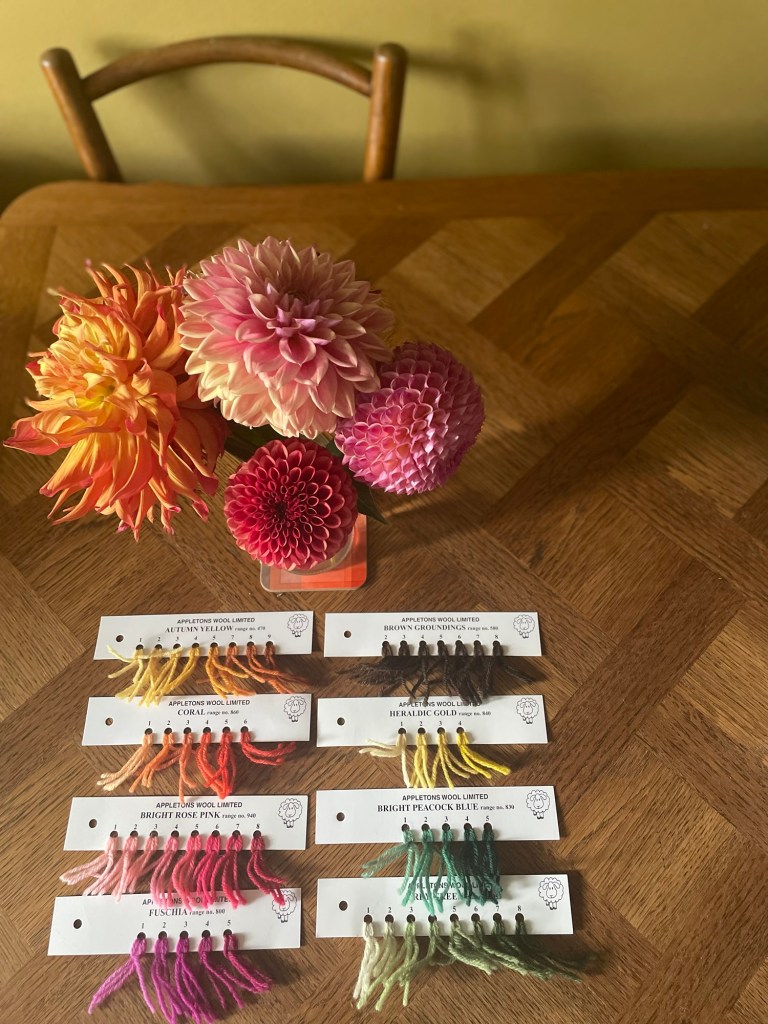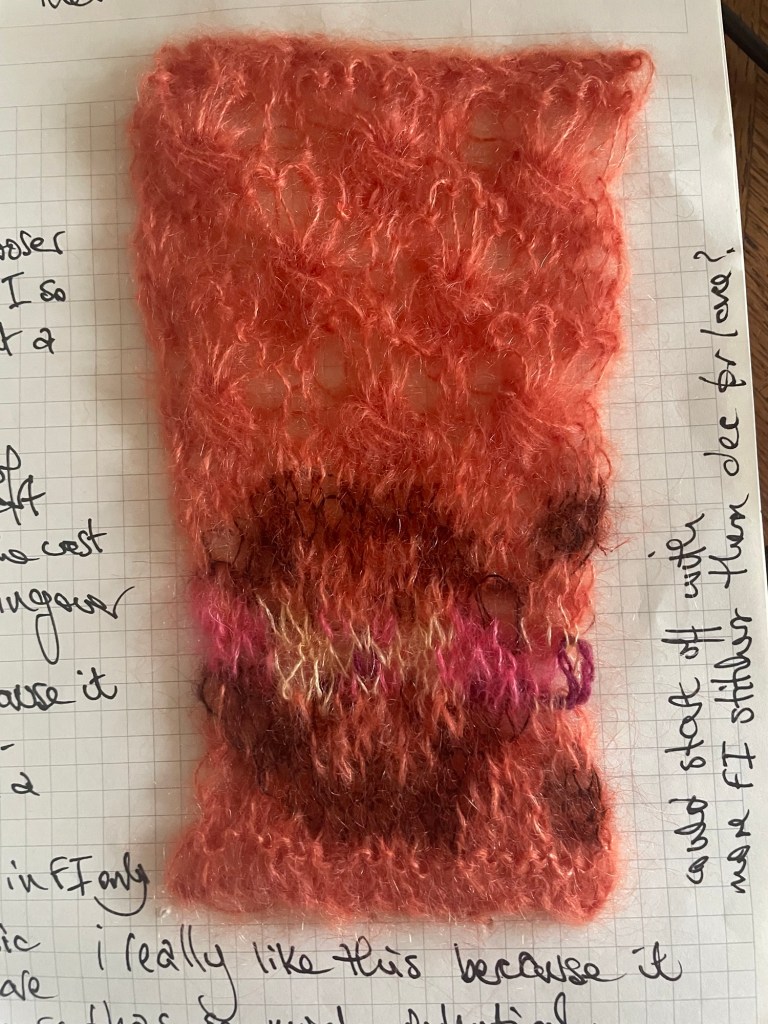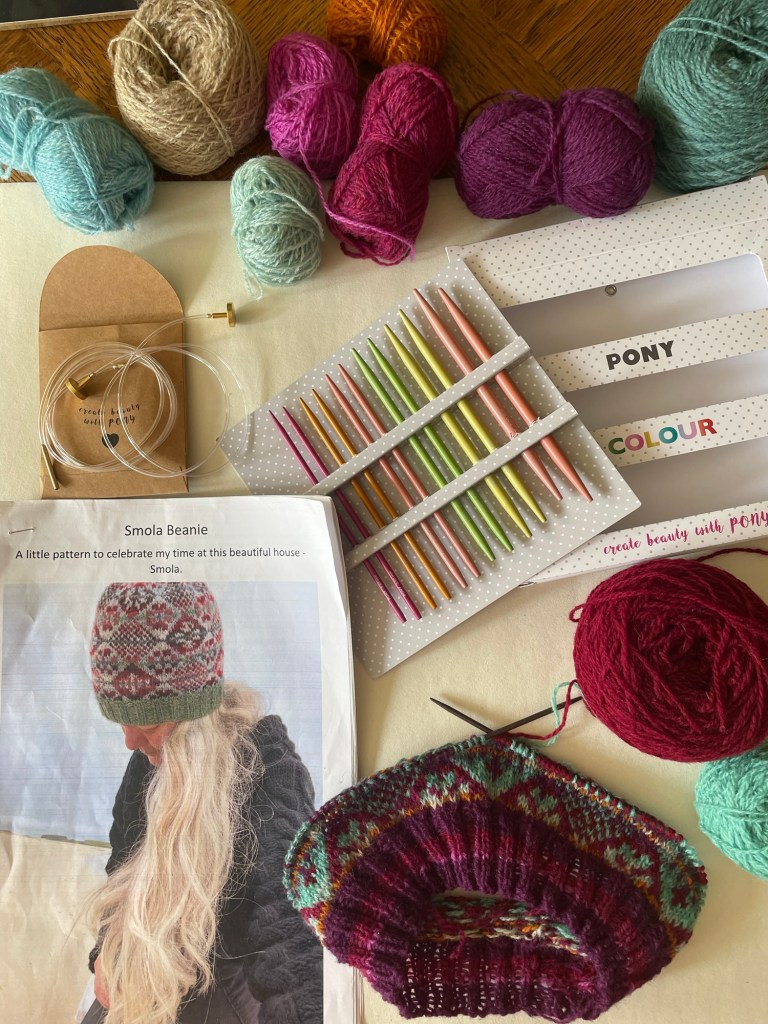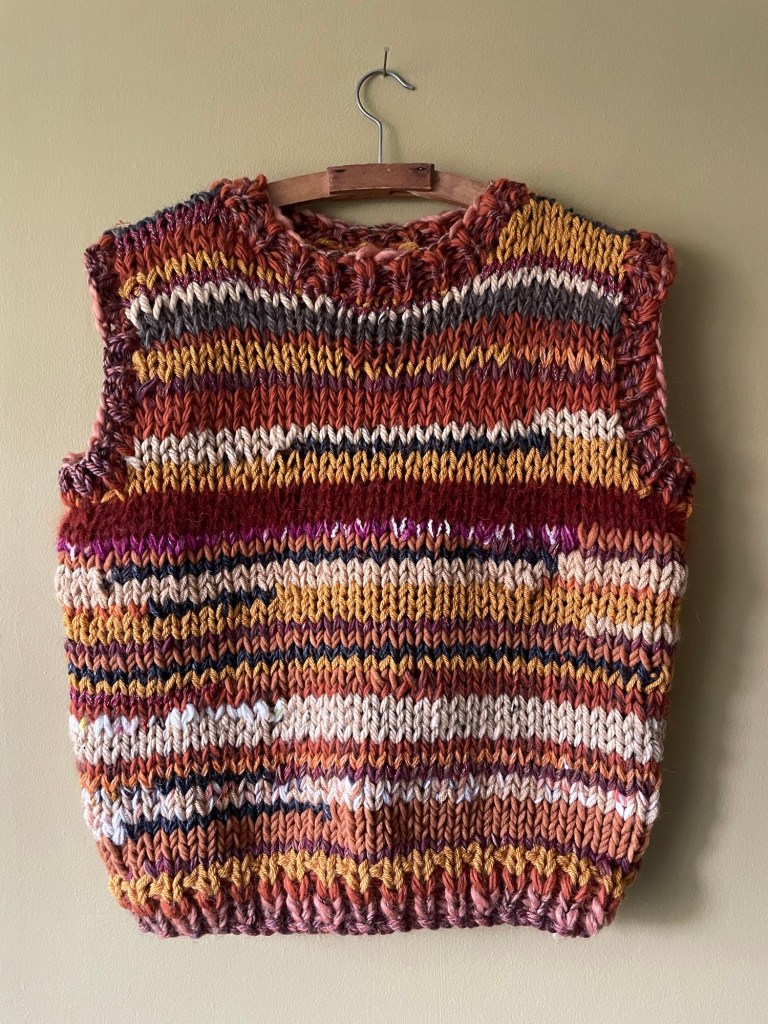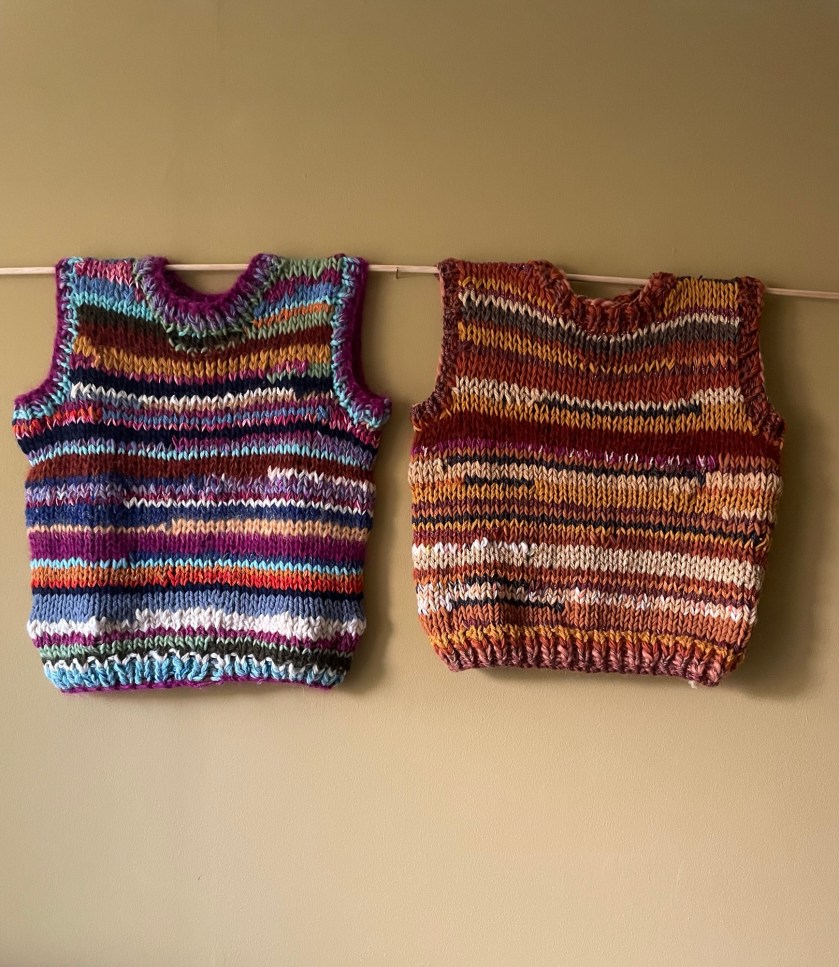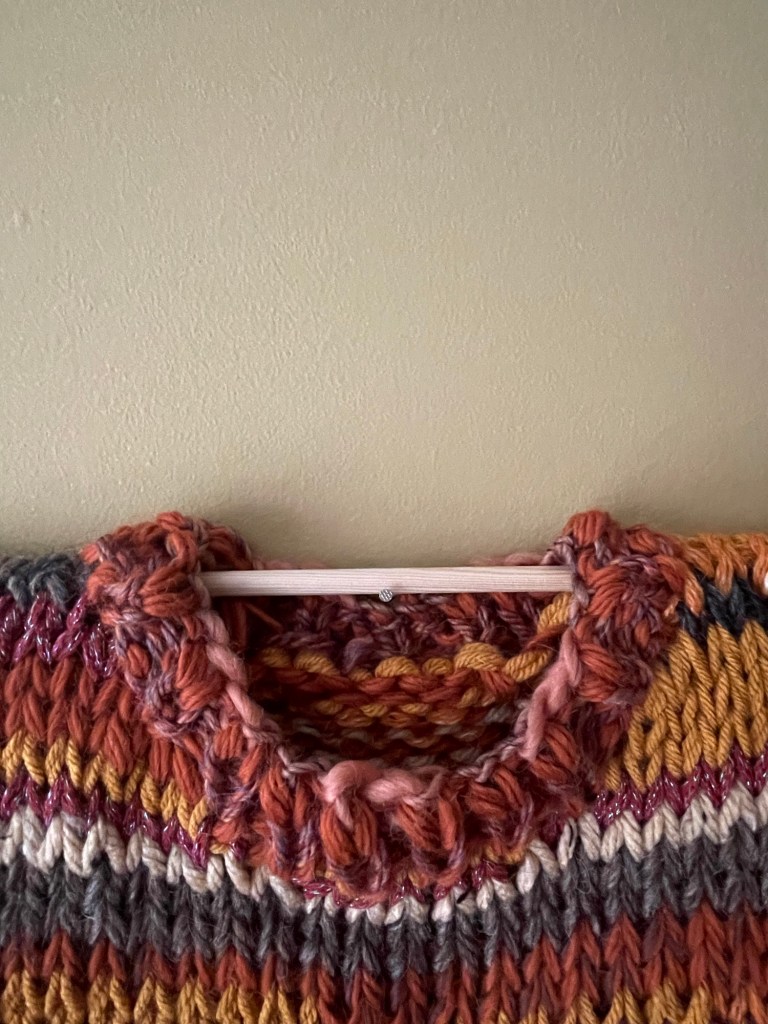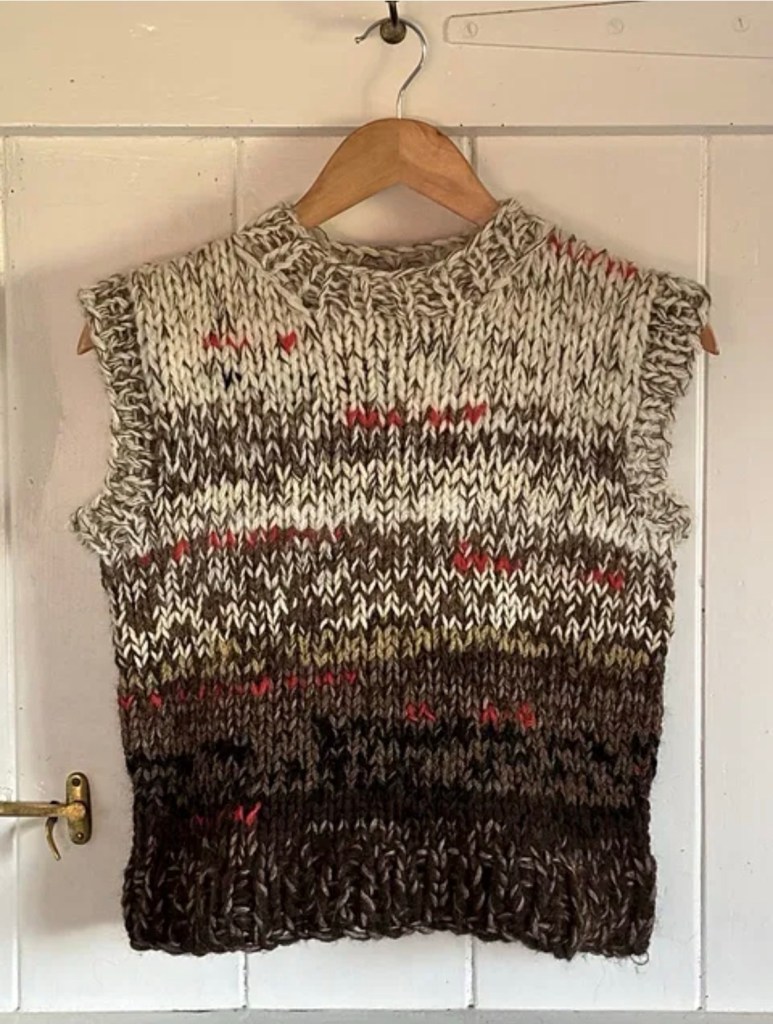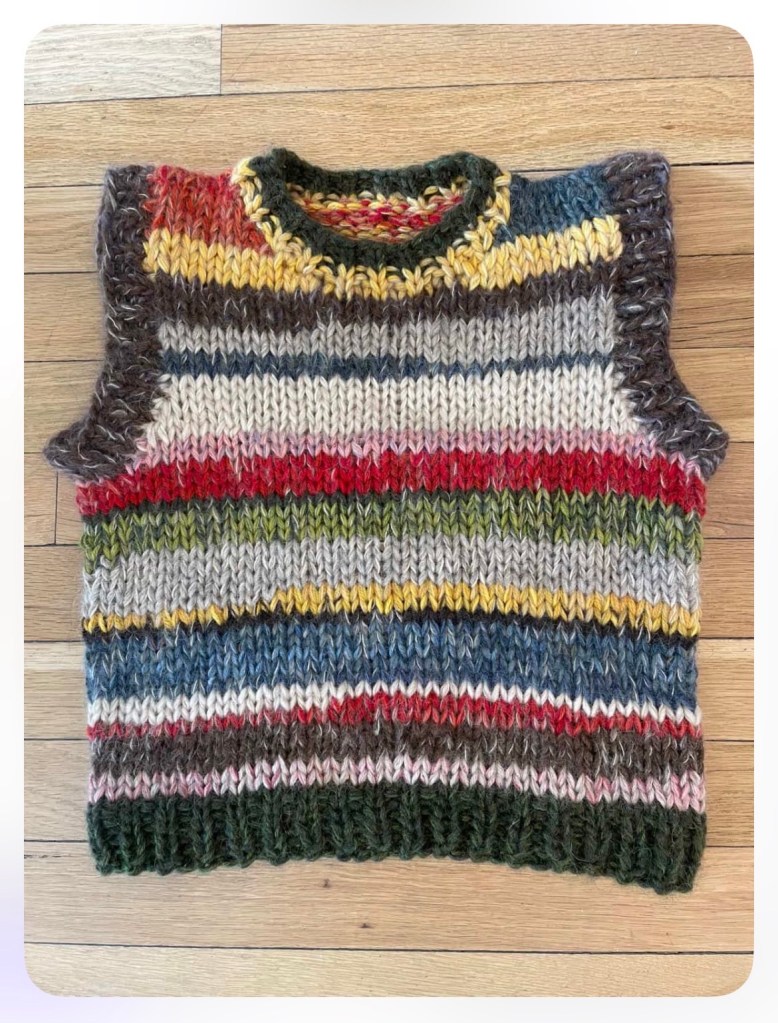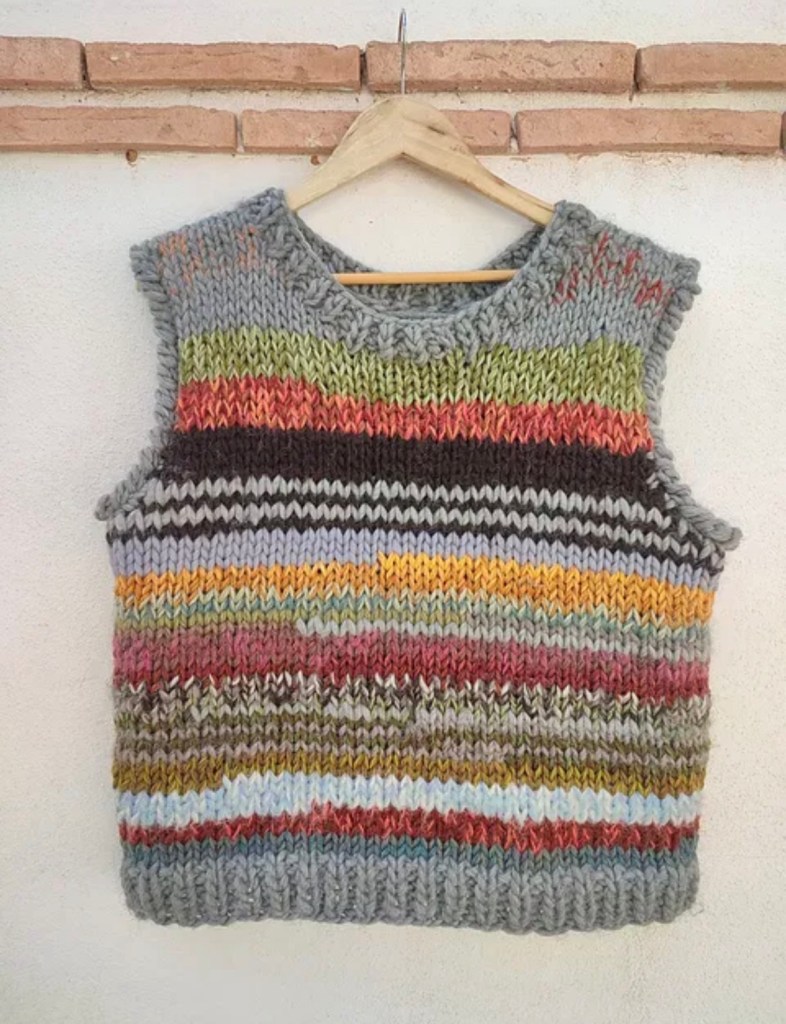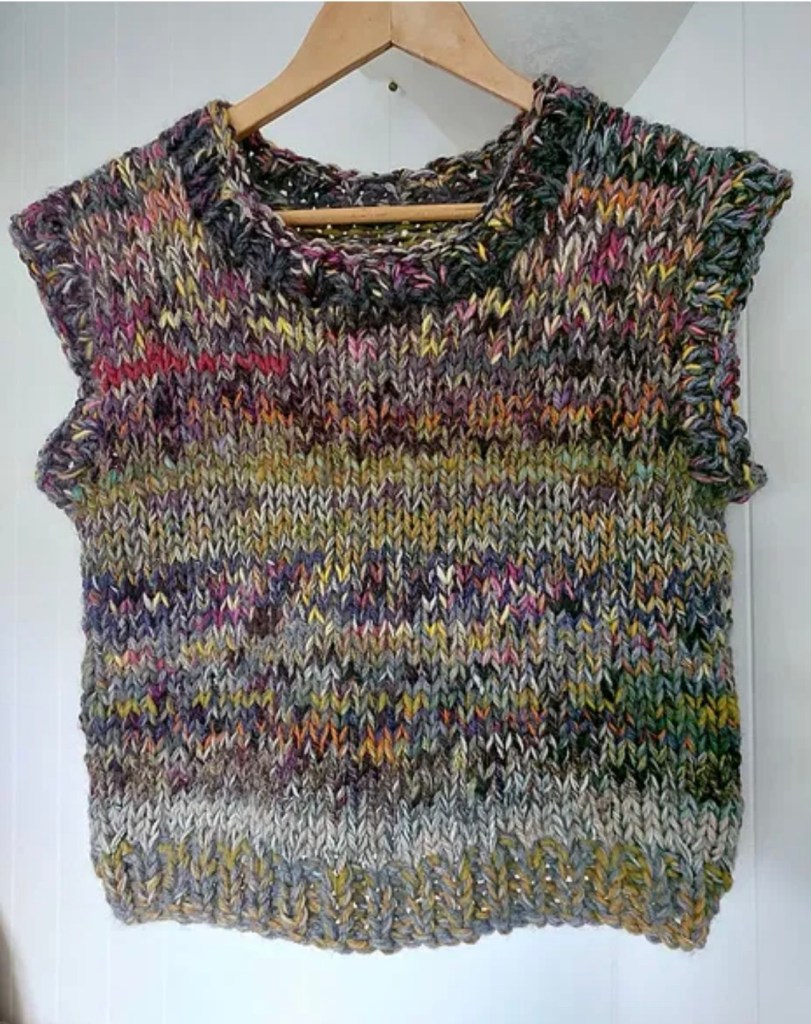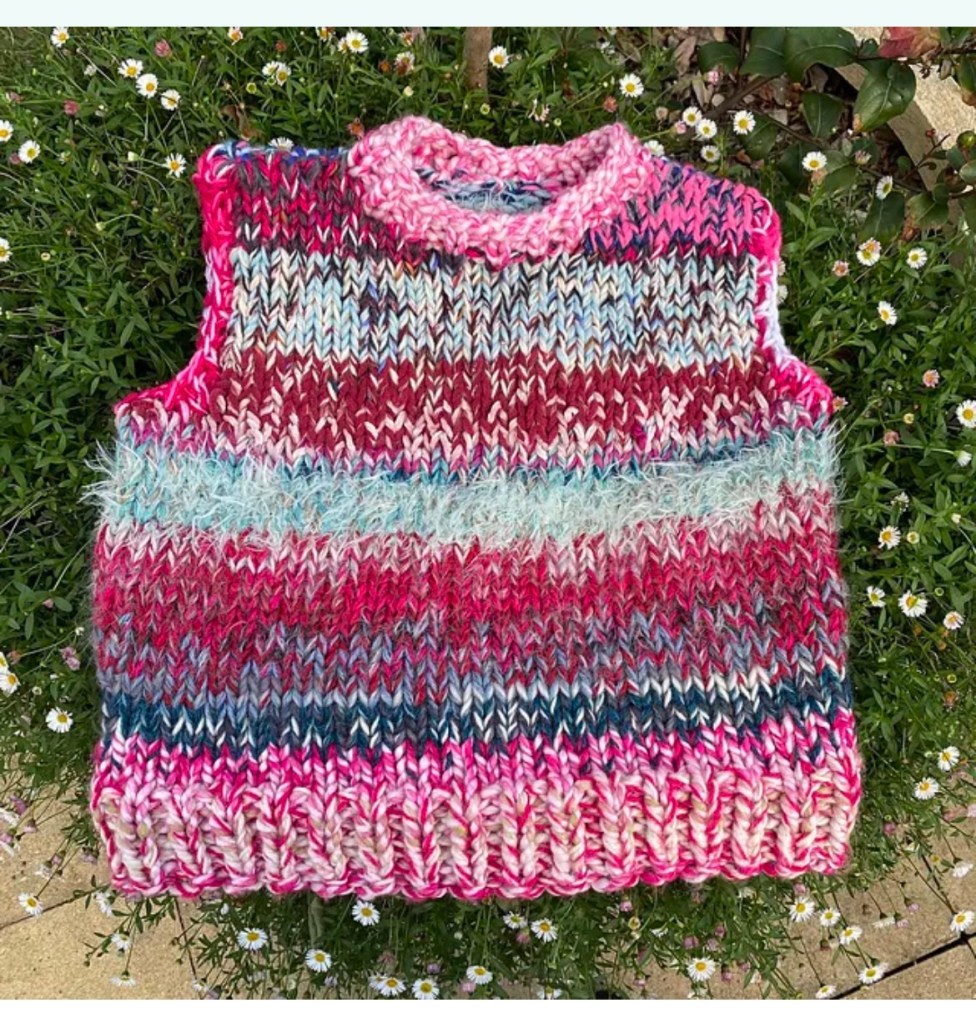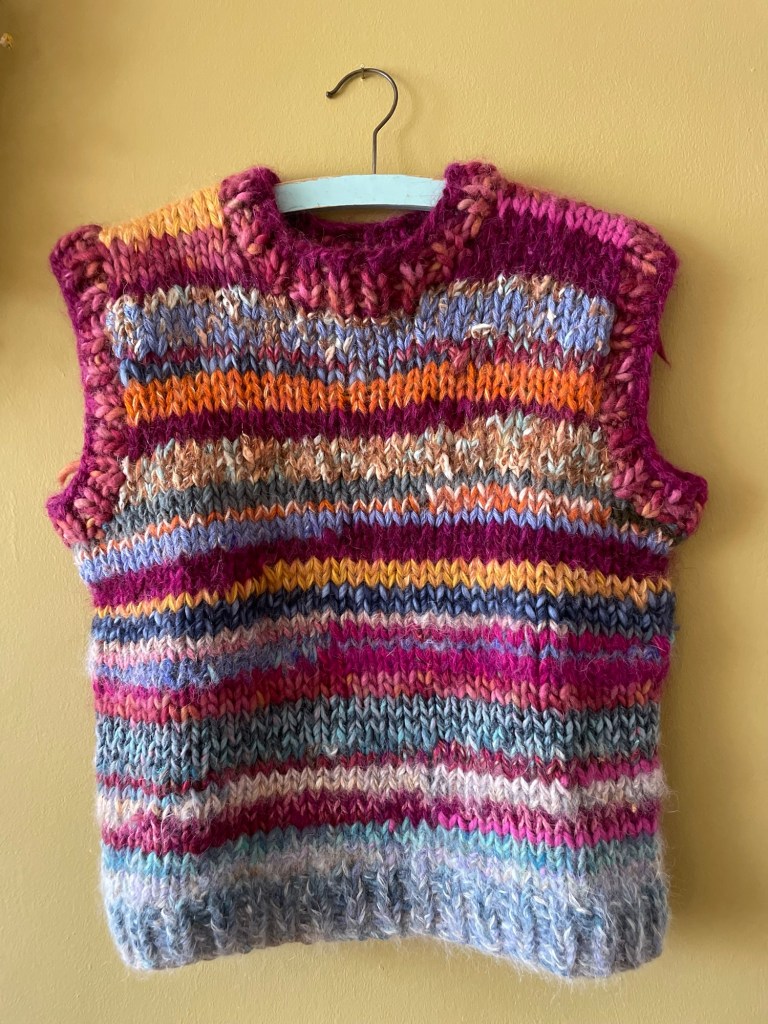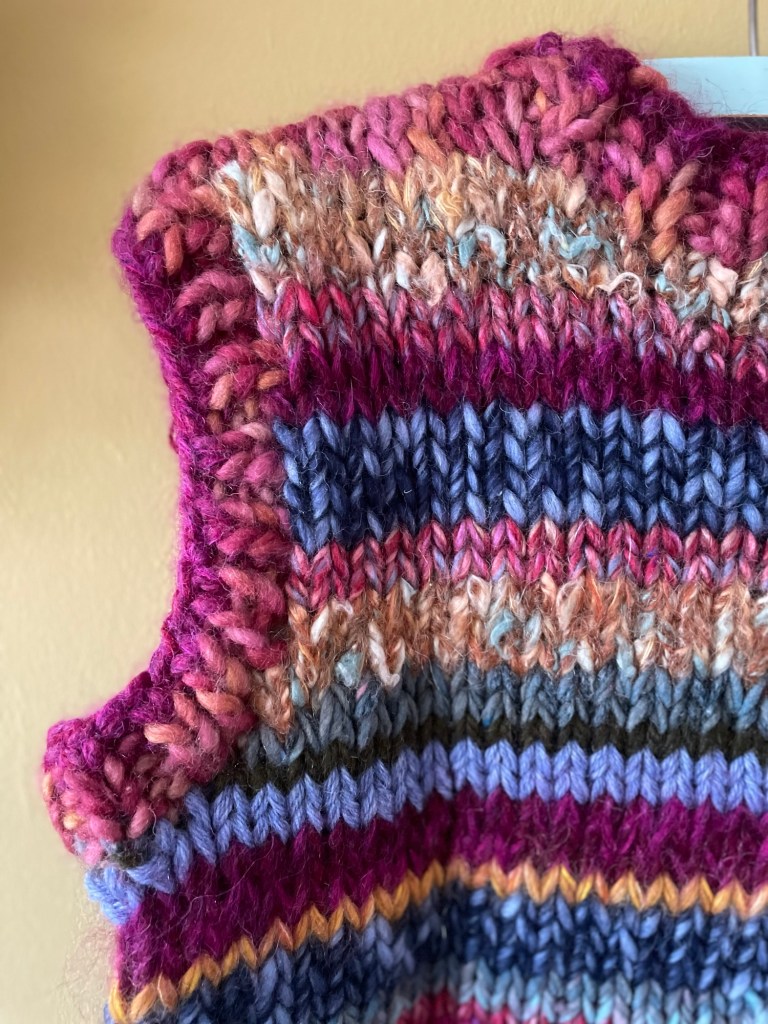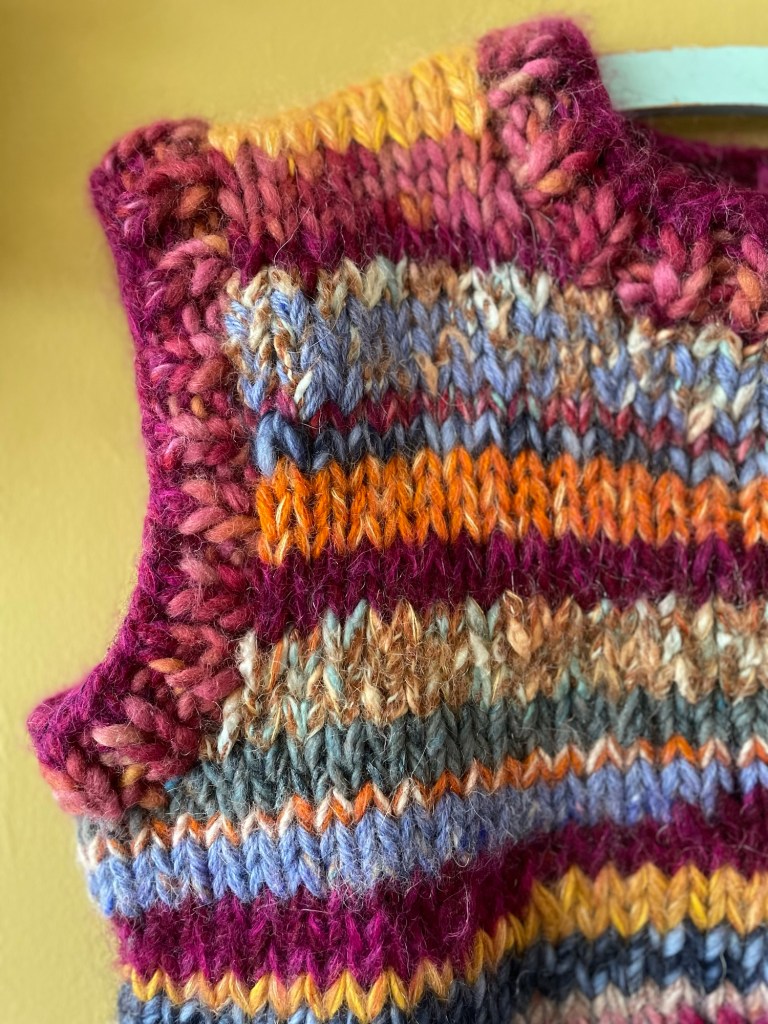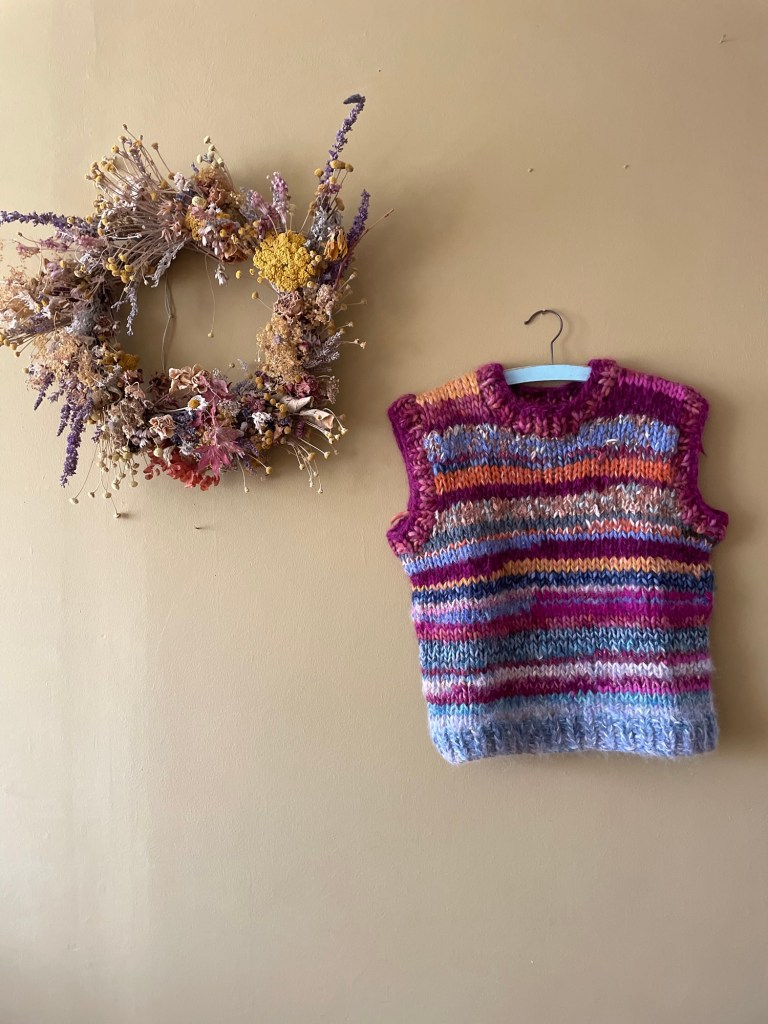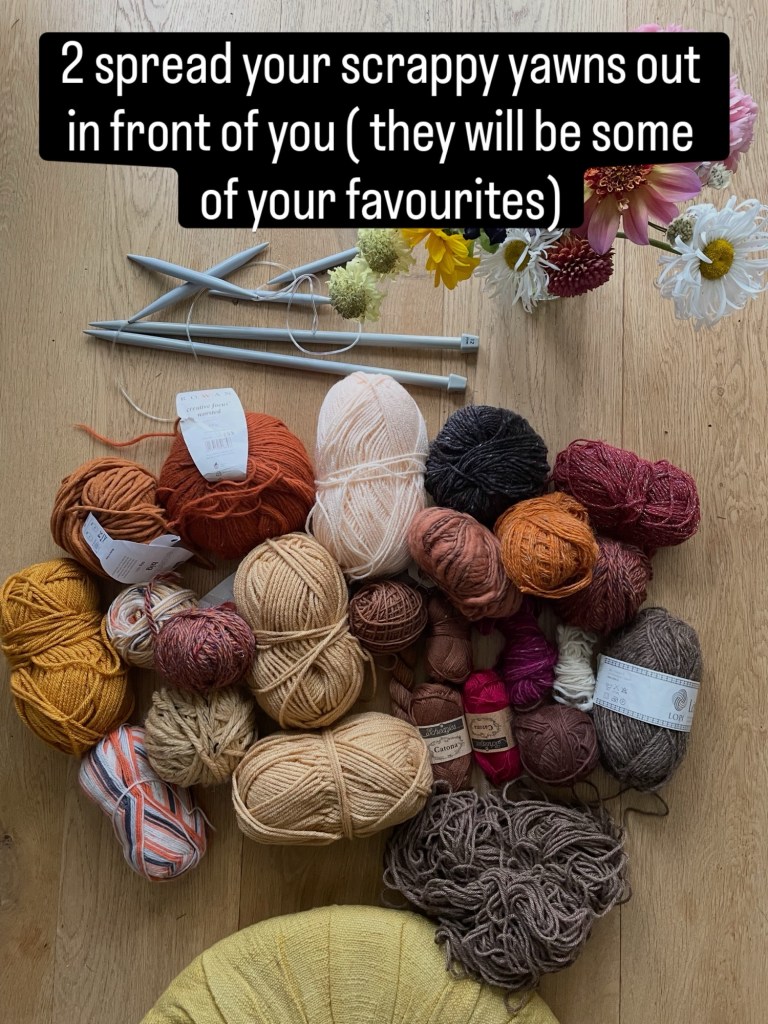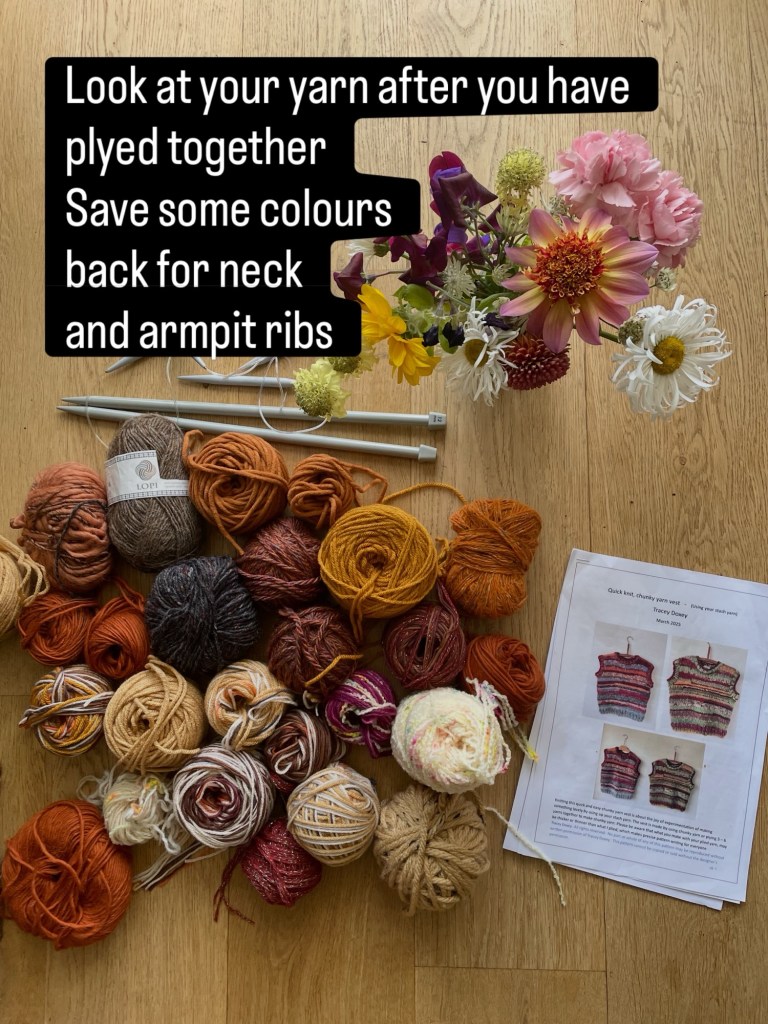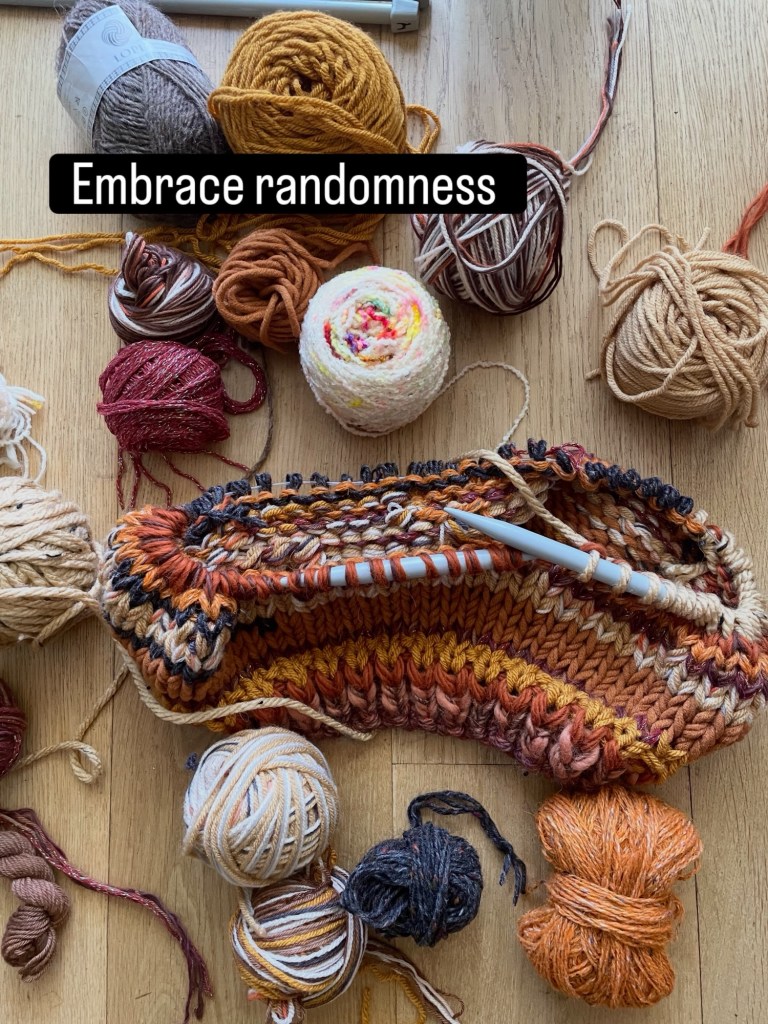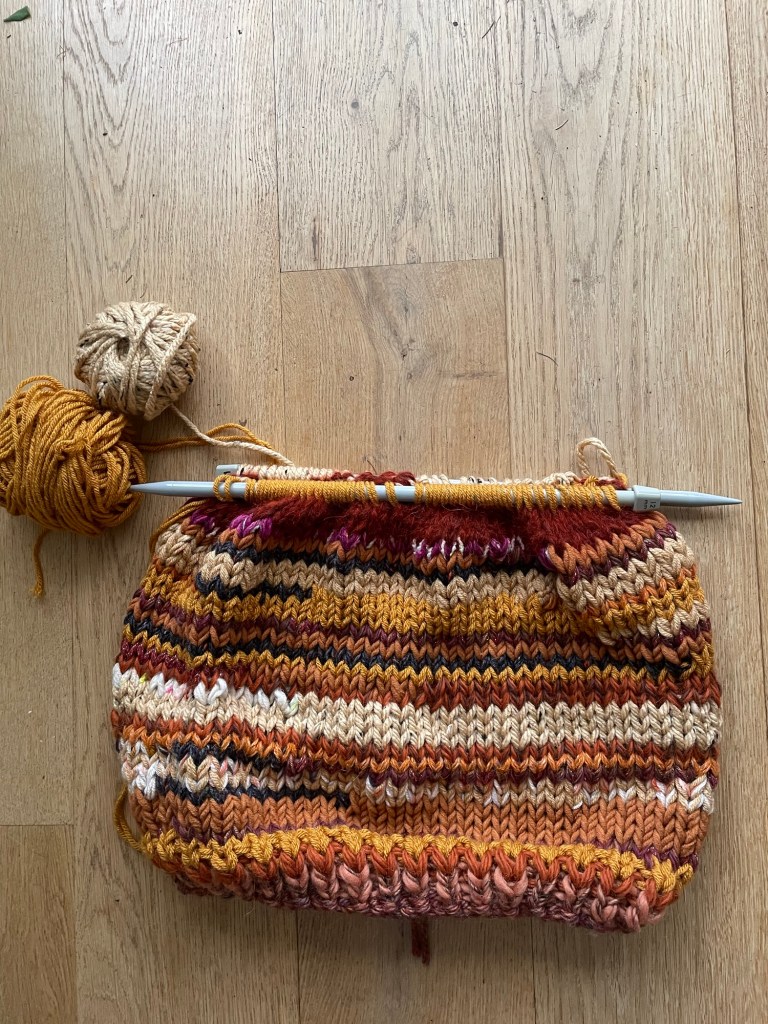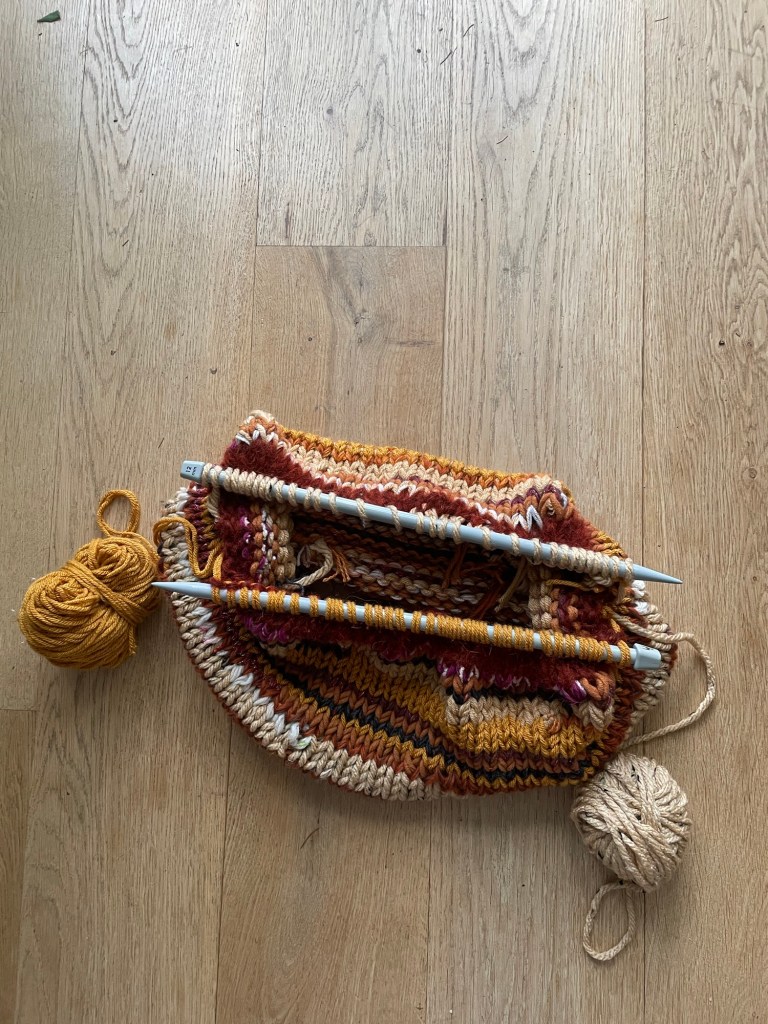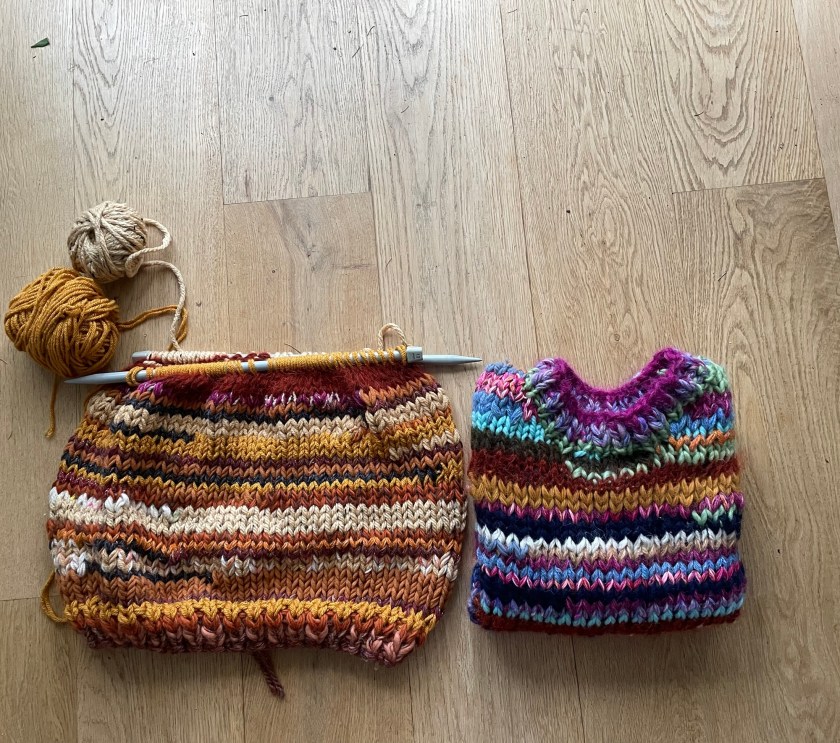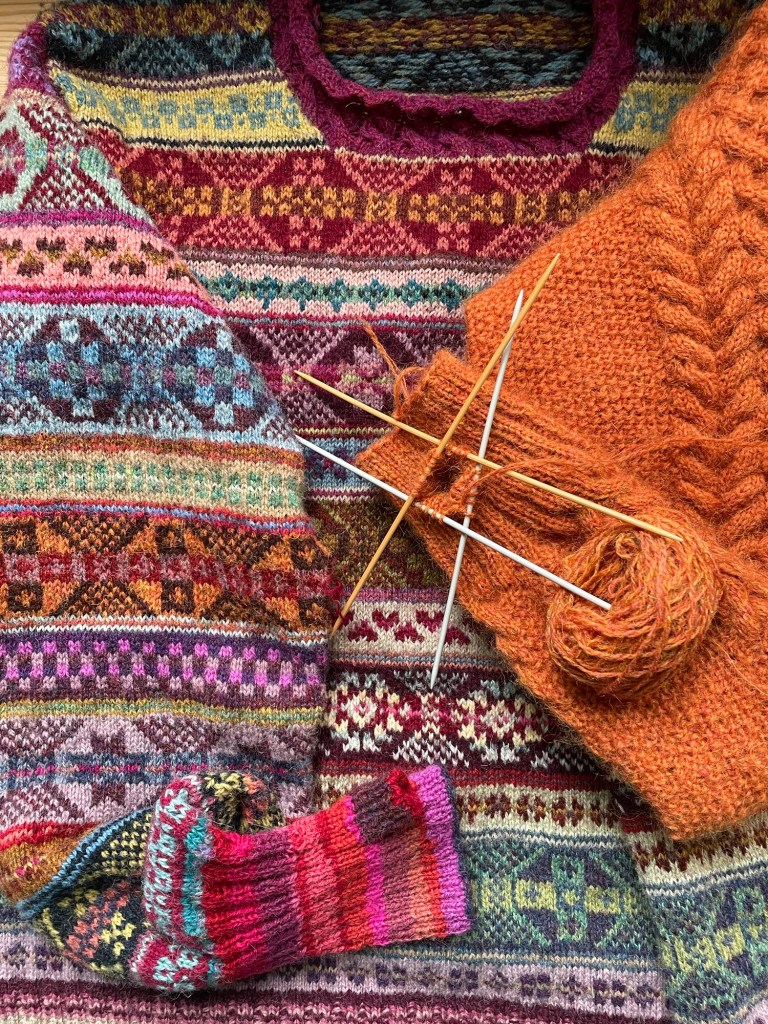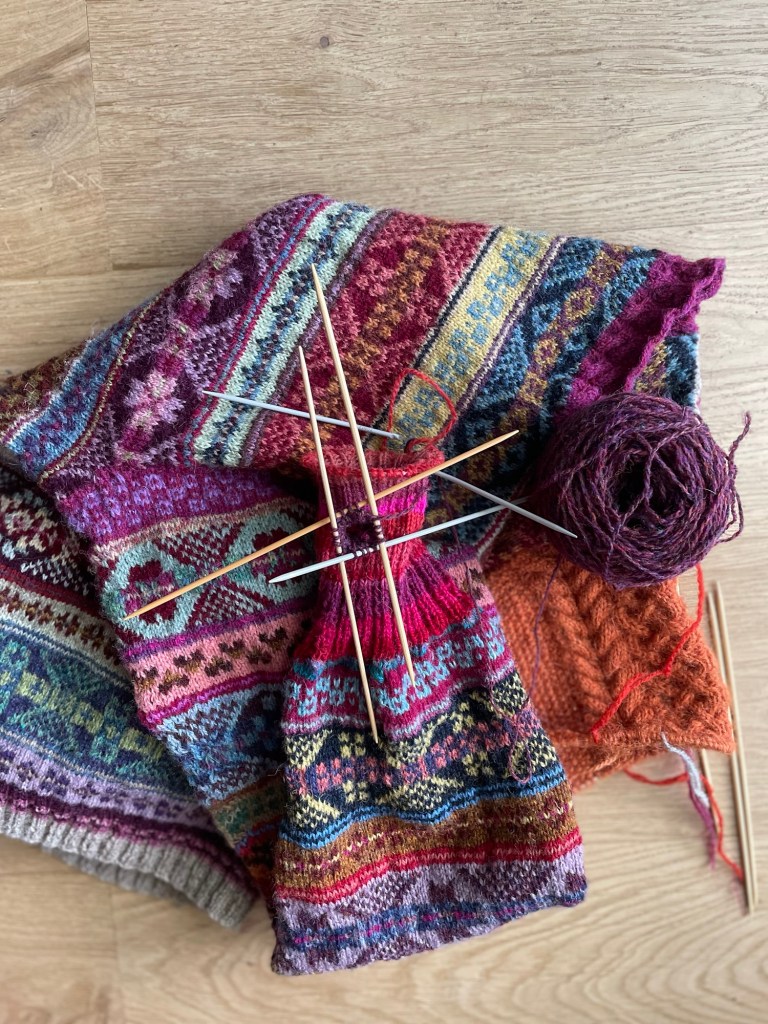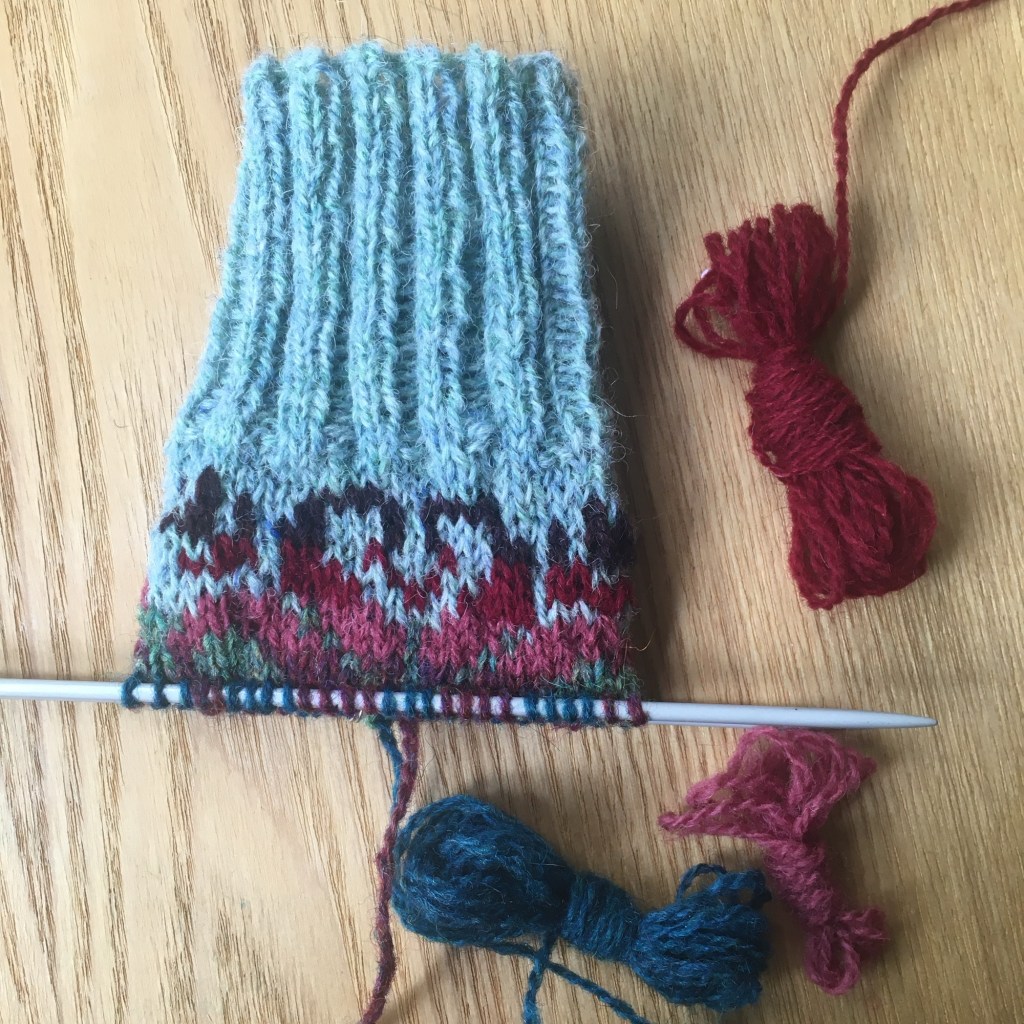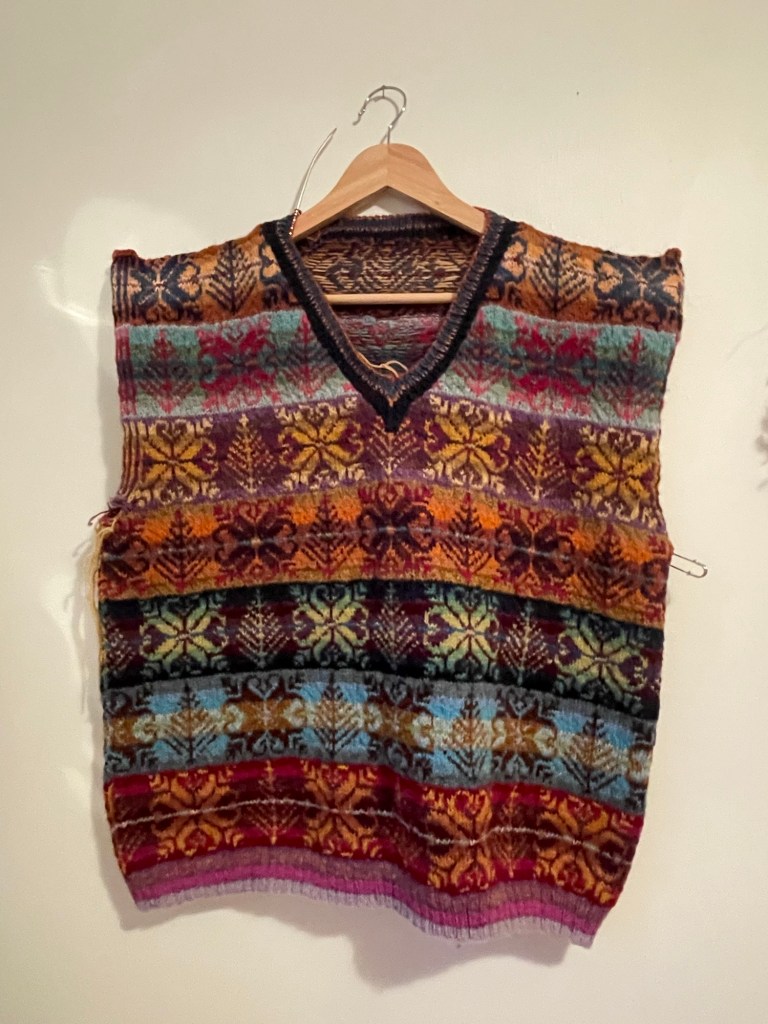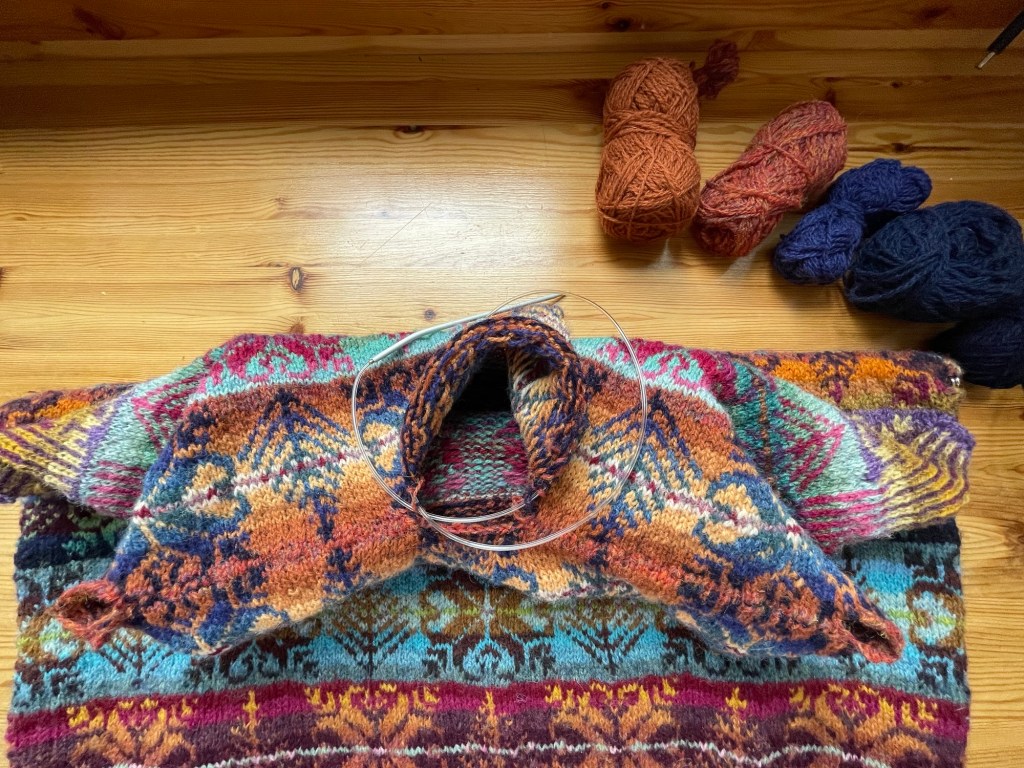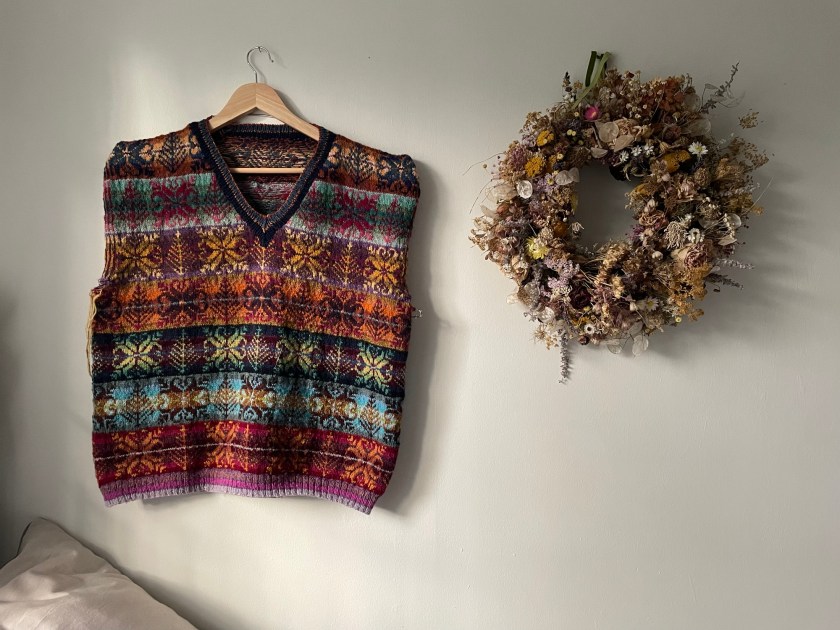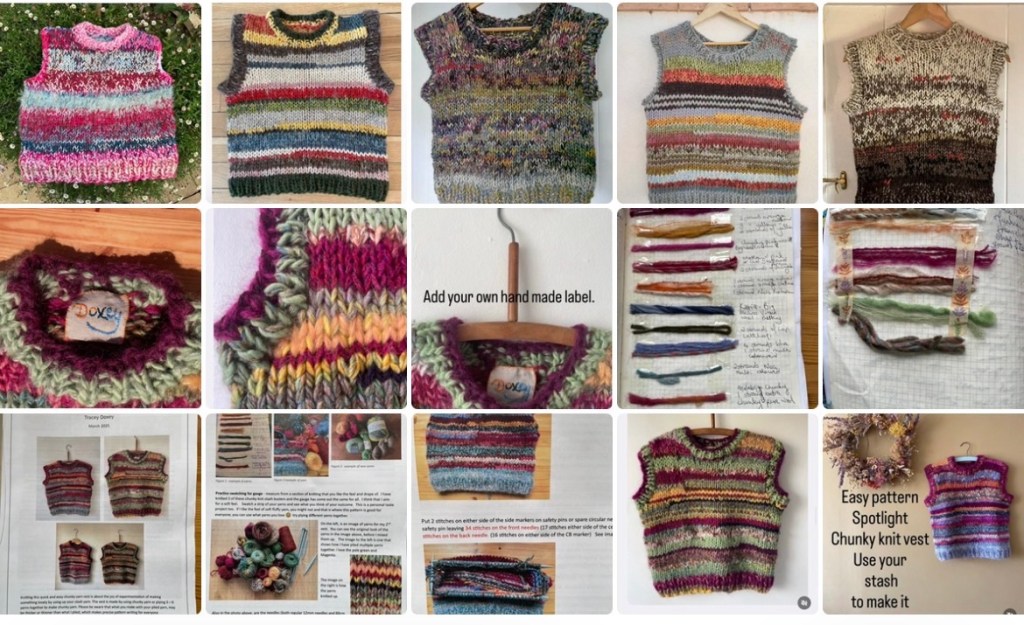
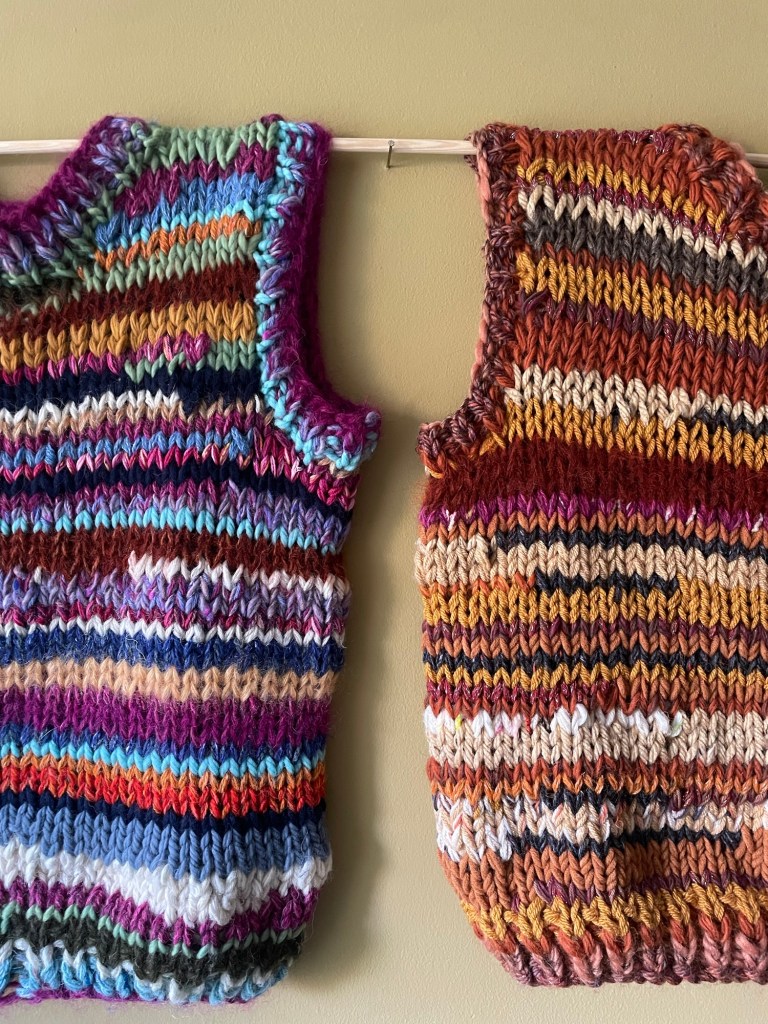
I have just finished my fourth Chunky Knit Vest from my easy to follow pattern, and I absolutely love how different it feels from the others. These yarns came from the mystery bag I bought last week called “Harvester Pie”, but as I knitted, I kept thinking the colours were more like butterscotch, honeycomb, autumn leaves, toasted caramel, warm rich autumn colours. When I look at yarn for this pattern, I always have my favourites – every stripe seemed to tell its own little story. I always save my very favourites for the neck and arm pit ribs…
The beauty of this pattern is that there is no right or wrong way to choose your colours AND I WOULD LIKE TO OFFER A YARN GIVEAWAY FOR ONE PERSON TO KNIT THEIR OWN CHUNKY KNIT VEST FROM THE LEFT OVERS OF MY LAST 2 VESTS.
🎉 Yarn Giveaway!
To celebrate this latest vest, I’d love one of you to create your own version.
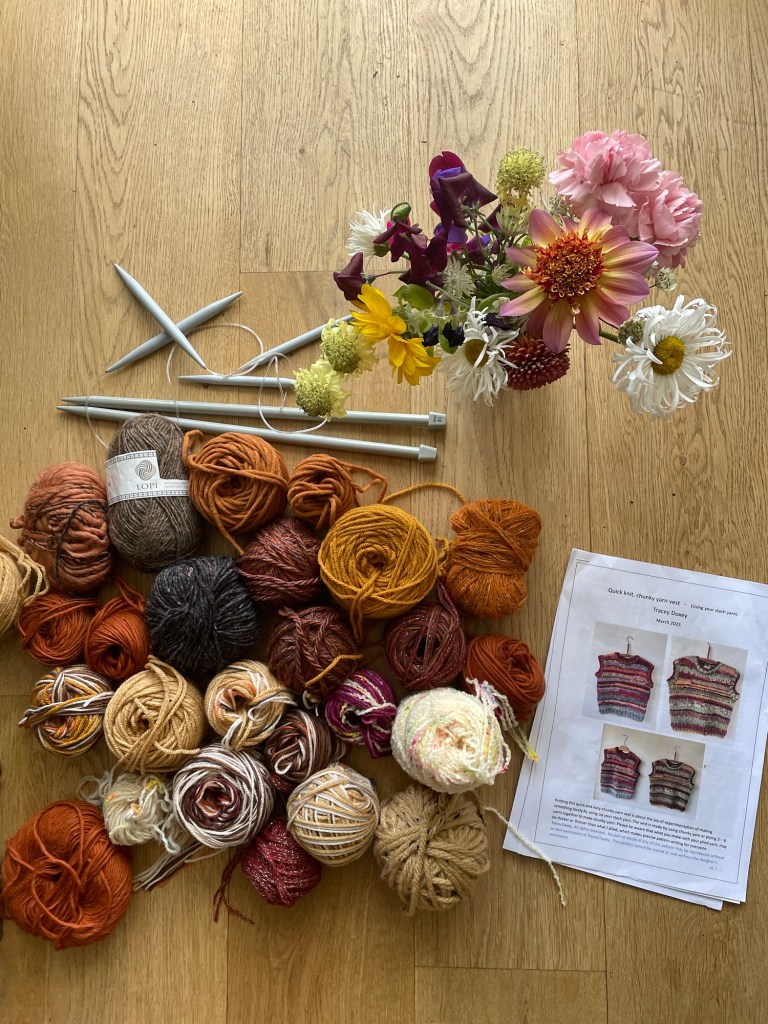
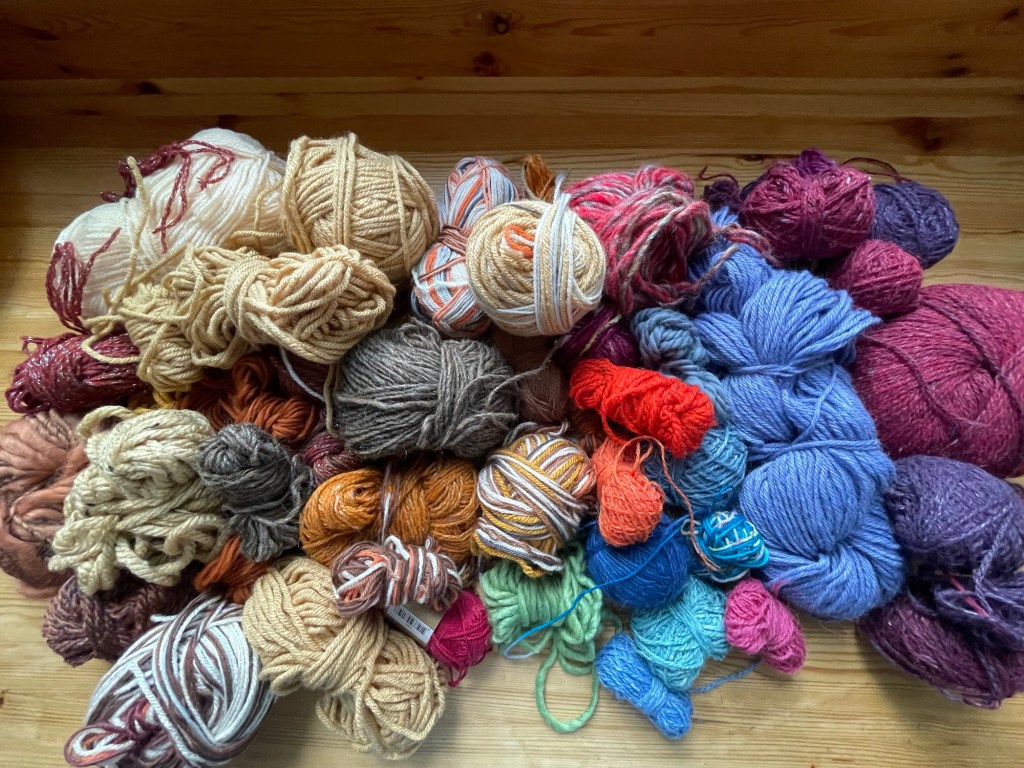
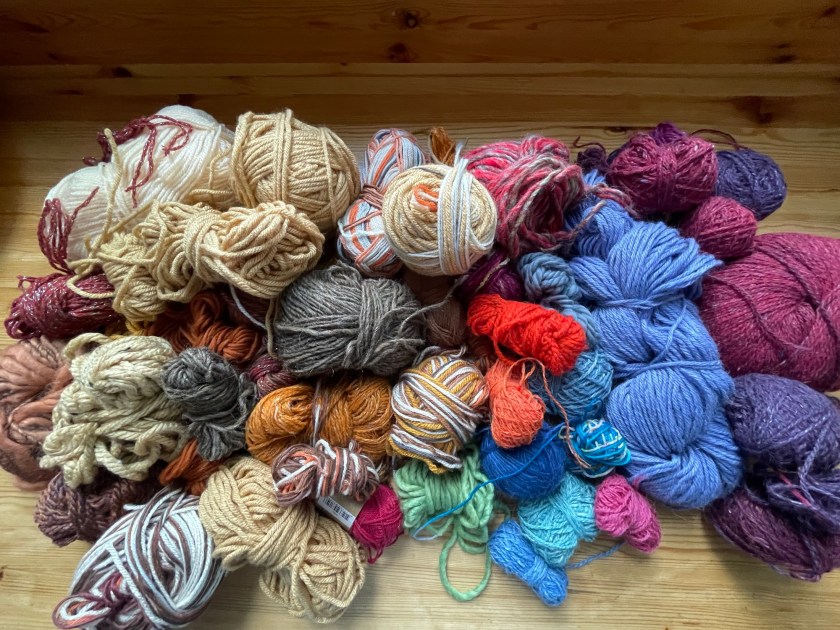
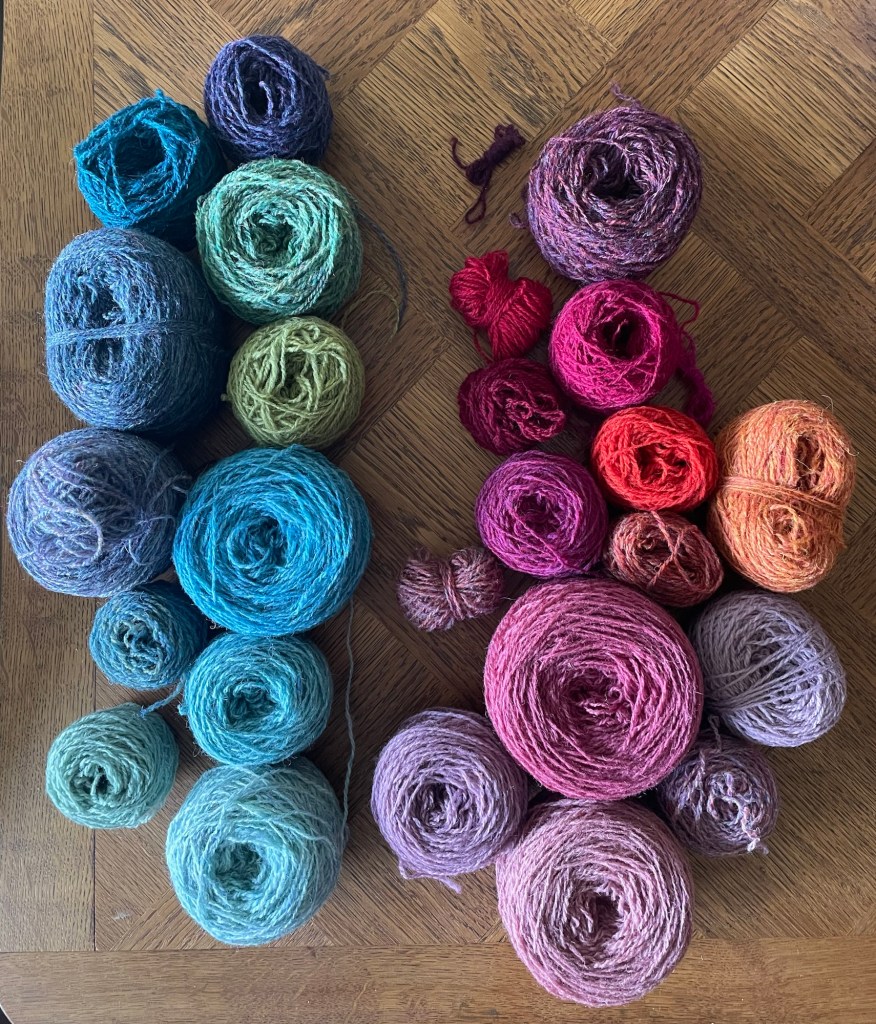
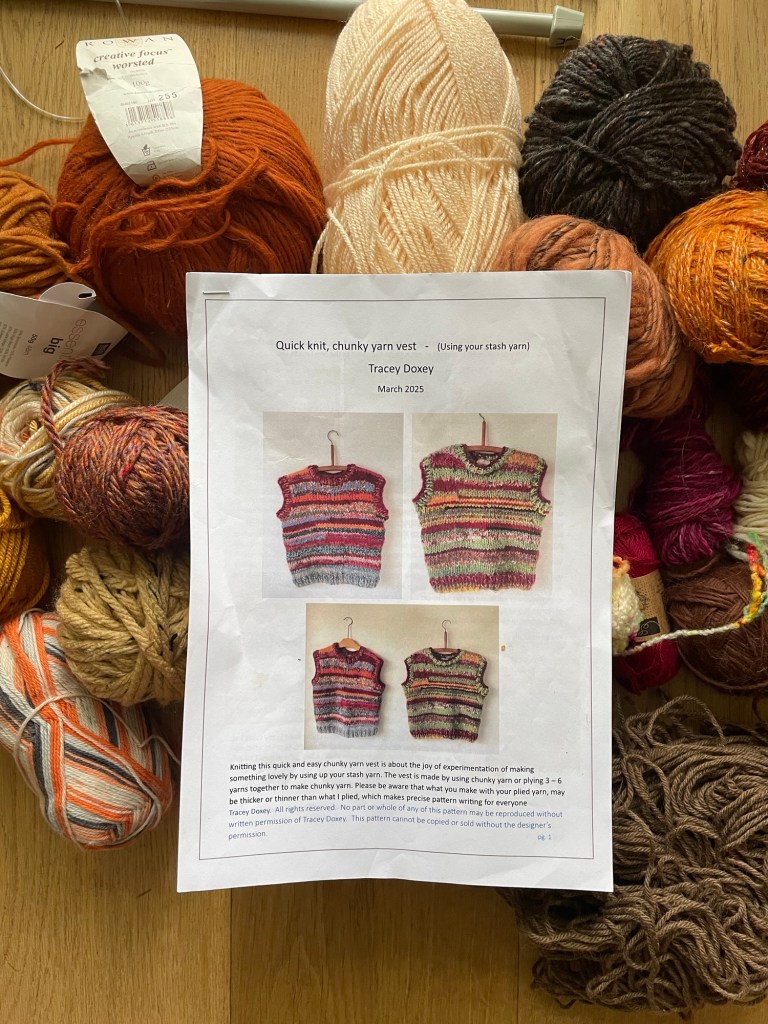
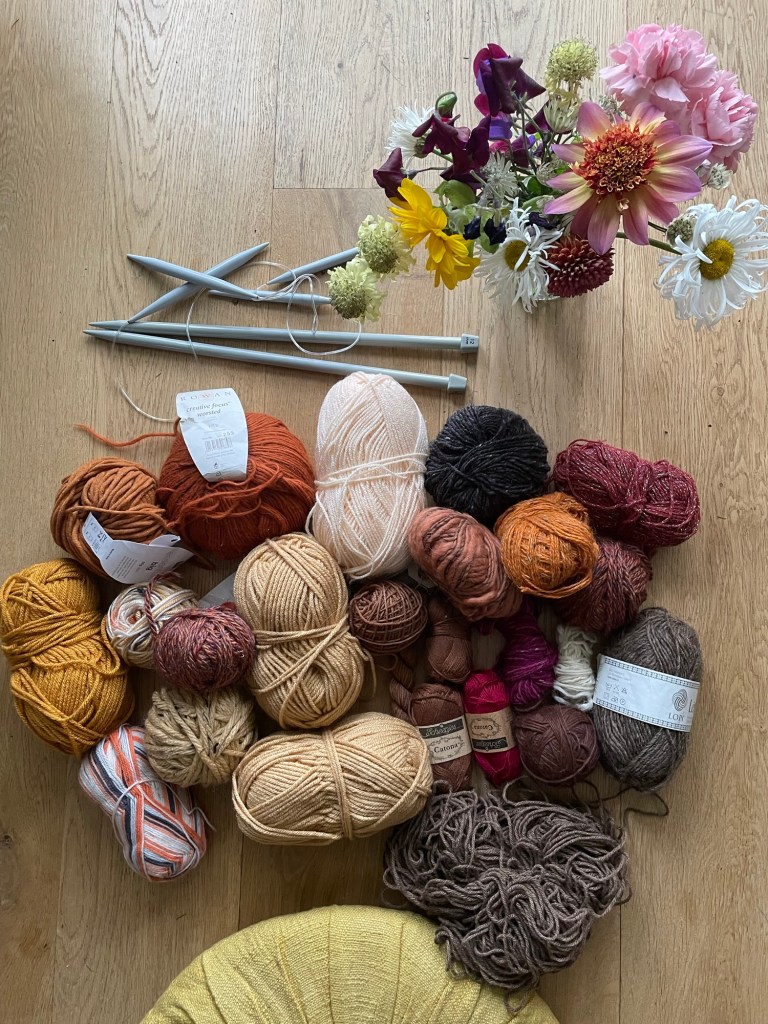
The remaining yarns from my Harvester Pie collection and the previous vest (pictured below) are going to One winner who will receive the bundle of leftover yarns shown in the photograph—perfect for creating a beautifully individual vest of your own.
There is a mix of pure wool, Rowan felted tweed, lopi, and acrylic. Enough to make your own vest by plying the yarns together in whatever way you choose to create your own Chunky Knit Vest. The pattern gives ideas on what yarns to ply.
All you need to do is purchase my Chunky Knit Vest Pattern between 15th July and 31st July, and you’ll automatically be entered into the draw. There will be one lucky winner. The pattern is £6 on Ravelry
Purchase the Chunky Knit Vest Pattern between 15 July and 31 July.
Everyone who purchases the pattern during those dates will automatically be entered.
One winner will be chosen after the closing date. I will draw one winner at 6pm on 31st July
I will announce the winner on Instagram – @traceydoxey and email the winner too.
The only thing I’ll ask is that the winner pays the postage to their country, wherever they are in the world.
Thank you so much for all your enthusiasm for this pattern already. Seeing your colour choices in the projects in Ravelry and in the comments on Instagram has made me really happy. Seeing your own interpretations is one of the greatest joys of designing something like this. Every vest has its own personality, and every knitter brings their own unique selves to it.
Every vest becomes a reflection of the yarn you already have, the colours you love, and the choices you make along the way. No two will ever be the same, and I think that’s what makes knitting from stash so wonderfully exciting. This offer is a different type of stash – it is mine that I am offering to give away.
Last night I shared the very beginning of my chunky knit vest project over on instagram link here
– from choosing yarns from my stash to plying them together and watching unexpected colour combinations appear.
This morning I’ve reached one of my favourite stages.
The body is knitted, I’ve divided for the armholes, and suddenly it feels as though I’m no longer making a swatch or experimenting. It’s becoming a garment.
This is the stage where the knitting changes. Instead of endless rounds, there’s shaping and decision-making but this easy to follow Chunky Knit Vest pattern helps you with every step. Every few rows reveal a little more of the vest, and it’s exciting to see the colours shifting as different yarns come and go from your own personal choice and personal unique stash.
One of the things I love most about this pattern is that there isn’t a “correct” way to combine your yarns. You can work intuitively, adding a strand, dropping another, letting one colour drift into the next. The vest becomes a record of your stash and your own colour choices.
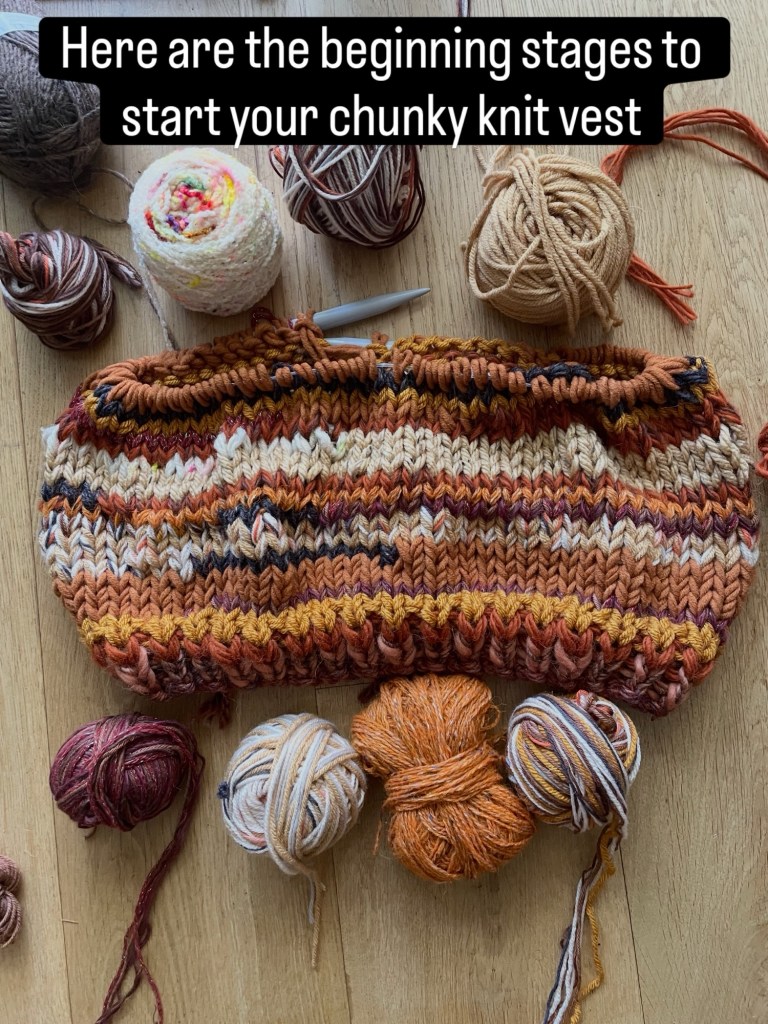
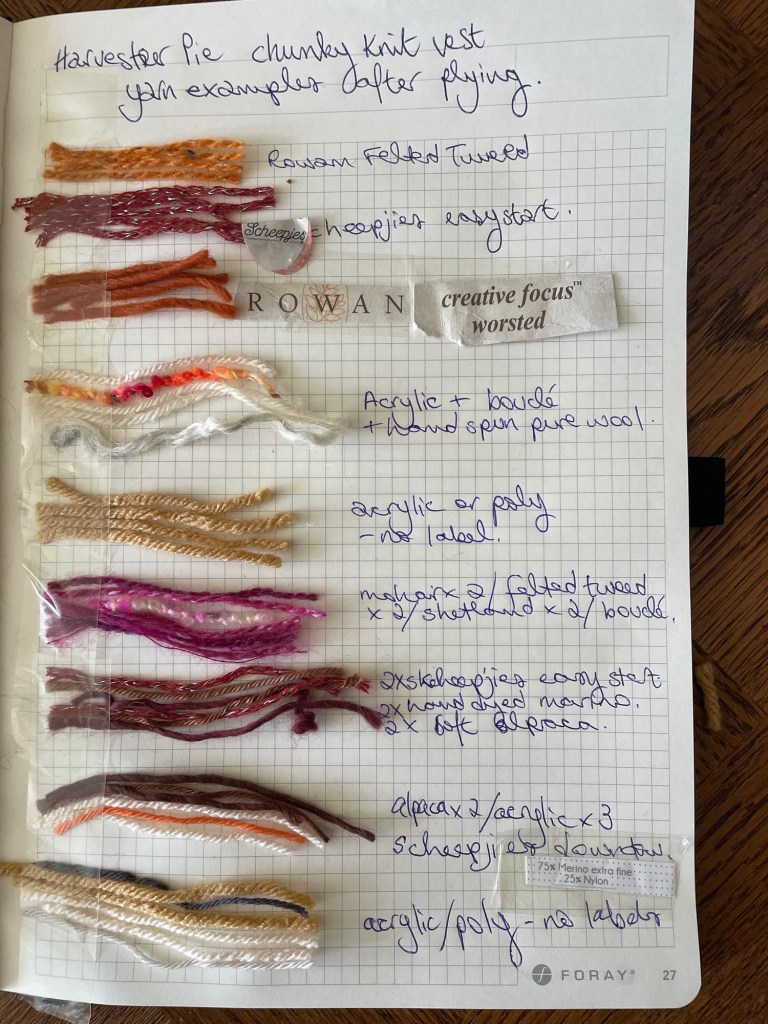
If you’ve been thinking about casting one on, perhaps this is your sign. Gather those odd balls of yarn that have been waiting patiently in your basket. Don’t worry if they don’t match. In fact, it’s often the unexpected combinations that create the most beautiful fabric. However, surprisingly, for the first time ever, I bought a random bag of colours on Saturday, and the bag was called Harvester Pie. I think that butterscotch, honeycomb, ginger and pie are all appropriate for these Autumn colours. You can see some of the plyed yarns in the images below.
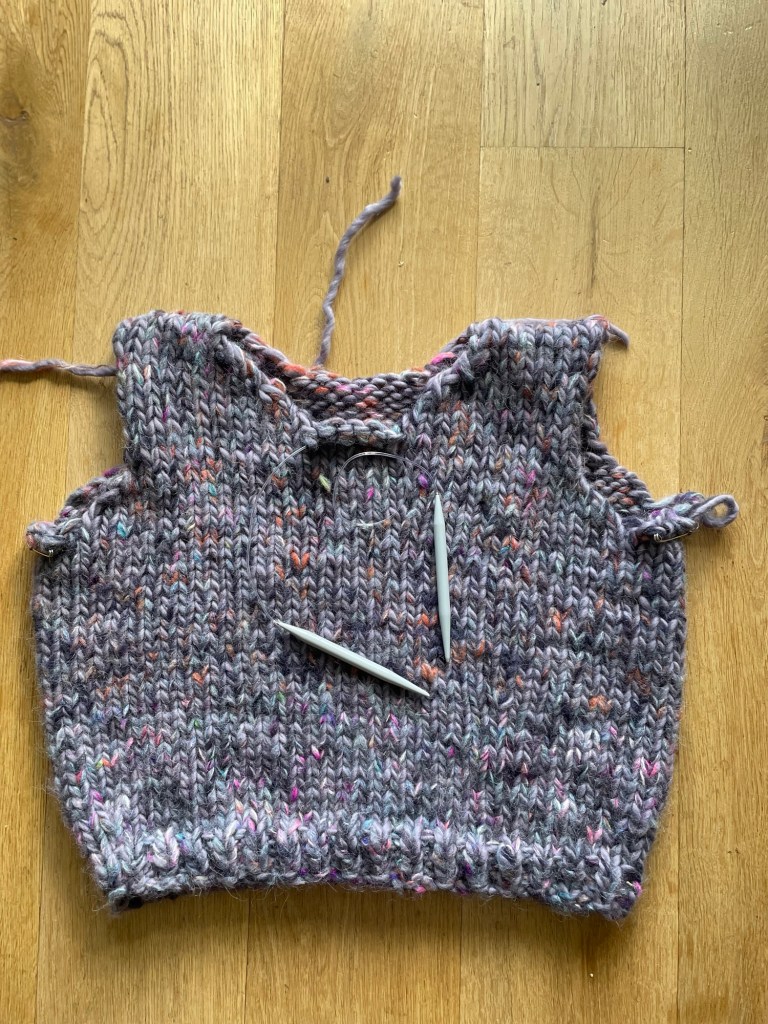
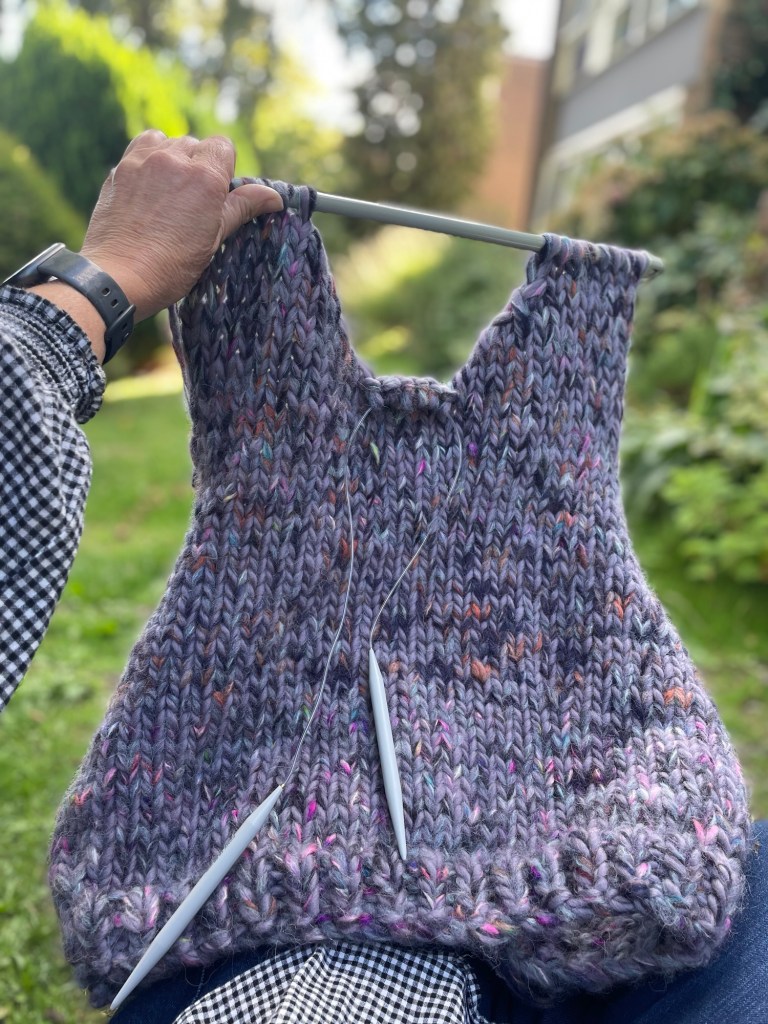
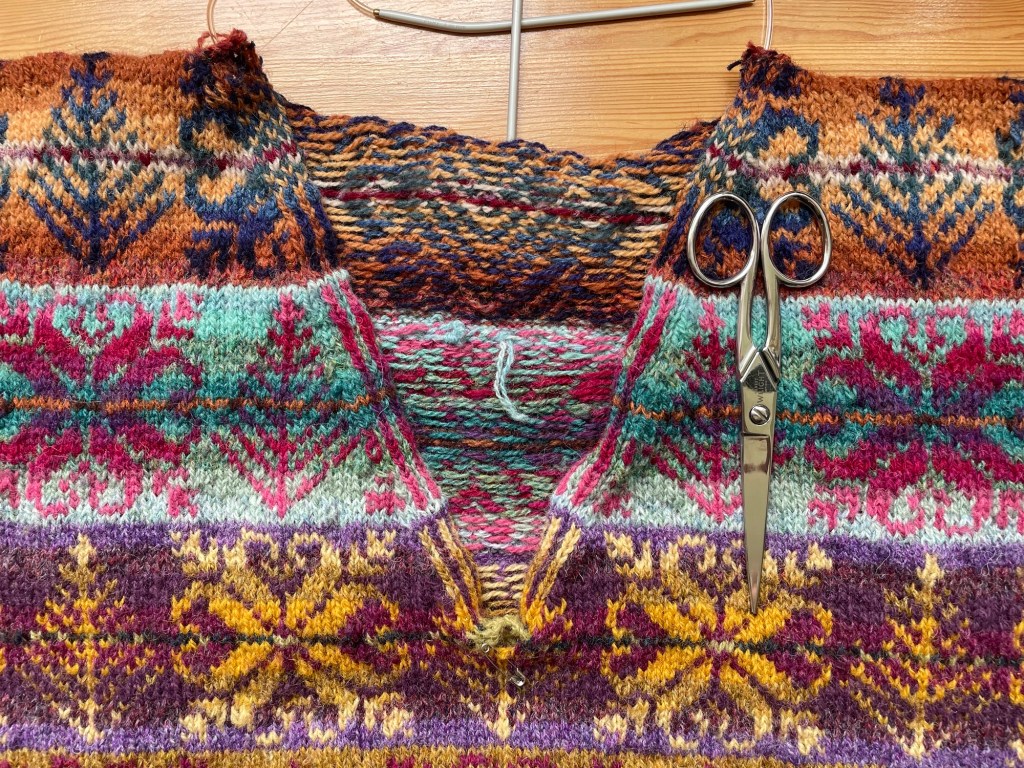
I’ll keep sharing this vest as it grows. Next stop… shoulders and neck shaping. But here are images of the first stages to help you, if you decided to have a go yourself.
I can’t wait to see how these autumn colours come together at the end of my 4th Chunky Knit Vest. My daughter took my first one (Compliment) I sold the 2nd one as a commission, I have the 3rd one and this is my 4th.
One of the things I love most about this pattern is that no two vests will ever be the same. Every knitter opens their own yarn basket, chooses from their own treasured leftovers and favourite odd balls, and creates colour combinations that nobody else would think of. The finished vest becomes a reflection of the person who made it. Have a look on Ravelry at some of the projects. Bottom of Form
Or on my Instagram as people are now adding their project photos in the comments which I am loving seeing.
I can’t wait to see everyone’s versions because I already know they’ll all be different. The pattern is the same, but the yarn choices belong to each knitter. That’s the magic of it. Every vest is unique, every colour journey is different, and every finished garment becomes something that couldn’t have been made by anyone else.
My hope is that this pattern gives you the confidence to reach for the yarns you already love. To stop worrying whether they’re the “right” colours and start enjoying the process of putting them together. There really isn’t a wrong answer—only combinations that tell your story.
This pattern doesn’t ask you to copy me. It invites you to become more like yourself with your own colours 😊
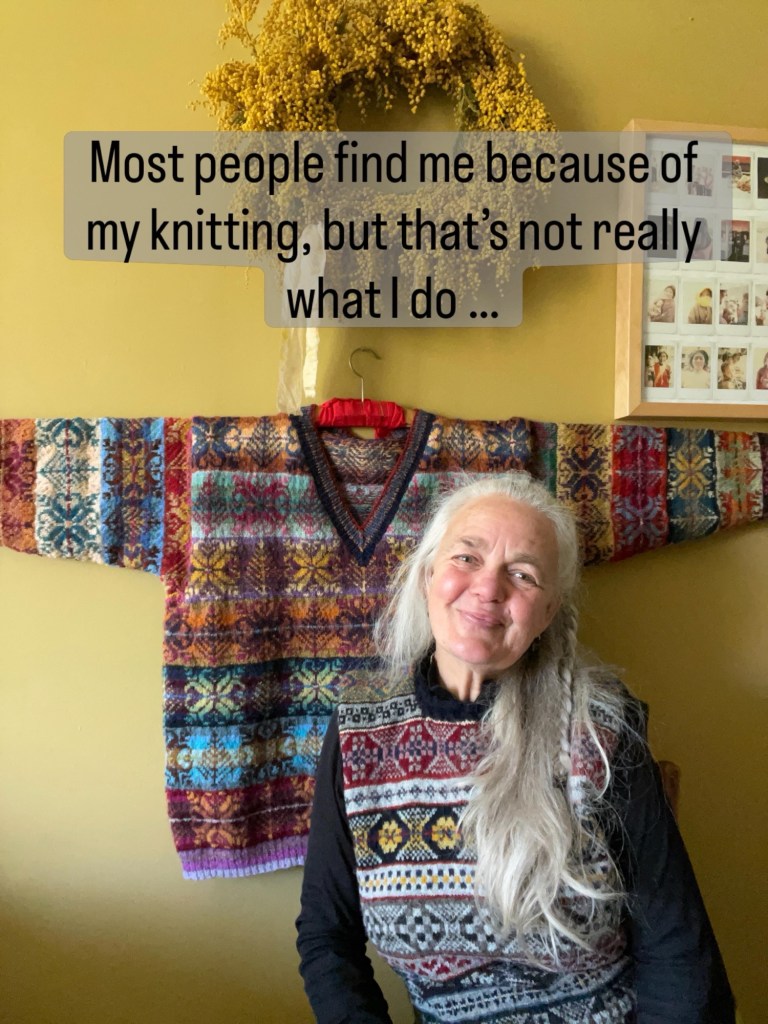
As more people discover my work, I’ve noticed quite a few assume that I knit jumpers for people or that I am just a colourful knitter.
It’s always a lovely compliment, but the reality is a bit different.
I’m not really in the business of knitting jumpers or hats.
I’m in the business of designing them and hat patterns in a marvellous kaleidoscope of colours. I also teach online workshops and am now running a 4 month online colour swatch journal group. This takes a huge amount of time.
And, the act of knitting is actually only a fraction of what goes into each pattern.
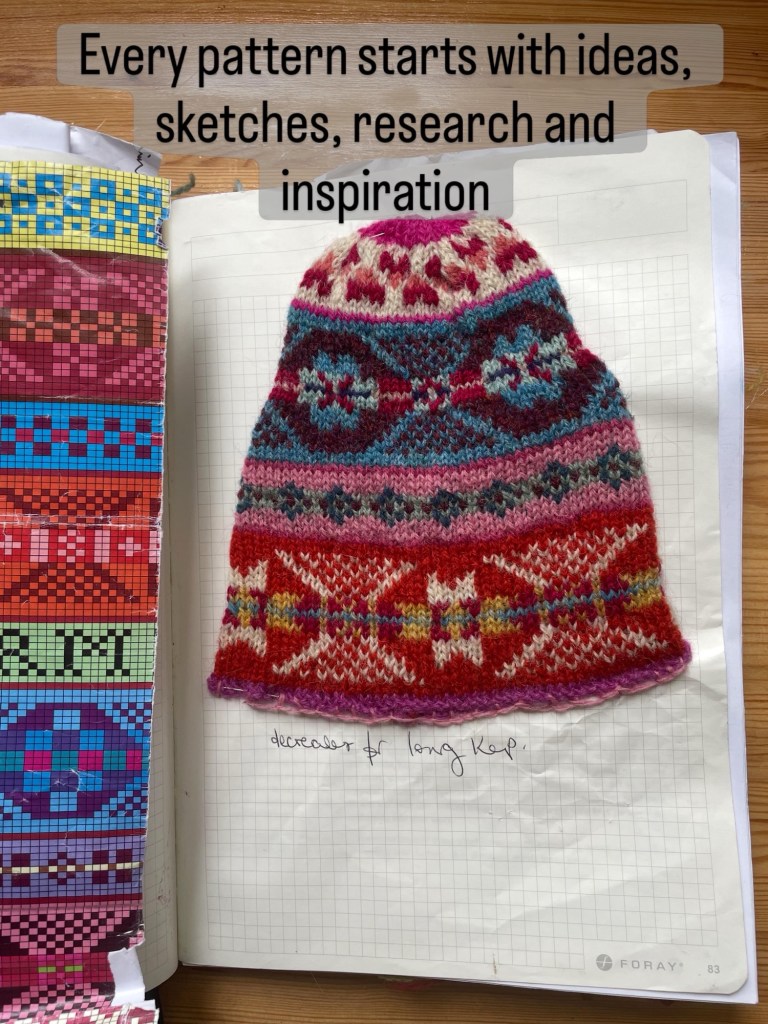
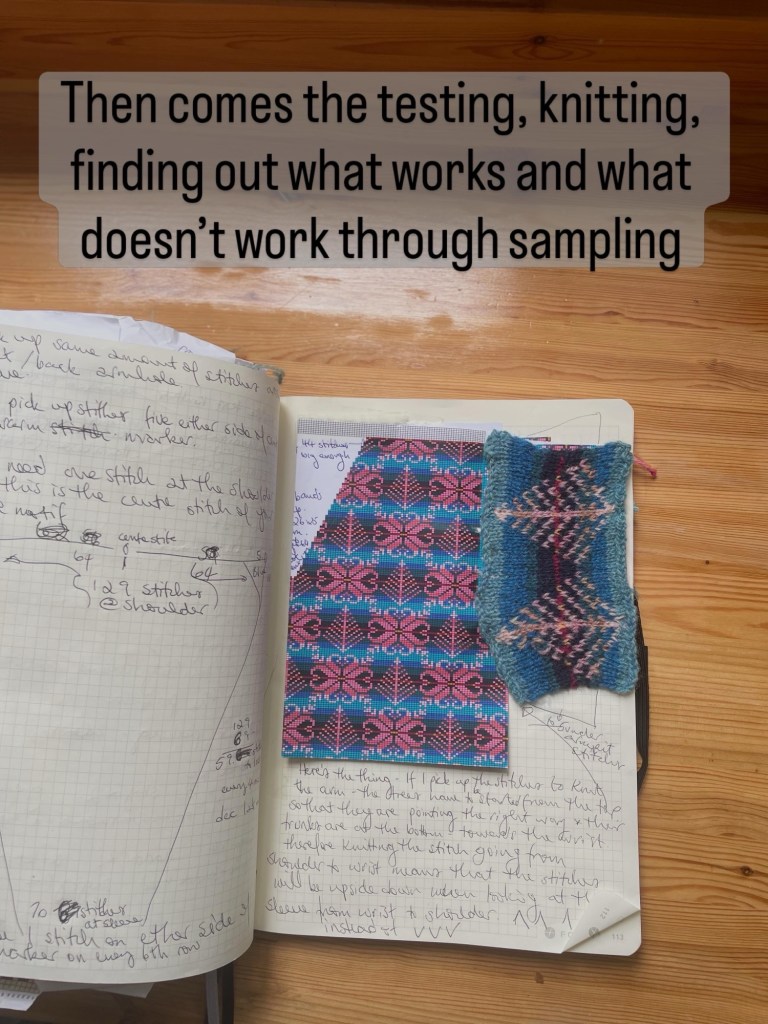
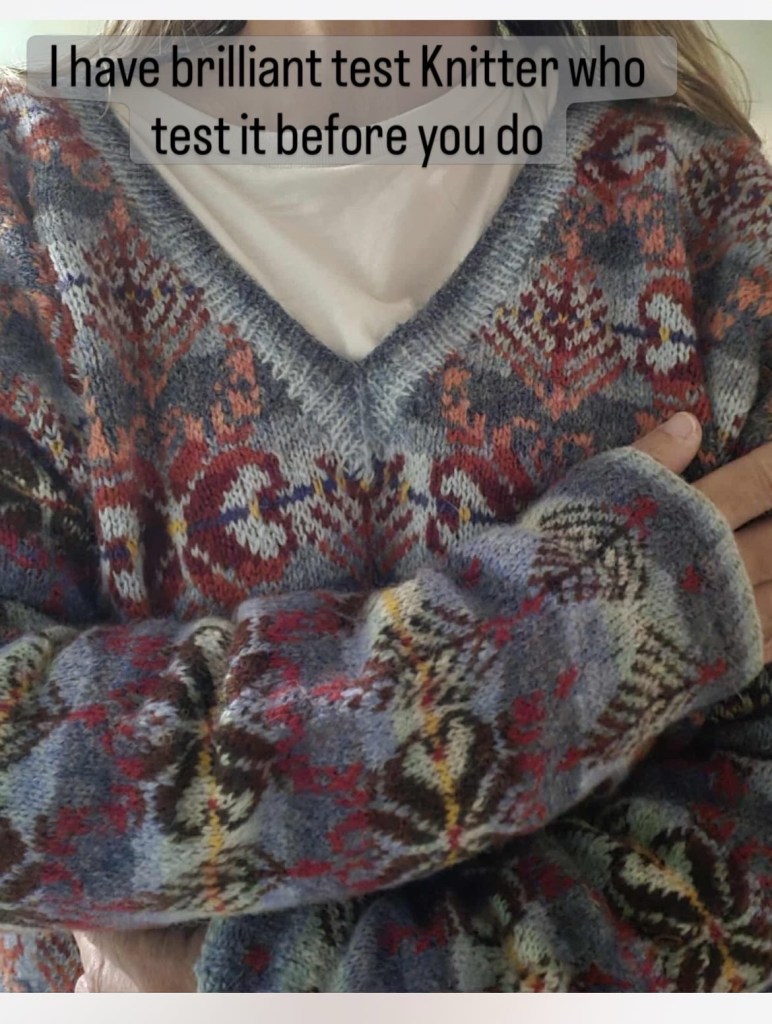
Before I even cast on, I’ve usually spent hours (often days) thinking about colour, inspiration, construction and whether an idea might work. Then comes the swatching. The maths. More swatching. More maths. Writing the pattern. Rewriting the pattern. Test knitting and working with those knitters. Photographing it. Filming it. Answering questions. Updating files.
By the time a pattern is ready to publish, I’ve invested far more hours than anyone will ever see.
If it takes someone 30 hours to knit one of my jumpers, I’ve probably spent several times that bringing the design into existence in the first place.
And that’s absolutely fine. I love what I do. I love the challenge of turning an idea into something that someone else can enjoy making.
But sometimes I think people don’t realise what they’re actually buying when they purchase an independent knitting pattern for £5 – £10 when a percentage is also taken by Ravelry and Paypal.
It isn’t just a PDF it is a story and my lifestyle. Independent designers put their lives into the patterns – we do not have a big tech team behind us to make everything work.
It’s all the hours of thinking, experimenting, mistakes, ripped-out swatches, calculations, colour decisions, late nights and cups of tea that came before it. It’s years of learning and refining my craft so that someone else can enjoy the creative part without having to solve all the problems first. I even have a Masters in Knitting and have knitted for over 50 years – through the 80’s to now.
Like many independent designers, I share a huge amount of my work online. I love inspiring people, showing my process and encouraging others to pick up their needles. I genuinely enjoy being part of this community. But, maybe it is time to scale back.
If I’m honest, it can sometimes feel as though a lot of people enjoy the free part without ever thinking about supporting the person creating it.
If everyone who admired a design bought just one pattern now and then, it would make an enormous difference to independent designers like me. Those £5 and £10 purchases are what allow us to keep creating, researching, designing and sharing.
So, if you’ve been following my work for a while, or you’ve ever thought, “I’d love to knit that one day,” perhaps today is the day to have another look through my patterns.
When you buy a pattern from an independent designer, you’re buying far more than a PDF.
Time to research. Time to experiment. Time to make mistakes and discover something unexpected. Time to wander around with a sketchbook, play with colour, and follow an idea simply because it’s interesting.
If you’ve followed me for a while, you’ll know that knitting isn’t the only thing I love making. I love drawing. I love creating sculptural pieces, like my cat lantern. I love exploring ideas that may never become knitting patterns at all. Those quieter, more experimental moments are often where the next creative spark begins.
The irony is that the more successful a creative business becomes, the less time there can be for simply being creative. There’s always another pattern to write, another email to answer, another deadline to meet, another post on Instagram, or photograph or story to write.
Every pattern you buy helps create a little more space for that kind of exploration again. It gives me the freedom to spend time making, drawing, painting, researching and developing ideas—not because they have to become a product tomorrow, but because that’s how good ideas grow.
Some of the most important moments in my creative life have come from giving myself permission to slow down, whether that was during my Fine Art degree and my Masters in Knitting. Those experiences continue to shape everything I design today.
So if you choose to support my work, you’re not just helping me publish the next knitting pattern.
You’re helping me remain an artist as well as a designer.
Sometimes I’d simply love to spend a few days drawing. Or painting. Or making something completely unexpected. I would like to paint my kitchen – not the cupboards, but paint the view.
Those are the moments that refill the creative well. They’re often the moments that quietly shape everything that comes afterwards.
You’re giving me something every artist needs from time to time: the freedom to be curious, to experiment, to make without knowing exactly where it will lead.
And I have a feeling that the patterns you enjoy tomorrow will begin in those moments.
If knitting isn’t on your list right now but you’ve enjoyed following my work over the years, another lovely way to support what I do is through my Ko-fi page.
People often say they’re “buying me a coffee”, but what they’re really giving me is something even more valuable: a little more time to create.
Time to open a sketchbook. Time to paint. Time to experiment with colour. Time to make something simply because I’m curious to see where the idea leads.
Those quieter creative moments are where so many future designs begin.
Whether you choose a pattern, leave a Ko-fi, or simply continue to cheer me on, thank you for being part of the journey. It really does make a difference.
Learn how to build your own Fair Isle garment using my worksheet chart on Ravelry as a starting point – Link to chart here
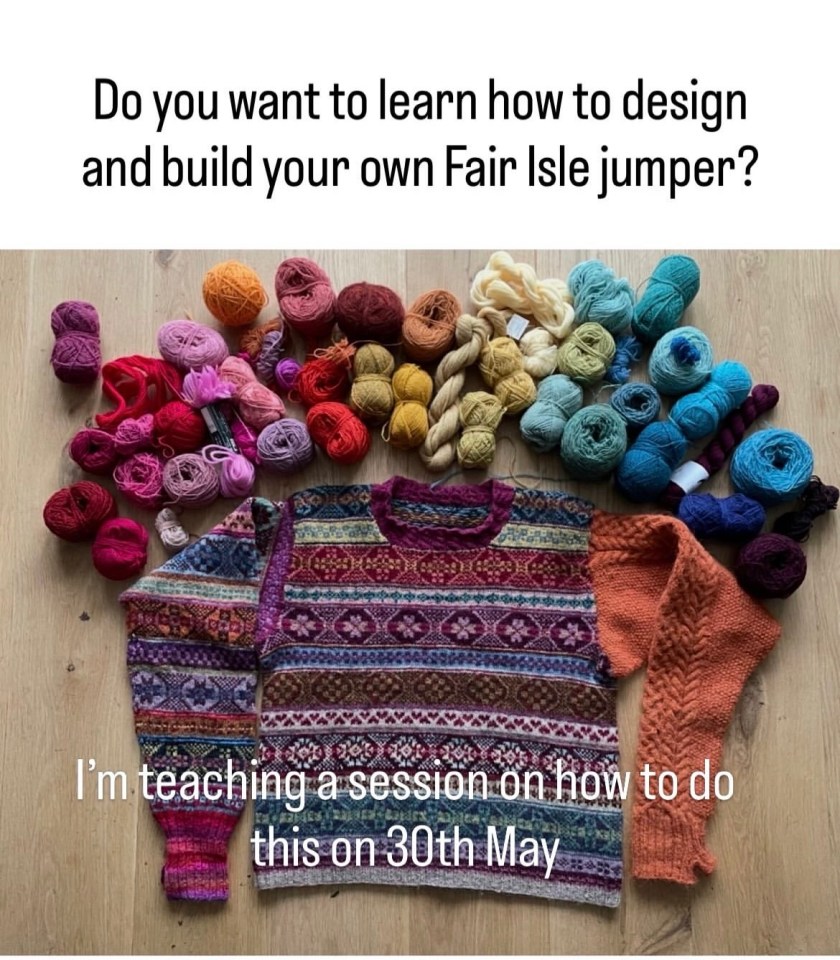
I’ll be running my online Build Your Own Fair Isle Vest/Pullover workshop again on 30th May — and this will likely be the final time I offer this session.
This workshop is designed for knitters who want to move beyond simply following a Fair Isle pattern and begin understanding how to build their own garment layouts using my Fair Isle worksheet chart as a starting point.
Whether you dream of creating your own vest, pullover, colour combinations or motif arrangements, this workshop will give you the skills and confidence to start designing in a much more personal and creative way.
What we’ll cover during the workshop
During this 90-minute online session, I’ll guide you through how I use the Fair Isle worksheet chart to plan and develop a garment design.
We’ll explore:
alignment of motifs across a garment
how to use the 24-stitch repeat creatively
planning sizing and shaping
adapting motifs into your own layouts
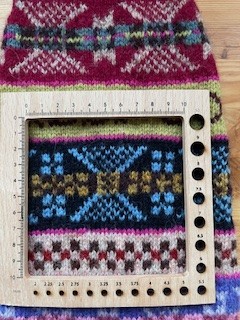
understanding gauge and applying it to your project
colour placement and motif combinations
building confidence with Fair Isle chart reading and design
This is not a knitting session — it’s a creative planning and design workshop focused on helping you understand the structure behind Fair Isle garments.
Who is this workshop for?
This workshop is ideal for knitters who:
already enjoy Fair Isle knitting
want more confidence adapting motifs
would love to create more personal garment layouts
feel ready to experiment beyond fixed patterns
want to learn how garment planning works
You do not need to be an experienced designer to join.
Included after the session
All participants will receive:
PDF presentation handouts
20% off my knitting patterns
Workshop details
Date: Saturday 30th May Time: 4pm–5:30pm Location: Online Cost: £30
The workshop is based around My Fair Isle Chart as a starting point – link here
Experimenting with techniques, yarn and colour has been part of my life for over 45 years. I used to knit stranded colour Work in the 80’s but I didn’t even know that’s what I was doing and that a place called Fair Isle even existed. I used to wear my crazy coloured mismatched jumpers with Vivienne Westwood and Malcolm McLaren cotton culottes ,white muslin wrinkled Westwood stockings and ballet shoes even then I didn’t know that I had a passion for experimenting with knitting or colour.
This passion developed into knitting the most intricate jumpers that Patricia Roberts designed in the early 80s on the finest 2:5 mm needles with fine Shetland yarn bought from her shop in Covent Garden London
Today, I am patient with my projects and keep adding to my knowledge as I go into my mid 60s. I am always curious – thinking what if I did this or that or the other. I hardly see that kind of thinking these days but it was how we all knitted in the 80’s.
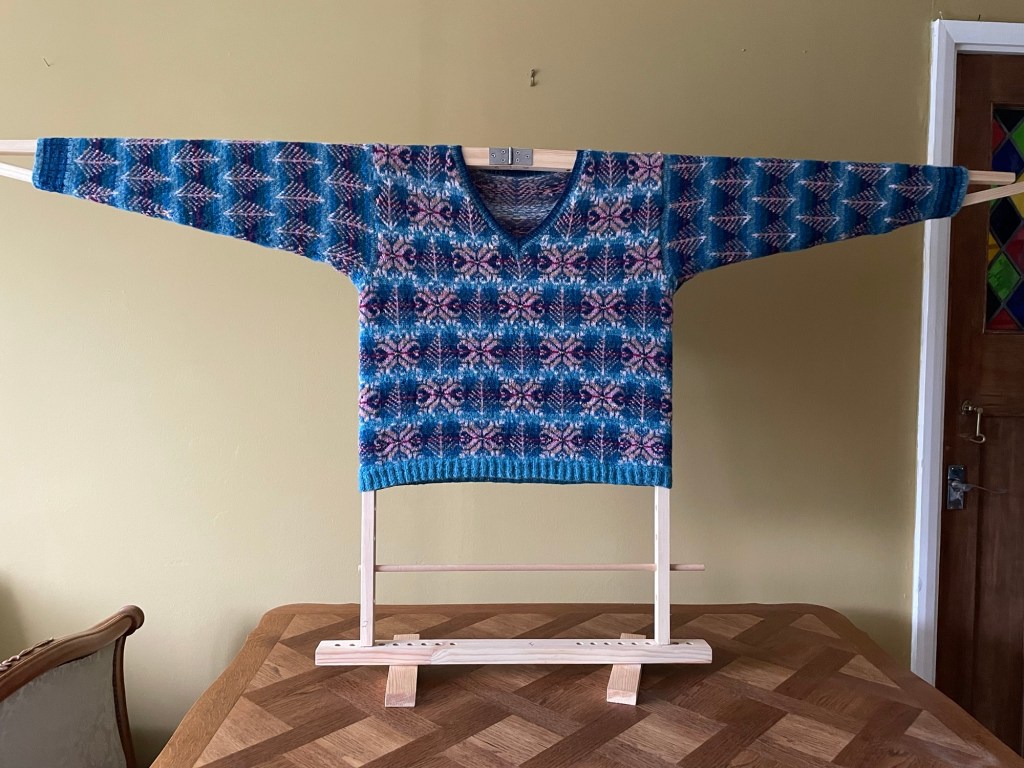
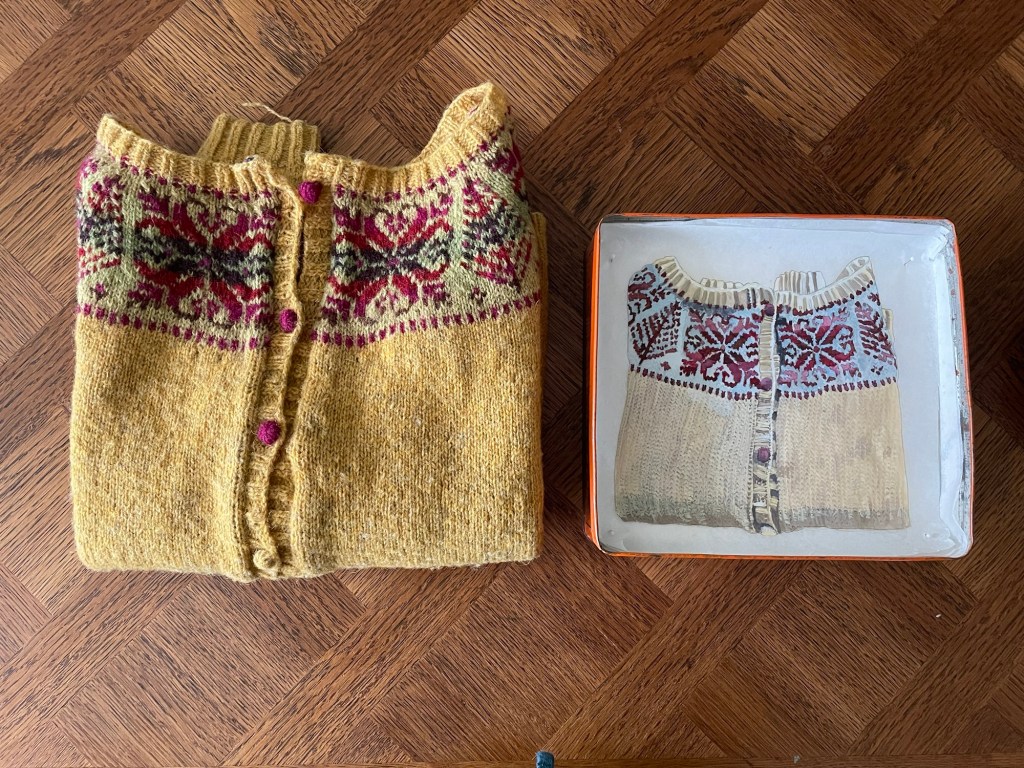
My latest design is called Kaleidoscope- It is a jumper pattern named after my blue Glass bead kaleidoscope and because the seemingly tessellating Shetland motifs repeat in the design. I have repeatedly returned to this Shetland Tree in Star Motif – starting from my very first knitted yoke cardigan knitted in 2015 which I progressed on to my Shetland Sea Urchin hat and mitts – then working to deliver a Colour Blending workshop for Rowan, I used the same motif and their yarns.
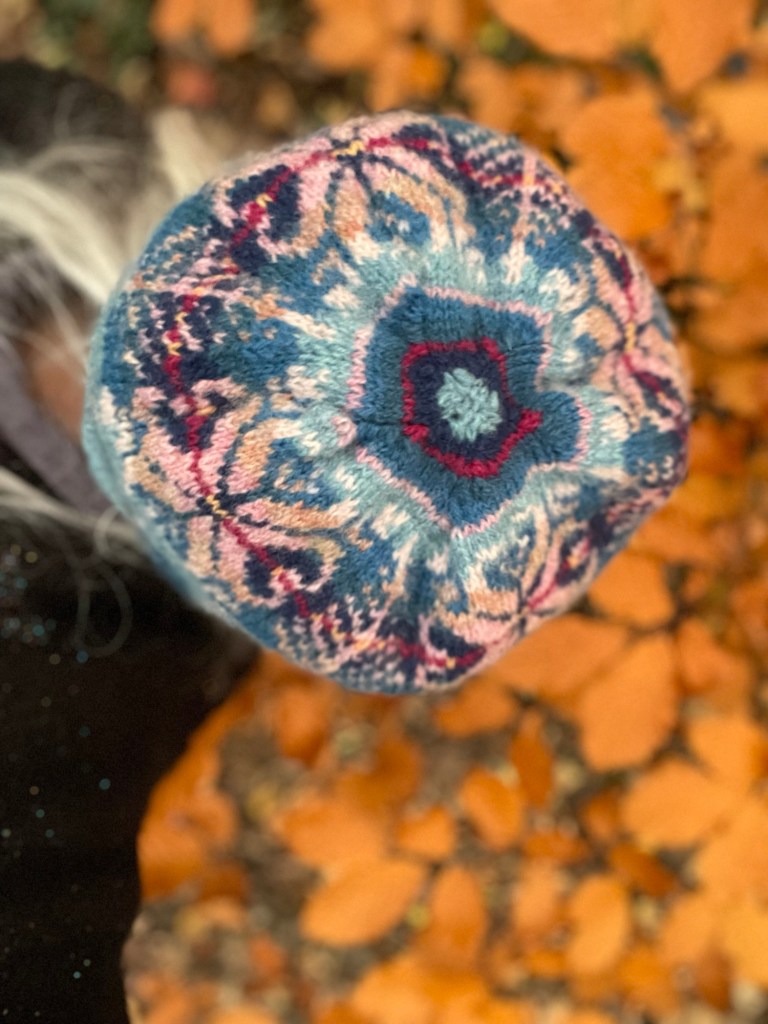
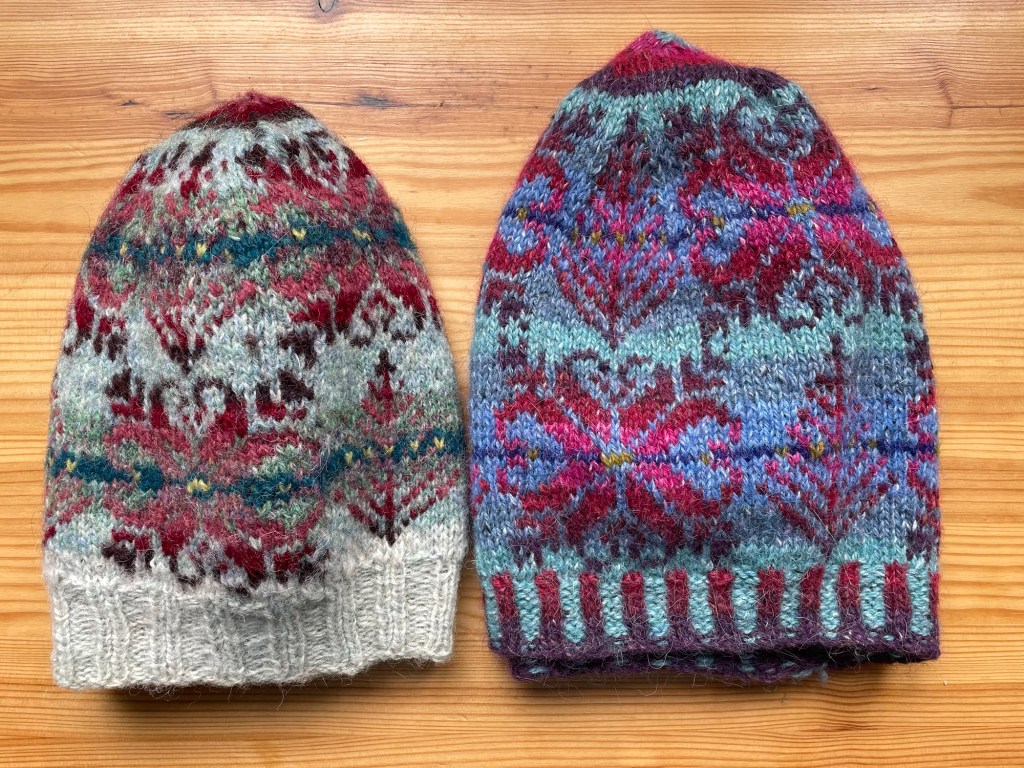
Once again I became inspired by the colour of our natural world last year with a long avenue of beautiful cherry blossom trees which inspired the colours of my latest Tree and Star hat and my first kaleidoscope jumper.
I put this pattern out into the world as a gift because I had made it for myself and many people wanted it. The motif is a 42 stitch pattern repeat and the V-neck falls in the centre of a tree – if I increased the size of the jumper I had to consider the following. It is knitted in the round so to increase the size, you would have to increase stitches by adding one more motive making it a very big jumper and a different management of other parts of it. Such as, if I added one more motif – then the V-neck position would fall in a different place and the shoulders and armpits would also increase in size. This would mean a TOTALLY different pattern, more test knits and not many people buy the patterns for me to spend one year of my life knitting 2 different jumpers.
I decided, instead, to experiment to increase the size by using 3.5 mm needles to make a larger jumper. I was doing this to help people see what would happen, it was not a solution to increase size but an experiment -Something I often did in the 80’s and 90’s with other patterns, changing yarns and needle size. I wondered it I increased the needle size or even the what would the outcome be.
The outcome of using the same yarn but needle size change, is a much larger jumper. I have steeked the neck and the armpits, if I’m completely honest I don’t like the bulky selvedge but I also wanted to experiment technique. I have steeked before but this time, I just cut without securing the steek stitches until afterwards.
I have found that many knitters need a pattern to be exact for them and to include all of the yarn colours, the weight of yarn, the amount of balls, the exact position of everything and that no one really wants to experiment at all anymore. I get it, yarn is expensive – but there is also a freedom in using what you have and experimenting which, interestingly, I have done all of my knitting life
So, my last knitted piece is a complete experiment in needle increase size, colour combinations, steeking stitches techniques, and just enjoying the sheer joy of making this project running free and dictating to me how I make my changes and adaptions.
Yesterday I cut the V Neck Steek stitches and it brought a new lease of life to me and my own practice. I stayed in the whole day finishing off the inside stitches and starting to knit the V-neck. I have developed an idea for making the sleeve edges larger so that they fit neatly into and increased size armpit.
This is where learning and design begins. How do I make this project work?
I’ve looked at it so long that I partially wanted it just finished. I also partially still don’t know what’s gonna happen with its outcome – but I planned out the V neck stitches and the sleeve increases and gussets on the back of a houmous packet – so I reckon, ALL IS WELL
If you would like to join me in my May online Colour Blending workshop, the link is here
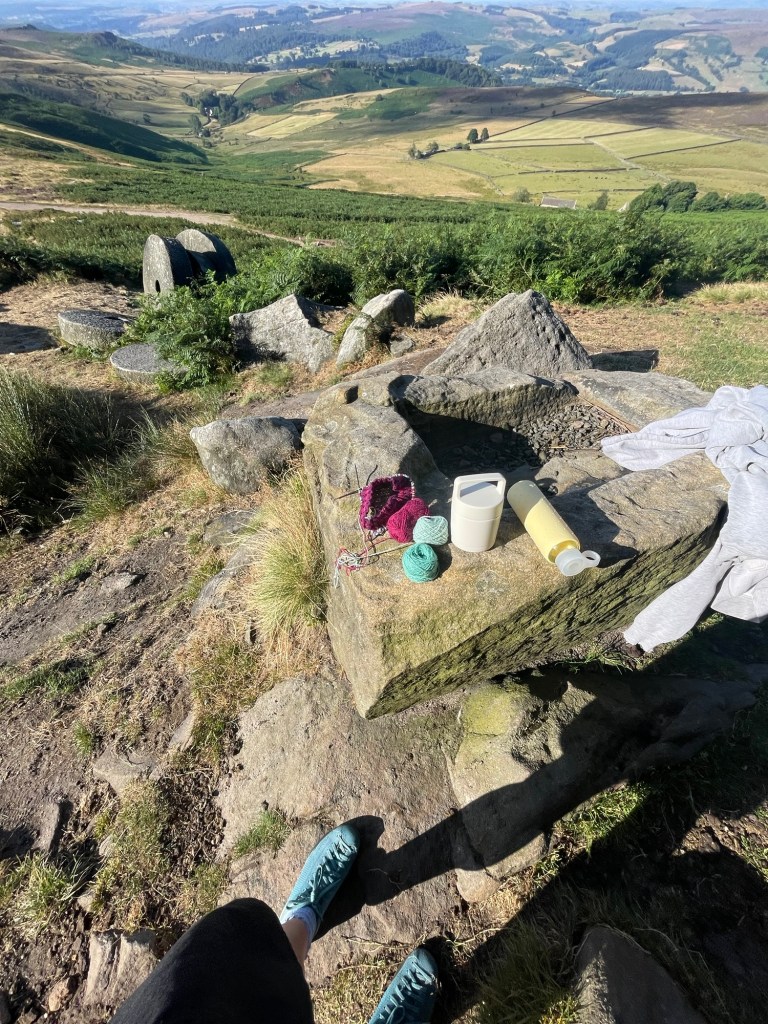
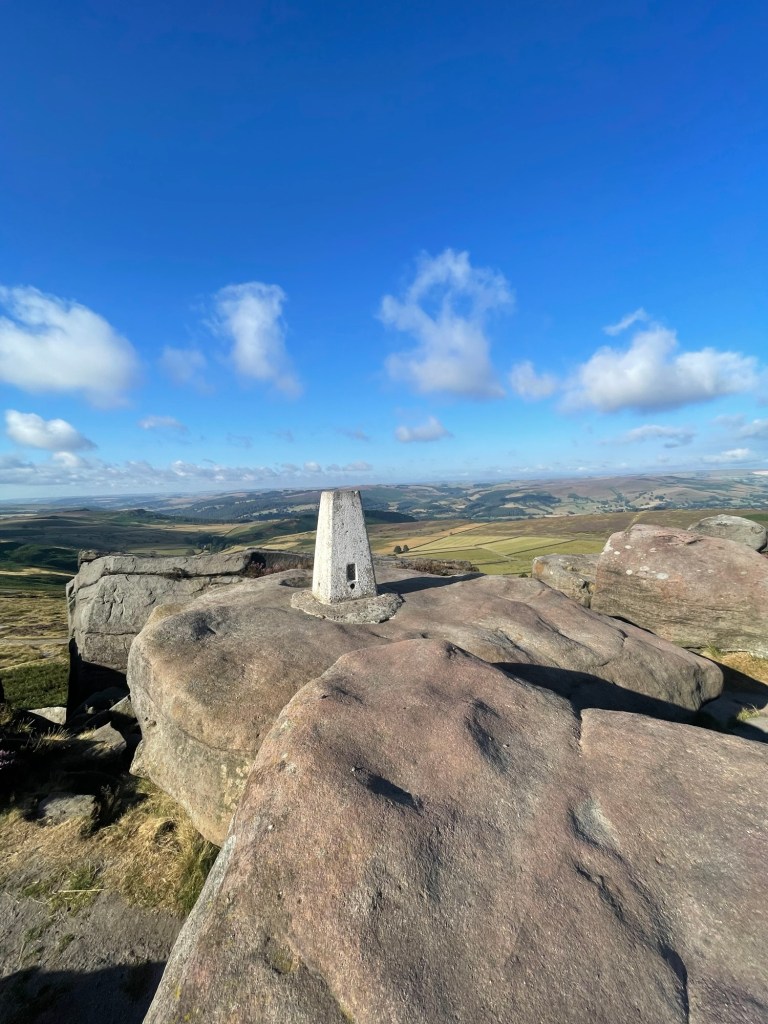
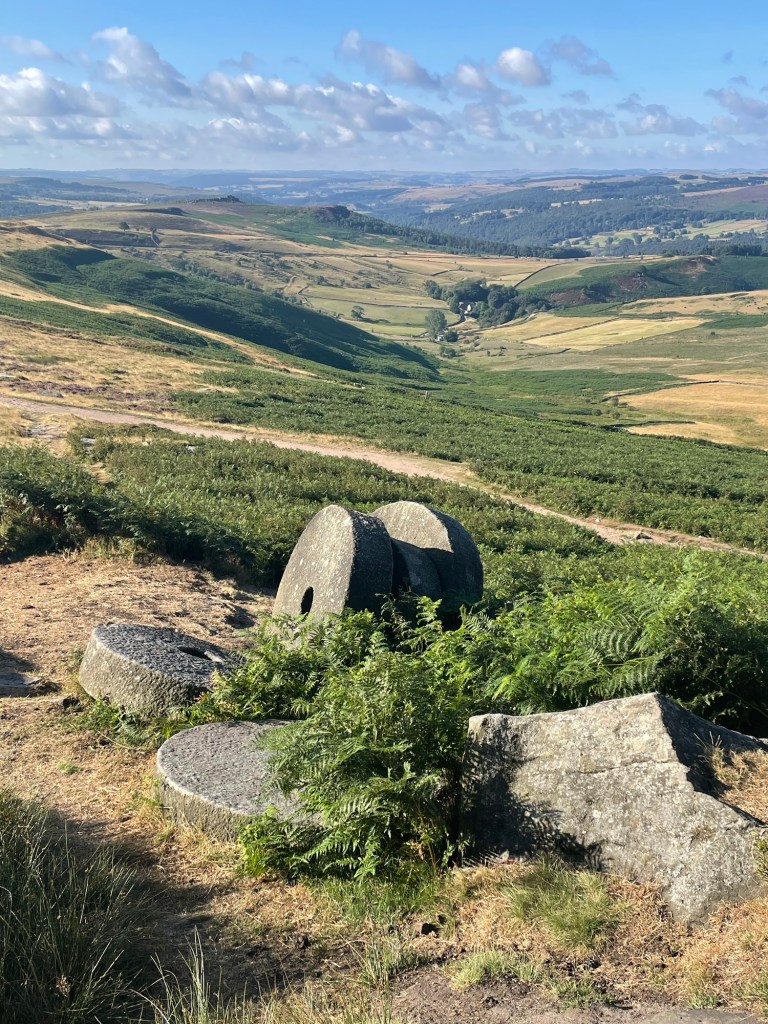
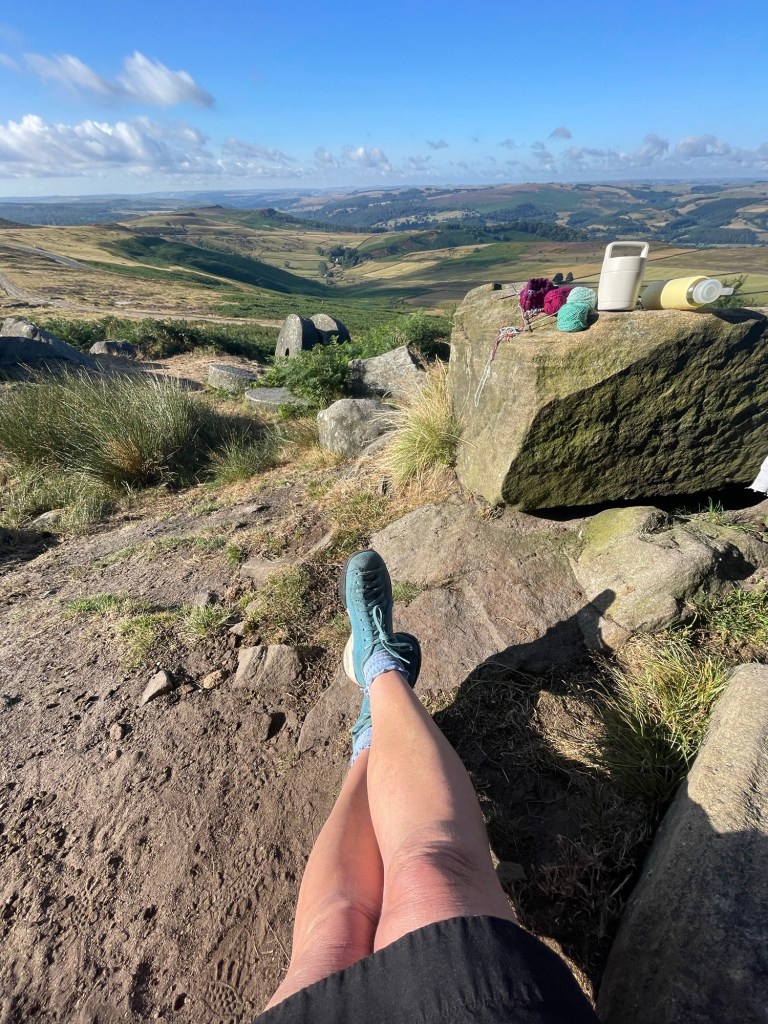
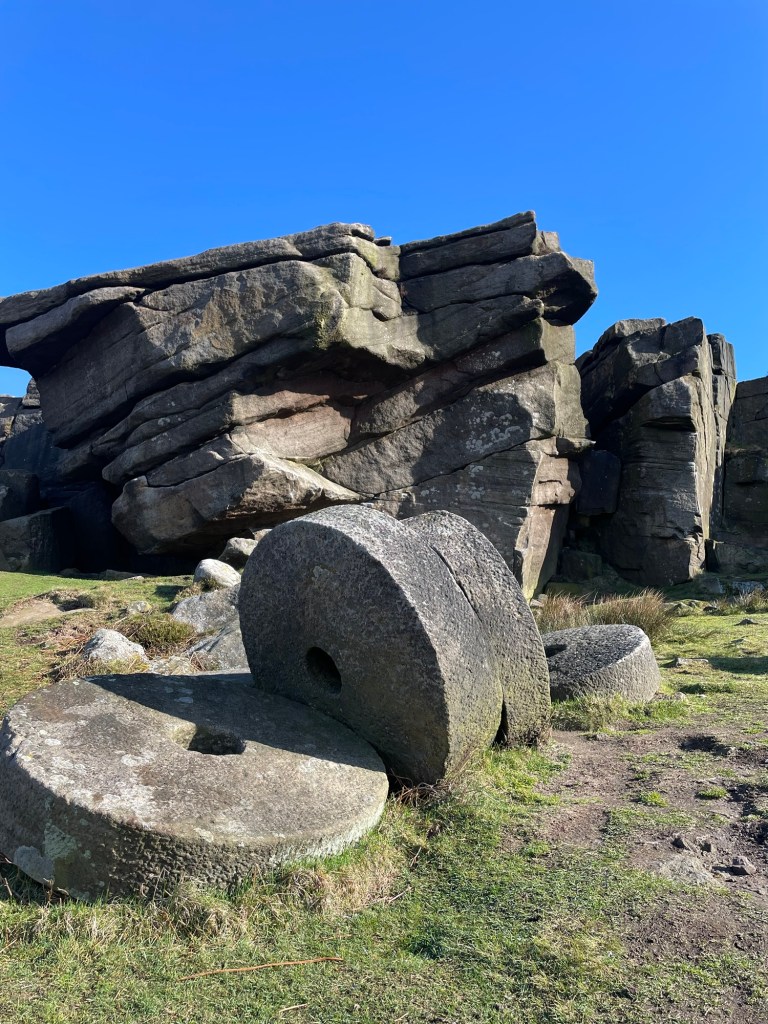
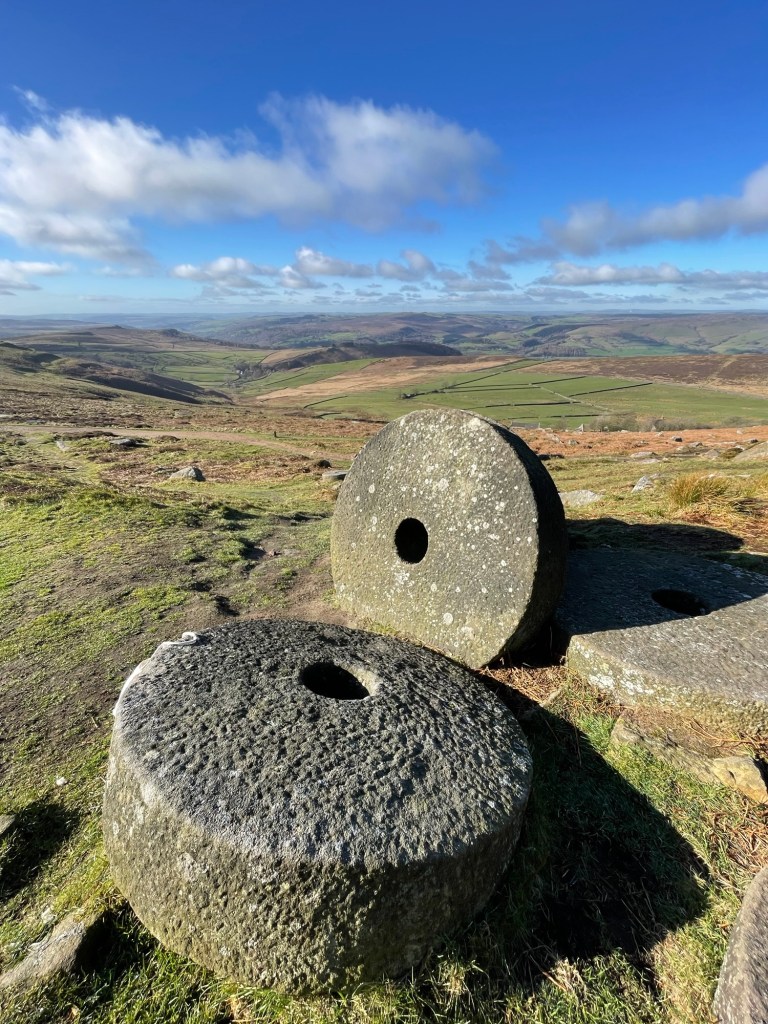
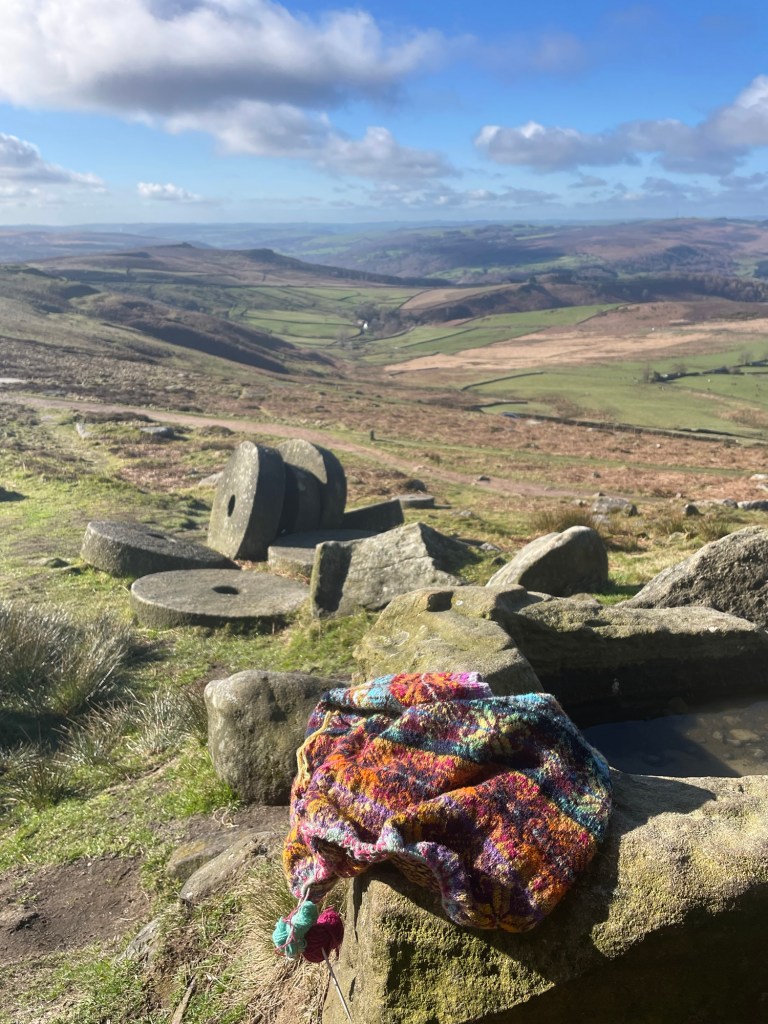
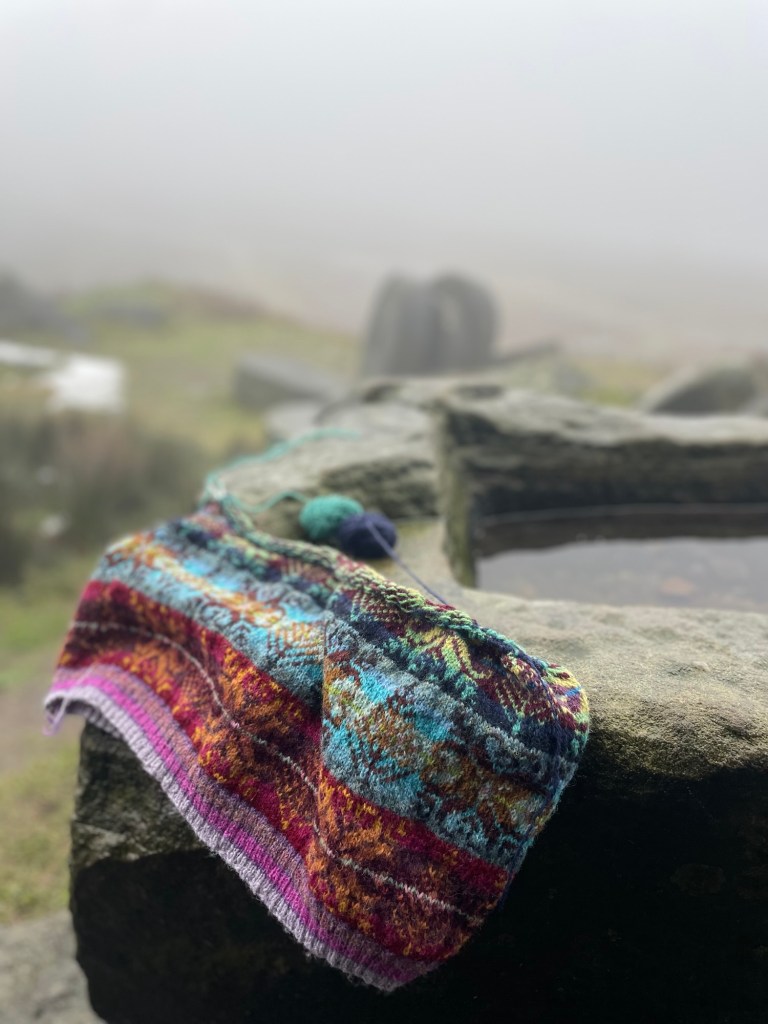
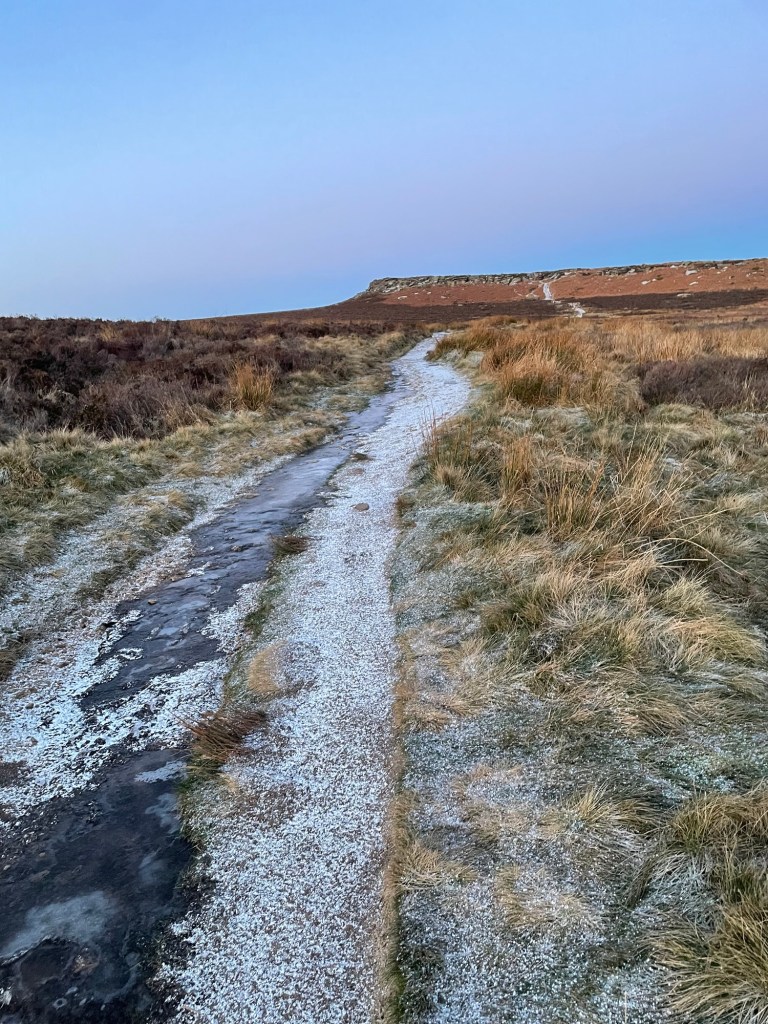
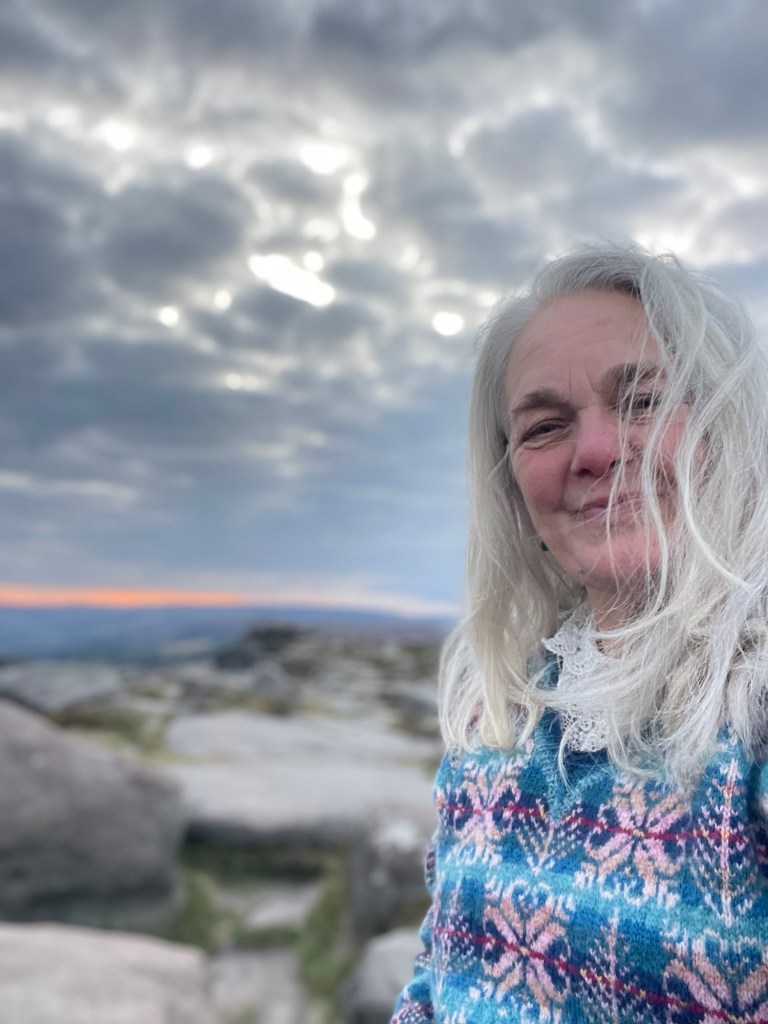
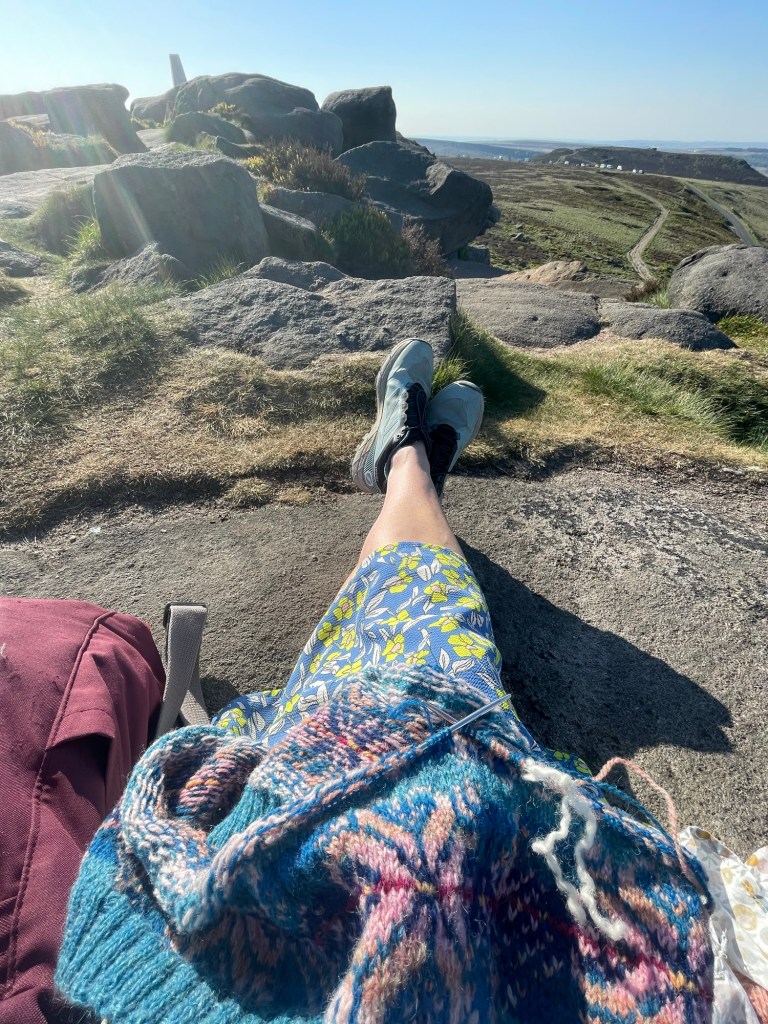
Yesterday, I decided to nip out to Stanage Edge for a walk to the Millstones. I post about this location a few times a year. The last time I went was 8th Feb when I was Fog chasing.
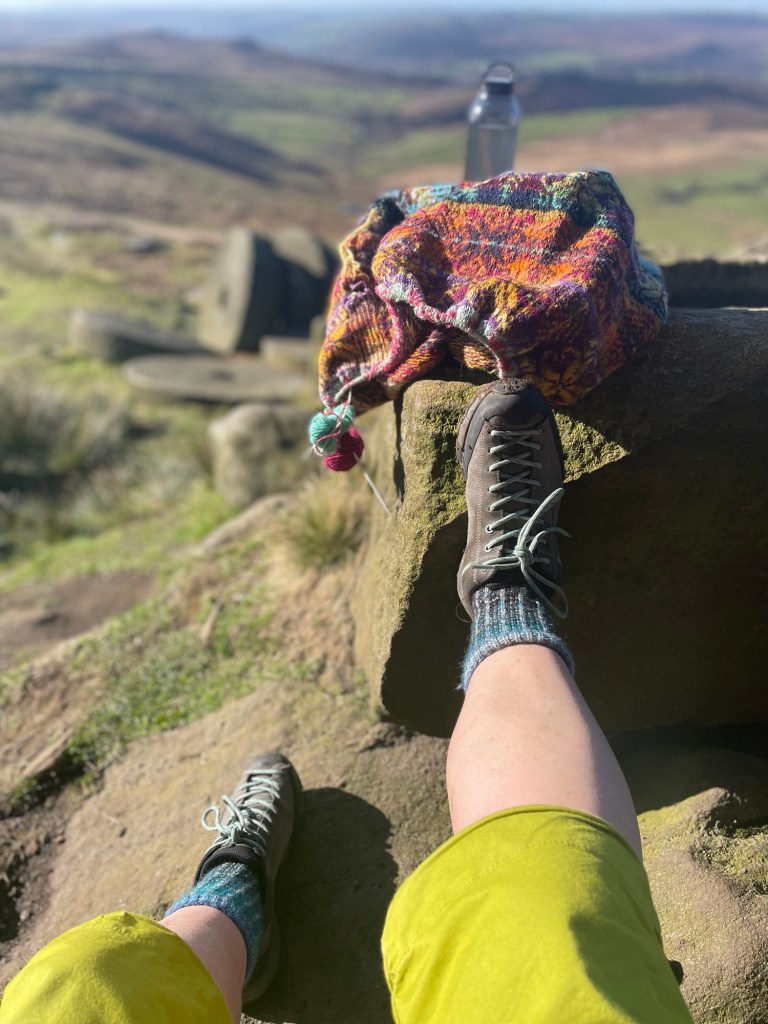
Yesterday, 2nd April, was a beautiful crisp cold day in the city and when the sun started to rise, I new I needed to take my knitting, beat the tourist cars in the car park and revisit the stones.
Apparently, throughout the Peak District, there are more than a thousand abandoned millstones, covered with lichen and moss, weather-worn and often hidden to all that pass by. I remember going to a quarry near the base of Stanage and the place was full of them – all hand made, all abandoned dating back to the 18th and 19th Centuries and were once used to grind grain into flour for use in the mills in the area. I don’t know of any mills except Baily’s grain Mill in Matlock that now houses some very elegant flats. All of this history lying around on the ground that we all take for granted as being part of something that we don’t really have the curiosity enough to check out.
The stones are huge – about 1.8m in diameter and lie where they were left. I will start to research them and bring to life some local history – for me, for you, if you are interested.
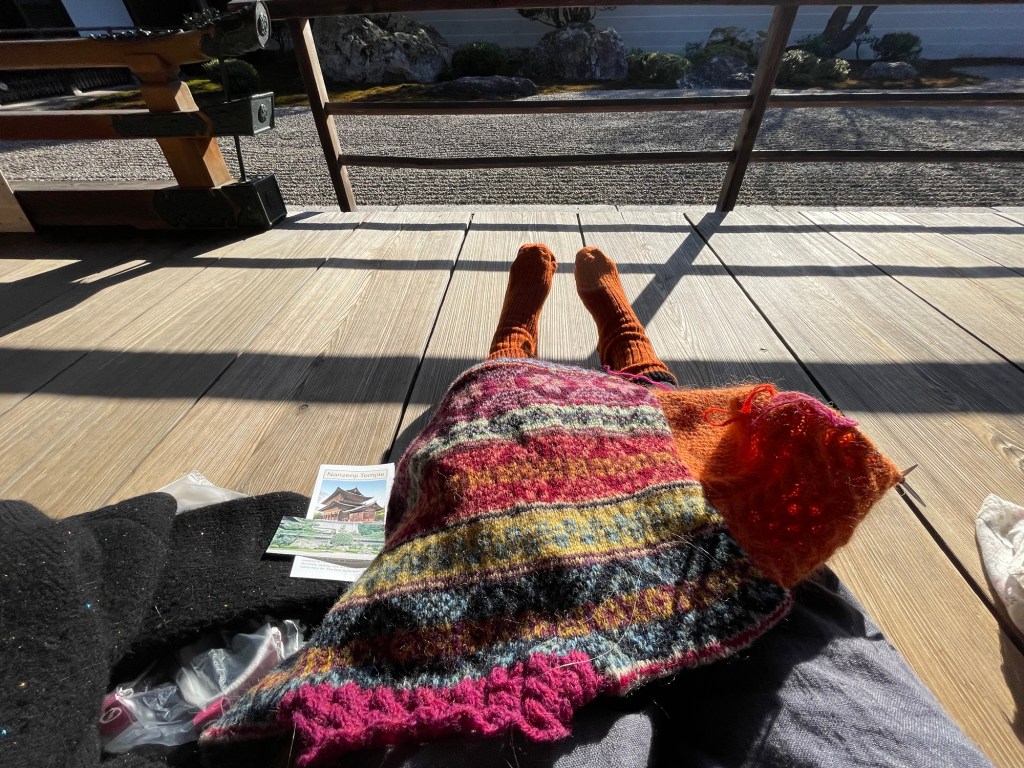
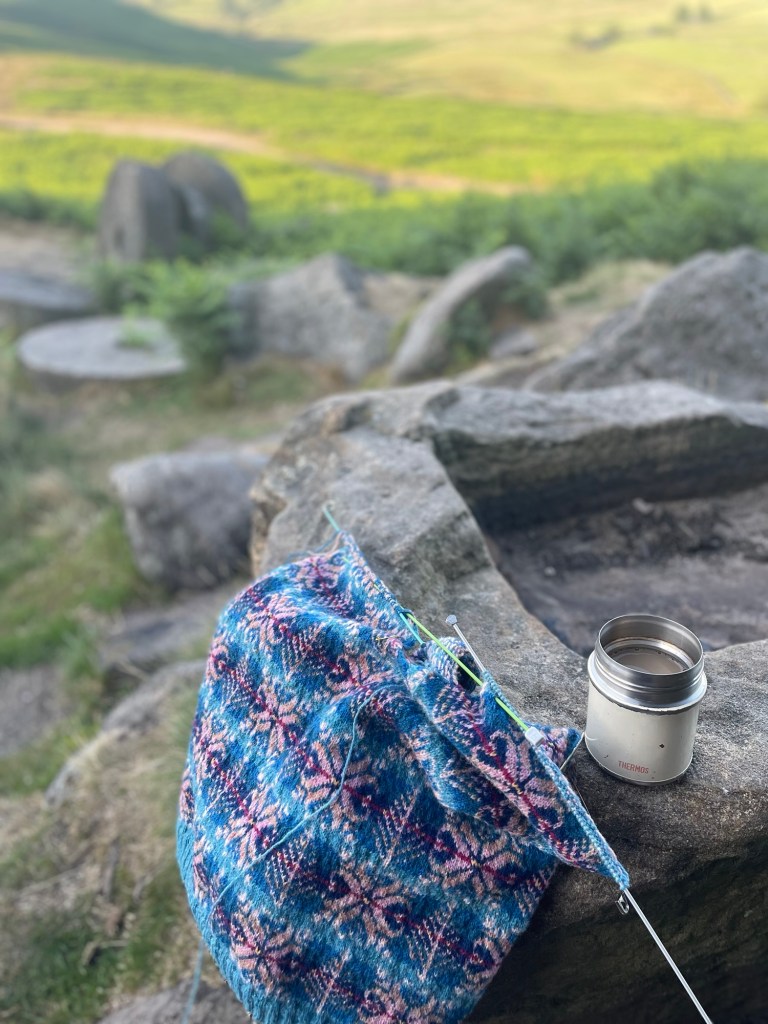
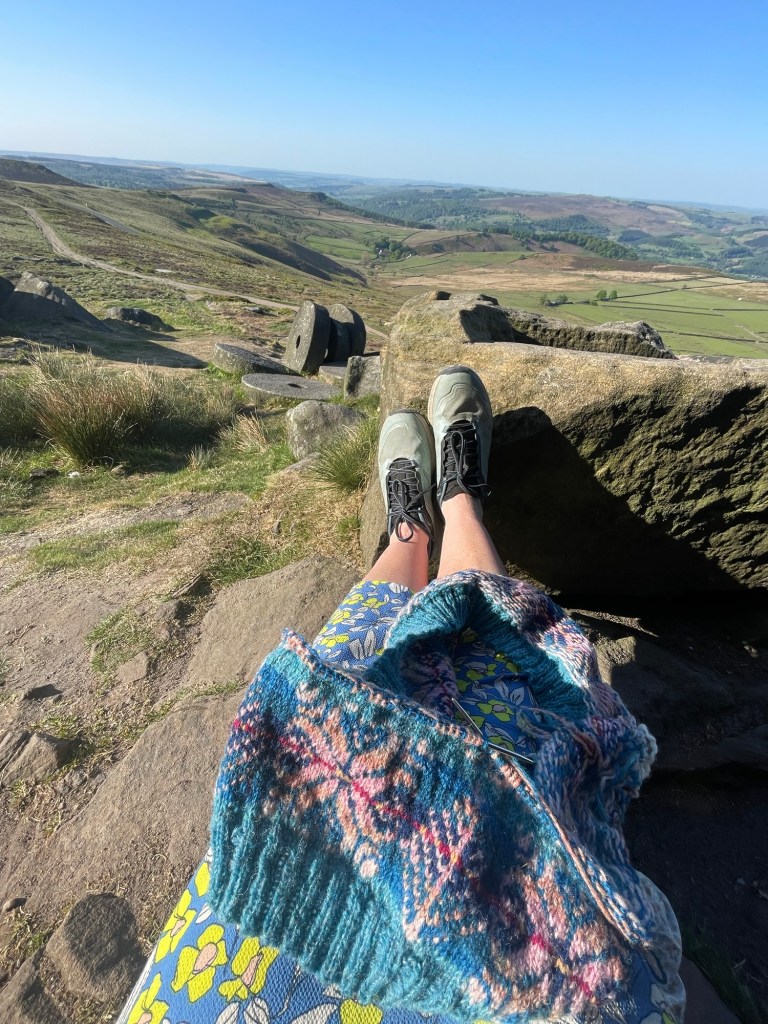
But for now, these are my favourites and I have many happy memories going back over 40 years, just at these very millstones and old stone trough that face towards Hathersage and Hope Valley. I take my knitting, a flask, and time.
This summer, I think I will go on small millstone tours in the Peak District which borders Sheffield – starting just 6 miles from my flat and is a place I grew up in but I haven’t seen as many of the stones as I would like. This is the year will be my year of the round stones.
Oh, yes, as an Easter offer, I would like to thank everyone and have offered 10% off all of my knitting patterns, which doesn’t seem much on a £4 pattern but when Ravelry and Paypal take their cut, it is, indeed a small gift – Even the Kaleidoscope Jumper, the alternative sleeve pattern and Fair Isle long hat and the Chunky knit Vest are included in the offer for the first time. Happy Easter break. Maybe go look for your stones.
Thank you for your support over the last year and if you are interested in checking out my patterns – there is a 10% discount until Midnight UK time, tomorrow night – 4th April
This Winter has seemed long and dark and wet. Even I have begun to hibernate.
Last week, we had one small window of a couple of hours of light and I walked through the woods looking at the sky between the bare branches up high.
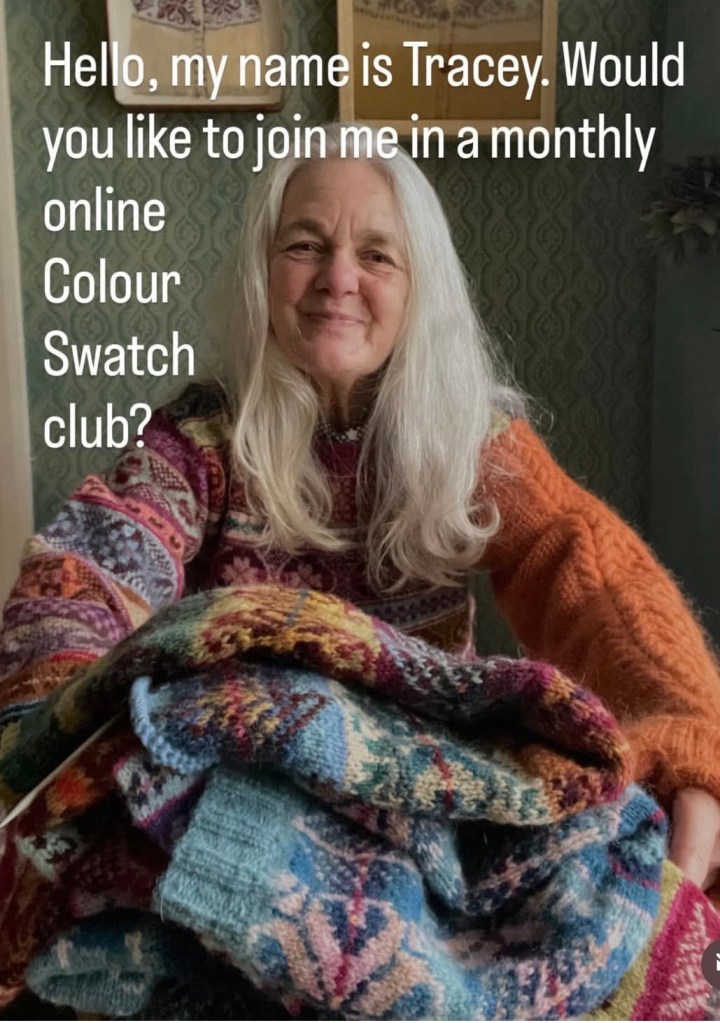
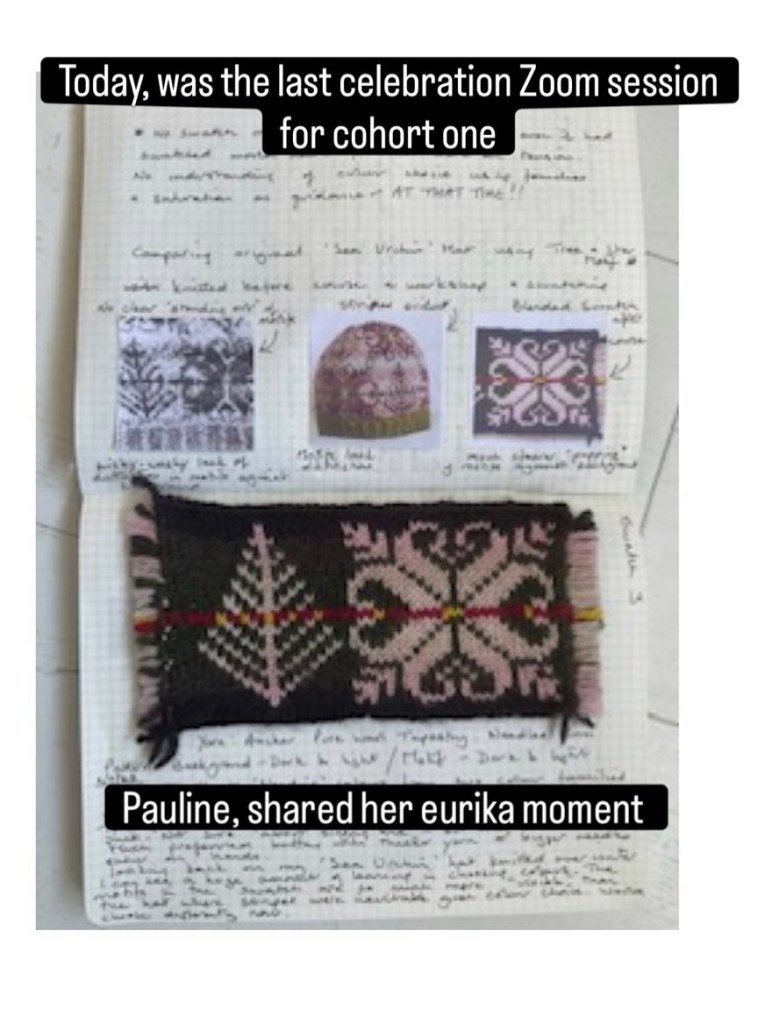
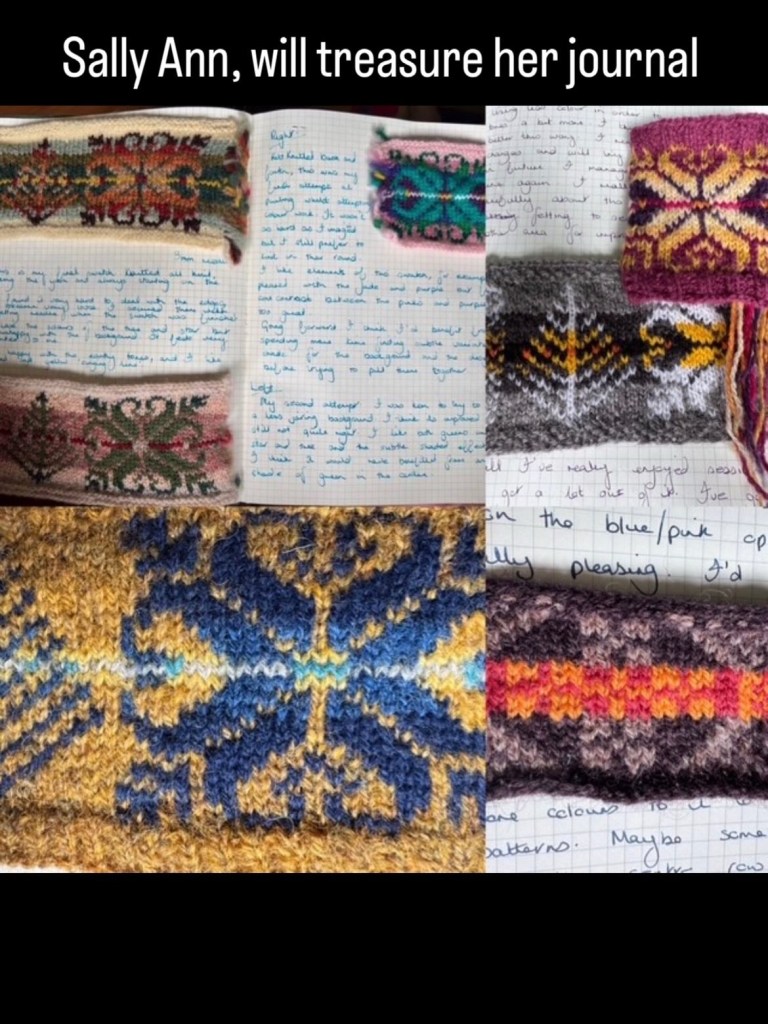
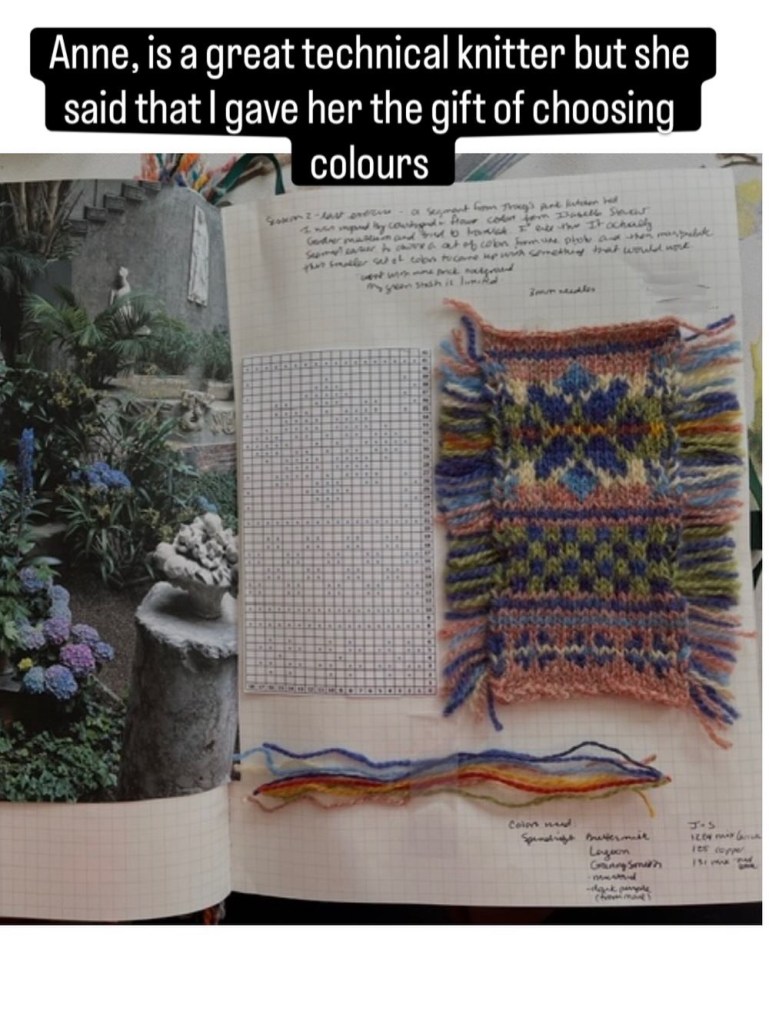
Behind the scenes, I am devising a 6 month programme for a Colour Swatch Club – some of you have sent me registration forms for this – I am looking forward to sending you all the information and monthly list soon as well as starting the club in April.
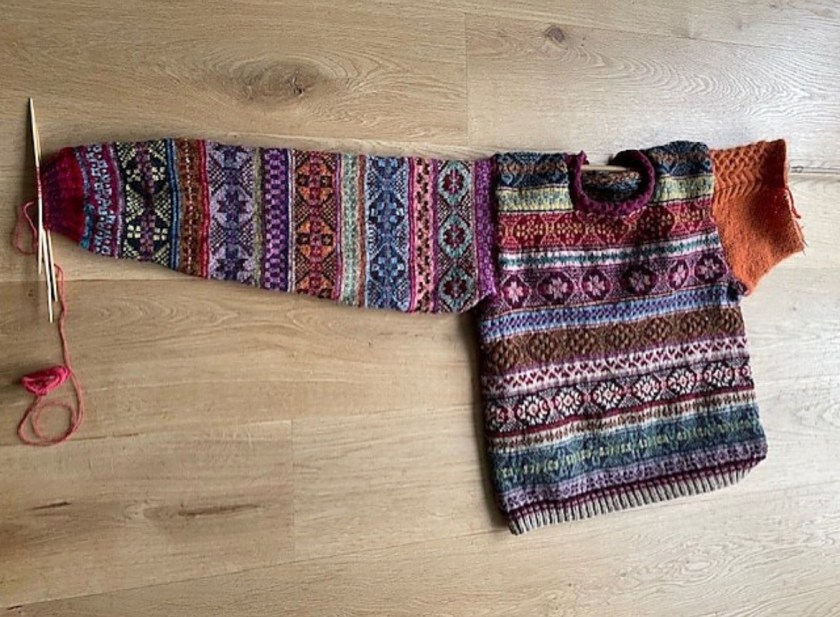
I have also been knitting my 2nd Kaleidoscope Jumper using any leftover yarn that I have in my box. To help the people who wanted a larger jumper than the first one, that came out at a 44 inch chest, I have been using 3:5mm UK size needles instead of the 3mm ones in the first knit. My latest jumper will come out at about a 50inch chest, which will be big and look silly on me or will look pretty cool. Either way, I will be able to tell everyone how to increase the size of the original finished chest.
I have been knitting Tree and Star sleeves this time – which is a bolt on pattern ravelry as an option to knit other than the Tree sleeves in the original jumper pattern which you can see here.
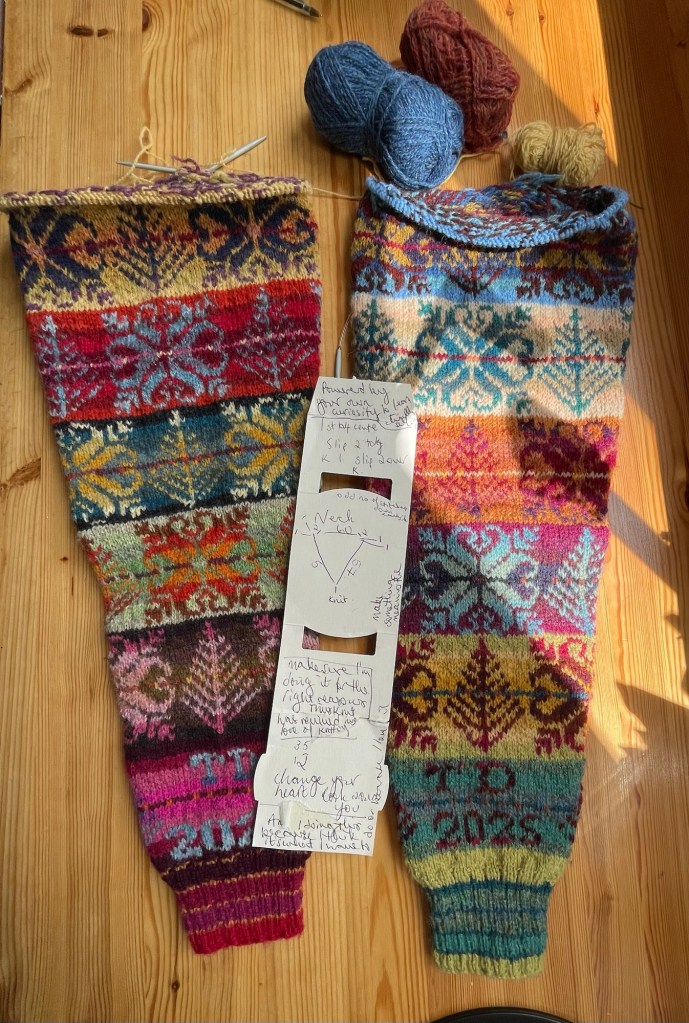
The detail that I particularly love in the bolt on sleeve pattern is that I have added a full chart of the Alphabet so that you can personalise your knitting with your initials and date of knitting it. I finished one sleeve in 2025, the other on new year’s day on 2026. So my sleeves have different years knitted into them.
Here are some of the really wonderful Kaleidoscope patterns knitted by other knitters – they are in the projects on the pattern tab. You can see a lot more projects here
Screenshot
Some of them have been steeked and the project photos show you how this has been done.
Another thing that I have been doing behind the scenes is updating this website /blog which I started in 2016 when I was doing my Masters at NTU in Nottingham. I added to the home page until it was not understandable and there has never been a buy now button on my online workshops page.
The home page is now very clear, with just services listed and the workshops page, I am very excited to say, now has a BUY NOW button which takes the customer straight to paypal with easy payment methods.
image of workshops page with new BUY NOW button
Learning how to sort html, link paypal to the blog, add a button and links and update the page work for the customer more easily took me a heartbreaking 8 hours over 3 days. BUT, I finally did it.
A quick link to my workshop page is here. Give me feedback on how it looks, if you like and how I can make it better for the customer.
Today, has been particularly wet, after days of heavy rains. Today, never really got light – so when I say that I hibernate, I really have been staying inside.
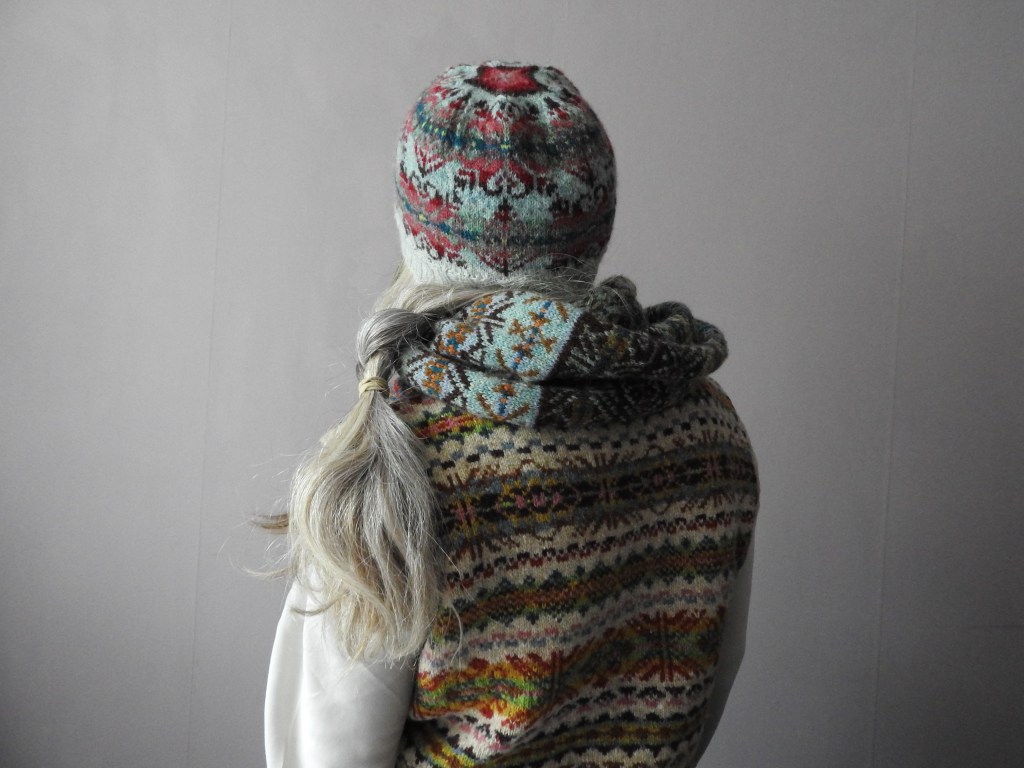
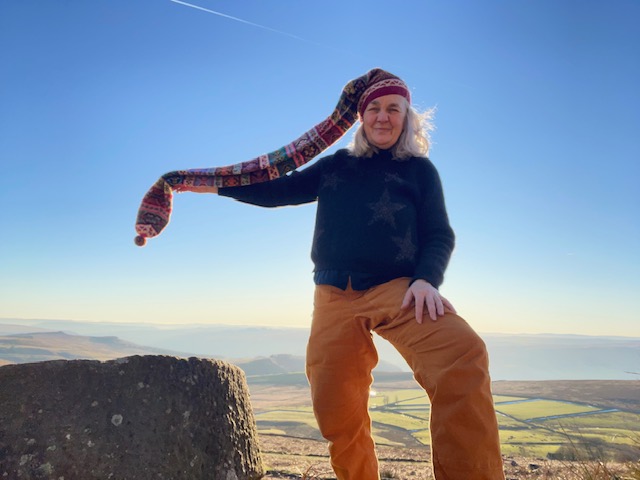
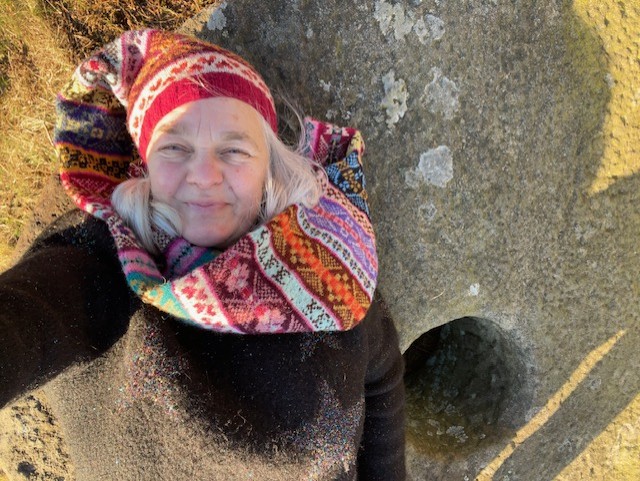
Above are a couple of photos from today – my Home Wear which includes my Tree and Star Hat for cosiness.
staying inside is not like me but it’s been harsh weather. I often see people living wonderful seemingly carefree lives in camper vans, in the forests or by the sea but lately, it would be a damp existance, in a van in England.
Another thing that has happened behind the scenes is that I have given my notice in at work. I am an Apprenticeship Coach at a University. I love my students / apprentices but after staying in Japan for a month in December, I knew that I need to begin to find myself again. I am 63 this summer and my time is precious. I am not sure whether it was the right thing to do because the part time job gave me financial and emotional stability but it also took away my freedom and made me very tired. The team at work are brilliant. We all support each other and accept every unusual quirk that we may have. There is a lot of laughter when people come into the office and I will miss that. I will also miss the photo copier. So, Onward and upward. I am hopting to use mondays as my design days from April going forward.
Comment if you would like to see anything new in my designs.
or if you want to get in touch about anything then complete the contact form below. Thanks for subscribing to these little posts. Tracey 🙂
And, if this is your first time landing here on this blog and would like to be kept up to date – then you can add your email below and you will automatically recieve updates – tips / tricks / offers.
PS, if you want to use the comment or subscribe form, you need to log onto the website to do it – these forms are not as active on a mobile view.
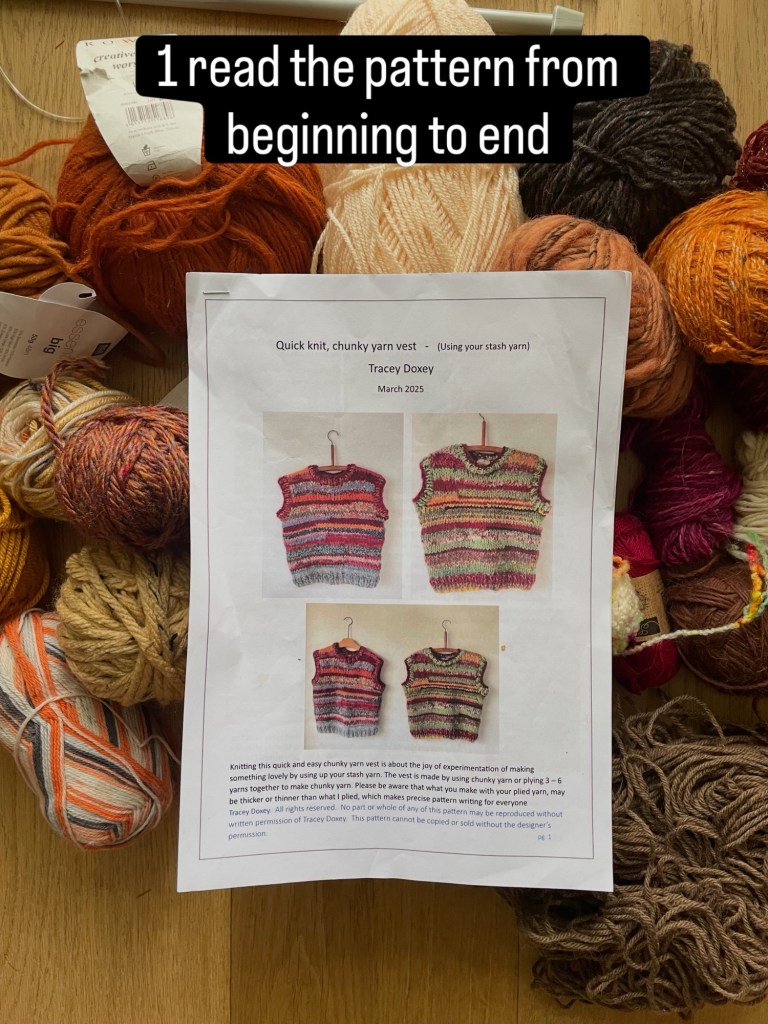
It is a very quick and easy knit vest to knit using stash yarn and large 12mmUK needles. It flies off the needles with great speed – mine took me three days to knit from beginning to end. It is something to love, something lovely to knit and very useful by using up your stash yarn – that you also bought because you loved it.
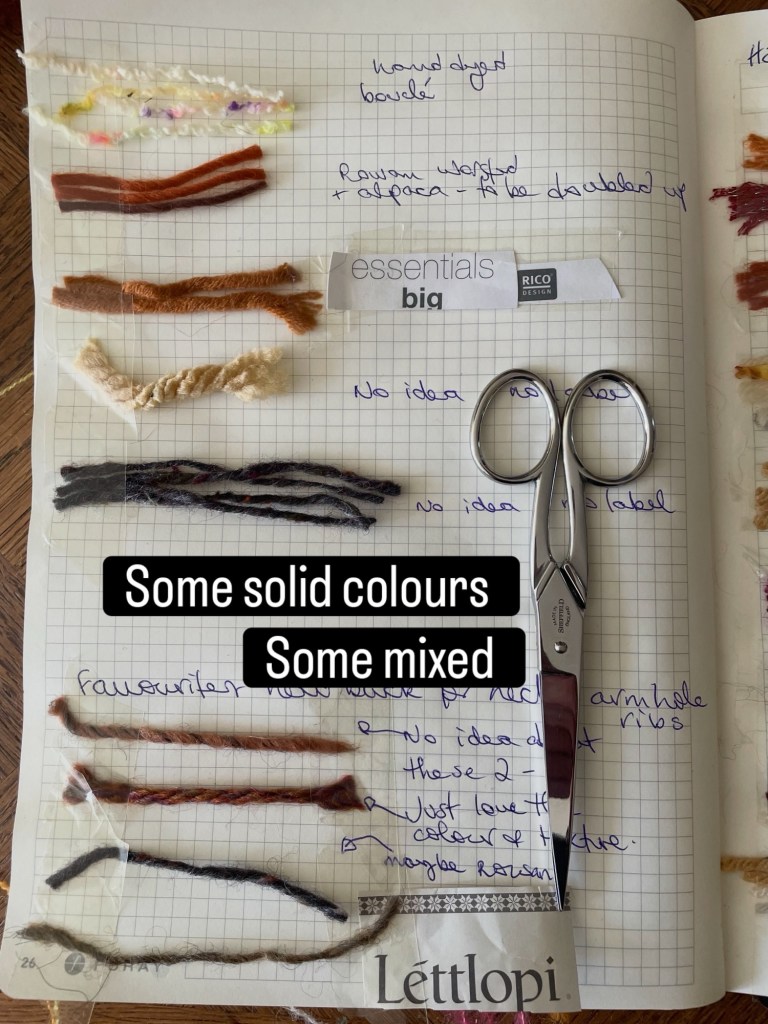
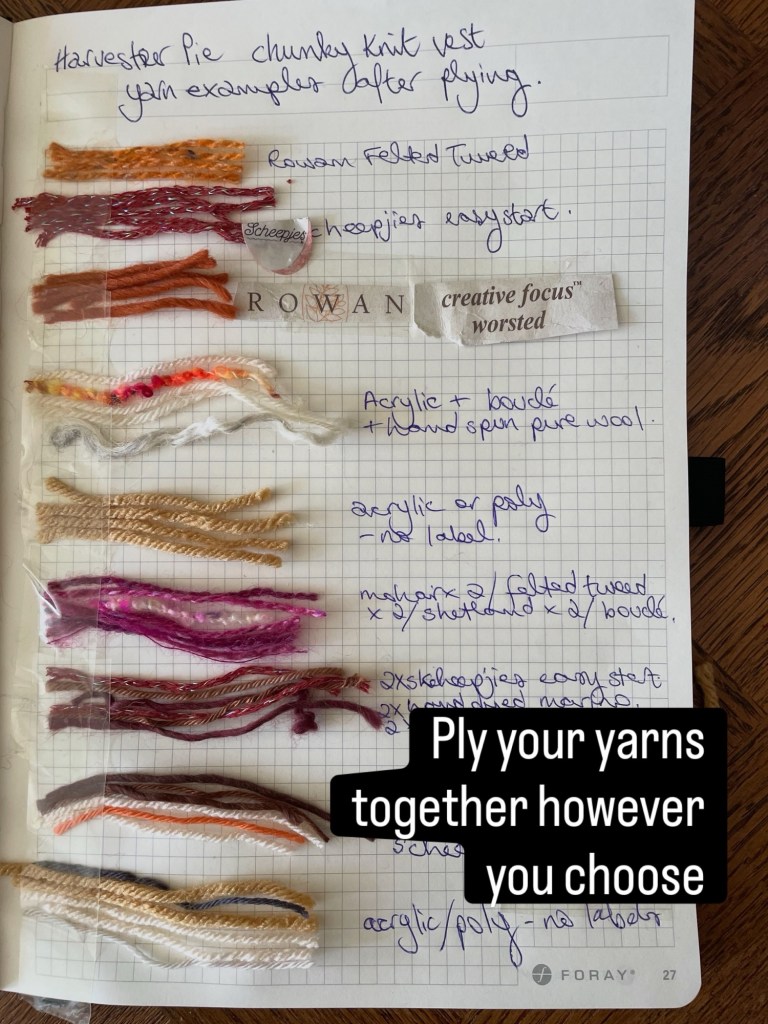
This vest is made up of chunky yarn by playing 3 to 6 yarns together to make a really nice fat yarn. Please be aware that what you make with your plied yarn maybe thicker or thinner than what I plied because it is all random but totally works out in the end because we knit by length. Here are some visual examples from my swatch book of the yarns that I used.
For a yarn example, you can see here I used 4 strands of mohair together with 1 strand of Lettlope or two strands of orange mohair with five strands of very thin of the yarn or, for example, one of the yarns that I used on its own was the Big Wool by Rowan so the experimentation of yarns plied together goes on and on and the results are a surprise and exciting which makes you excited about colour knitting.
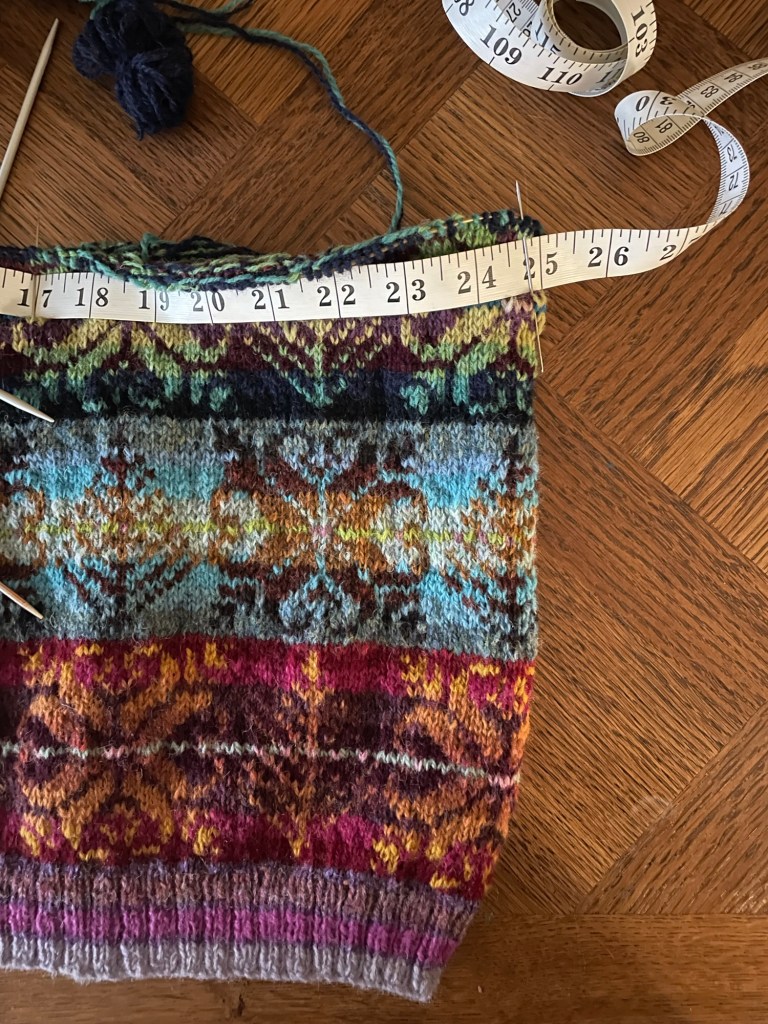
In the pattern, I recommend practising swatching for gauge. I give you instructions on how to measure a section of your knitting that you like and feel the drape of and how to make this work in your own vest project.
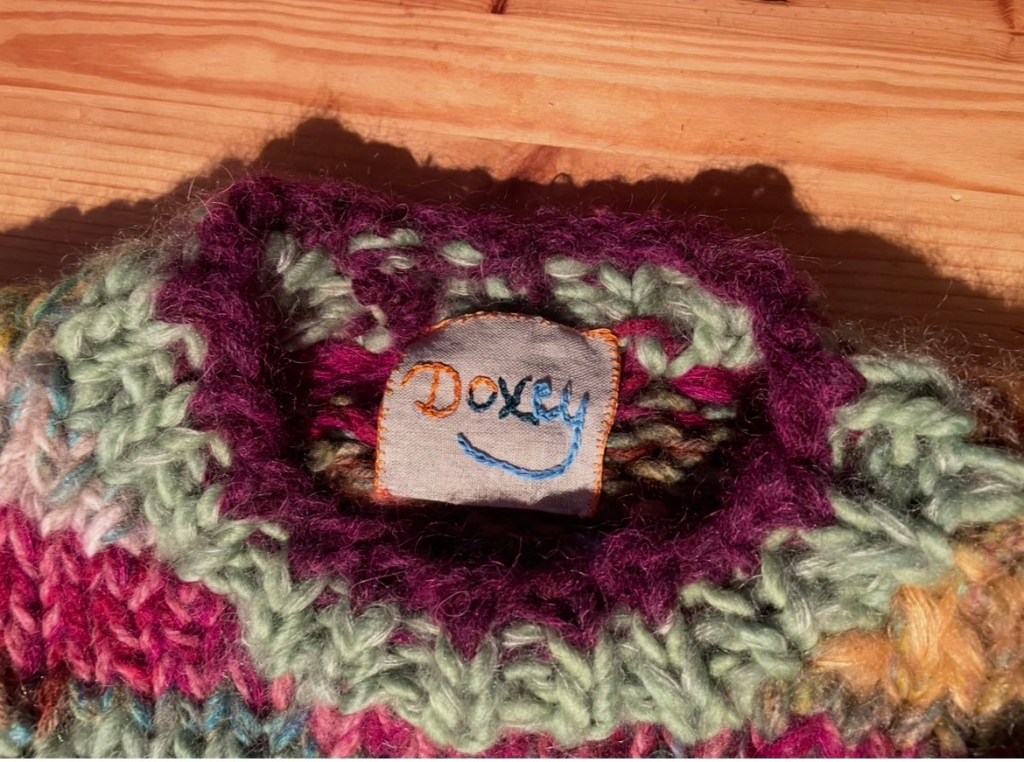
I have knitted two of these vests and I wear one in the winter and the other one was bought by a client and I enjoyed embroidering a little label for the neck which you can see it here.
The last images are knitted by Kath Ward this week which she shared to instragram and I was so happy to see. She has been a long time follower of mine on Instagram and she normally knits lace so chose to knit this chunky Vest pattern as a rest. It also took her three days to knit – I bet she knits another.
Cath’s Chunky knit VestCath’s yarns
She knitted one strand of grey mohair through all of her waist yarn colours to keep unity through it all.
You can have a lot of fun with this pattern and just use what you’ve got and really enjoy it and see what happens
The pattern has 9 pages and includes images of the yarns that I used, information on how to get your gauge, photo images of progress of the vest, finished measurements of my vest, and written instructions on how to make it
It’s a real joy quick joy to make for yourself or for a gift or to just to use up some of that stash that you have that you’ve never touched for years but really liked.
This is a project to use those really like lots of different yarns.
I’d like to celebrate something that seemed small when it happened but has been the absolute foundation of my creative practice today.
On Jan 21st 2020 – 6 years ago, I published my first pattern on Ravelry. It was my Sea Urchin Shetland hat pattern. When I look back, I see that I have never really just produced patterns but knitting stories – like recipes – like myths – like stories that I uncovered.
The Sea Urchin Hat pattern text starts with the below (it was written in January 2020) :-
Dear lover of yarn and of the tactile act of knitting,
This hat design has been long in the making. I’m producing it as a design sheet because the pattern can be followed to the stitch and colour, or you can use it as a springboard to develop your own ideas by choosing your colours and even a different tree and star motif to the one I have chosen to incorporate into your hat pattern – you can make it your design too.
Over the years, I’ve made this hat using varying yarns and colours. I’ve blocked it in to a shape that resembled a slouching hat or a kind of beret. I still have two of these hats from 2015, and I’ve worn them in all weathers and in many countries. I’ve left one and lost it in places but I have always retraced my steps and gratefully been reunited with the hat that now is part of me every winter. Seeing the early photos of this hat, I see a different shape entirely to the one that has morphed and shaped to my head through being soaked in gale force rains, being stuffed in pockets and in bags and left for months in a drawer. In November 2019, I was living in Brindister, West Burrafirth, Shetland and wore this hat every day whilst walking around the voe. By now, its shape had morphed into a basin shape and I felt lost without it if I ever forgot it any winter day – especially in the piercing winds.
In November 2019, when, every day, I walked around the Voe at Brindister, I began to find discarded Sea Urchin shells left by seagulls. They were abandoned where the gull had left it after breaking it open to eat the urchin. I found them on banks and on flat, wet, mossy plateaus used as seagull breakfast tables. All had been smashed to get to breakfast but I was on the lookout for a complete one. The first found sea urchin shell was an exciting surprise, like finding a four-leafed clover when I was a kid. I turned it around and around looking at its pattern and the smashed opening. Then, I started looking out for these sea treasure on the land. I collected any shell that was whole, even if it was broken into until I couldn’t carry them in my hands – so I used my hat to carry the porcelain like sea urchin shells back to the croft house. When I looked, I saw that both my hat and urchin shell had a similar shape – the hat with a 5-pointed section crown and an urchin-like roundness and in return, the sea urchin shell looked hat-like
I would love for you, the knitter, designer, maker, lover of yarn and the tactile act of knitting, to make this hat in whichever colours and with whatever tree and star motif you would like. Any motif will make the same shape as the decrease around the tree creates the crown. Have fun, send photos of your finished hats to https://www.facebook.com/DoxeyKnits/ and I will post them on the FB and Instagram pages https://www.instagram.com/traceydoxey/
I would like to ask – How many knitting patterns do you know that start with a letter to the knitter ?
The pattern ends with the following words :-
I hope that you have enjoyed knitting this hat. If you want to experiment with larger needles and different yarns, as I have over the years, you’ll have a lot of fun with the results. I look forward to seeing your hats.
Big knitting love, Tracey.
How many knitting patterns do you know that end like a letter.
I want to thank this little design that I made whilst staying in Fair Isle then in Brindister, Shetland, running up to the end of 2019. The design challenged me at the end of my MA in Knitting from NTU during which time, I went back and forth to Shetland until I finally bought a croft house there in 2020 and I am ok that I made the decision to return to England in 2021– I wrote a book about my life in Shetland but it never was published.
I want to acknowledge and thank my creative spirit for developing this simple Shetland Yoke motif and simple hat into workshops, colour blending, and finally – a new jumper pattern. I have learned so much along the way, in 6 years.
What a journey.
Thank you to every one of you who has supported me by buying a knitting pattern or attended a workshop. I do not know what is to come 😊
much love. Tracey 🙂
Ravelry patterns are here – you will see the visual journey
I use two types of motifs when I design my knitting patterns – Fair Isle patterns which are traditionally OXO patterns – if anyone tells you any different or says that they are knitting Fair Isle, mostly they are knitting stranded colour work, which is also wonderful but not culturally Fair Isle.
And my other knitting designs which mostly have Shetland motifs – which I colour blend.
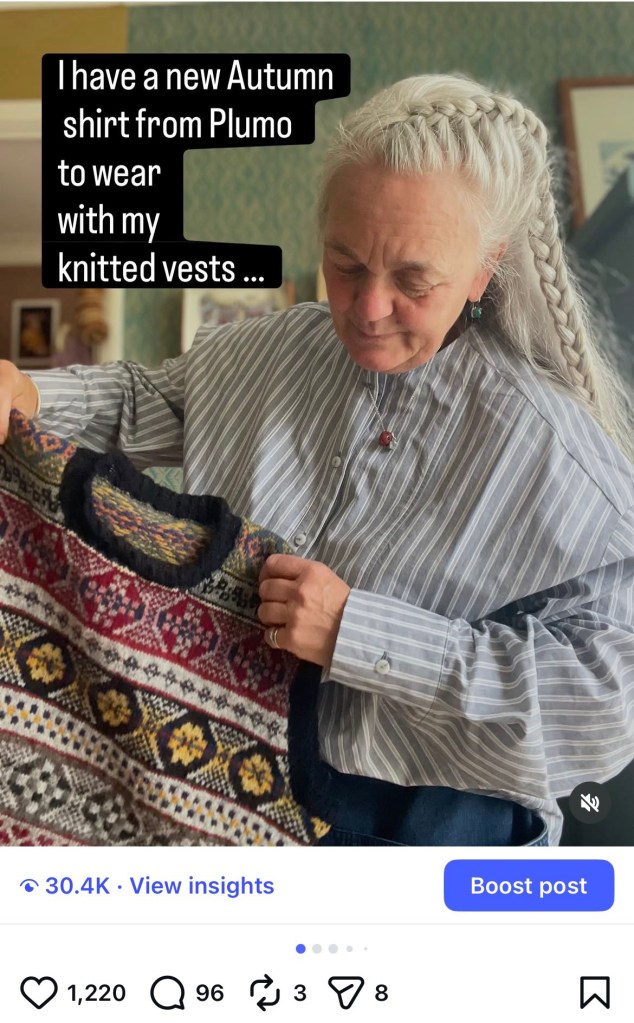
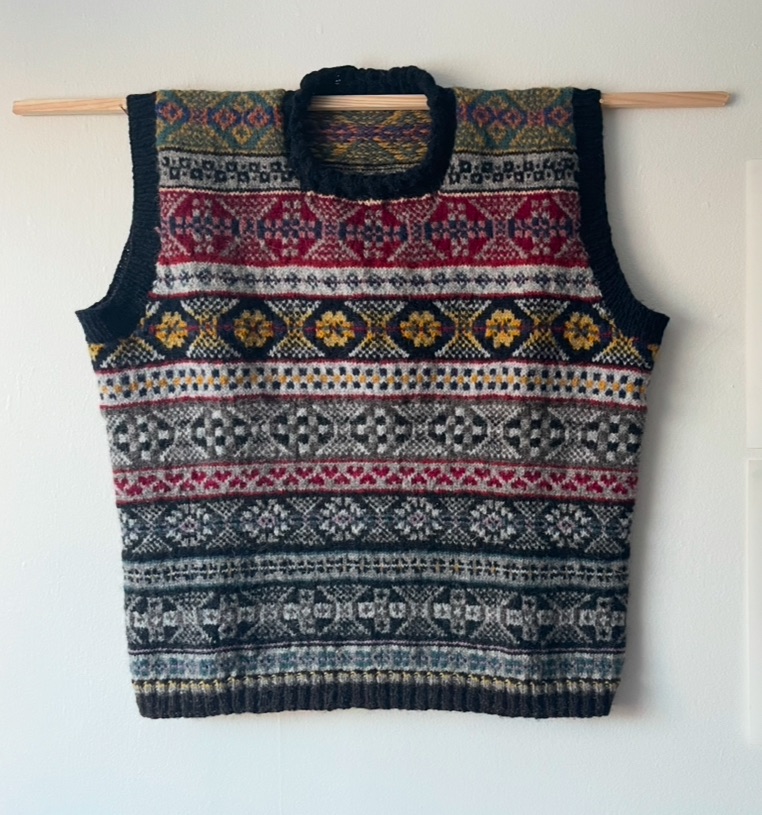
My Fair Isle designs have been particularly colourful. I designed the pattern as I knitted it and whilst I ran with the colours that I most love. Fair Isle motifs do not need lots of colour and always only 2 colours in each row. But, there is a particular way that I combine my colours. For example, for the Vest that I made for my sister, which is less colourful than I would normally choose because I asked her what colours she liked and she said, black, grey, navy and maybe dark red and mustard as well. I started knitting the vest with the colours she liked best, black, dark grey and light greys for the bigger OXO motifs then used the navy or red or mustard for the smaller bands of motifs in between. But, then, I got bored so stared to add the reds and navy and mustard into the larger OXO bands – kinda forgetting any sort of order. My favourite section of the vest is the part from the dividing vest at the armpits for front and back. I used her colour choices but where I wanted, and if you look carefully, you can see that I contrasted the colours in each OXO band between motif and background.
sisters
Here are some examples of my Fair Isle charts/ patterns – The Long Fair Isle Hat/Scarf and the Fair Isle chart. If you would like to learn how to build your own Fair Isle vest or jumper from my Fair Isle chart, then I am running a workshop on how to do this on 15th March.
Here are the links to the Fair Isle long/hat scarf pattern which gives you a full list of all the colours that I used as well as lots of clear easy to follow Fair Isle charts.
Here is the link to the Fair Isle Chart which gives you all of the colours for the jumper in the bottom image and also gives you full charts so that you can make your own jumper or vest. It is not a pattern.
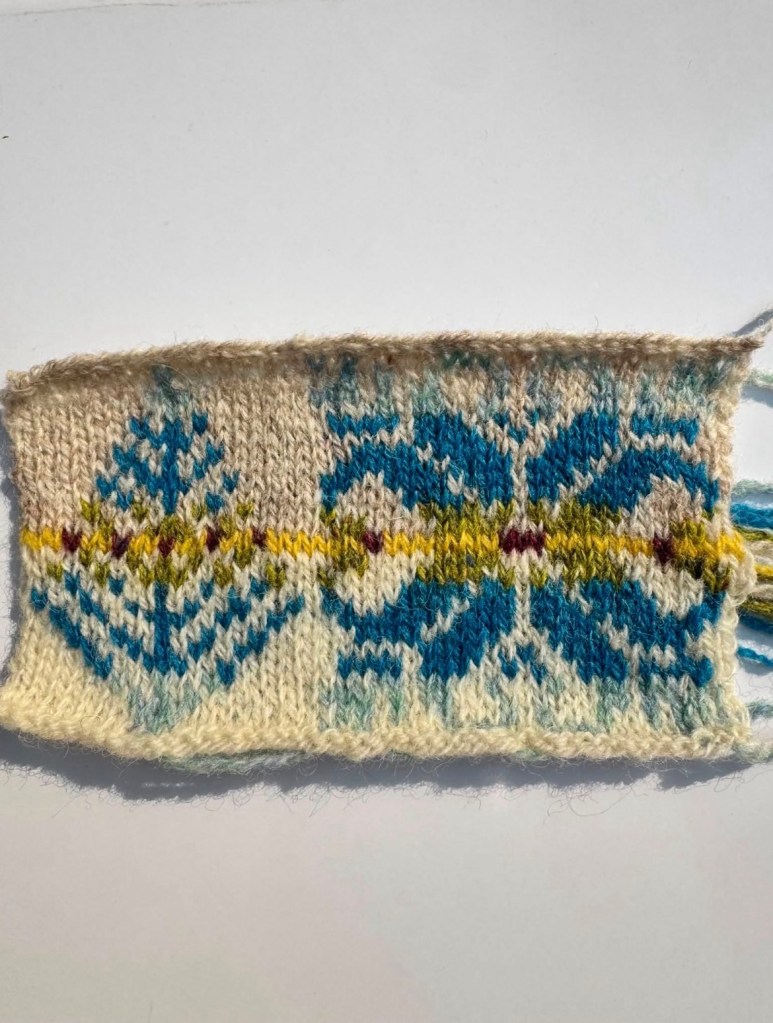
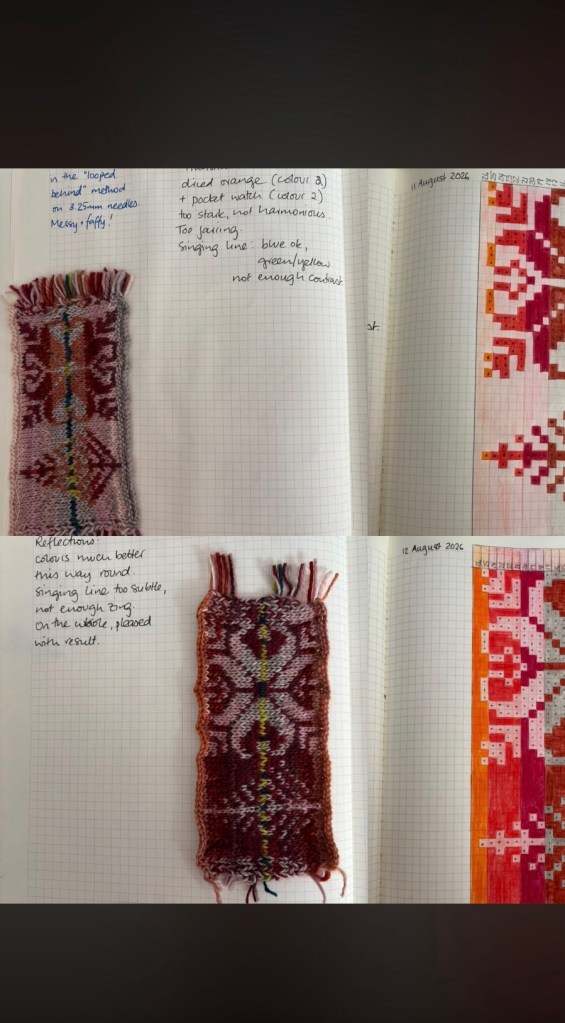
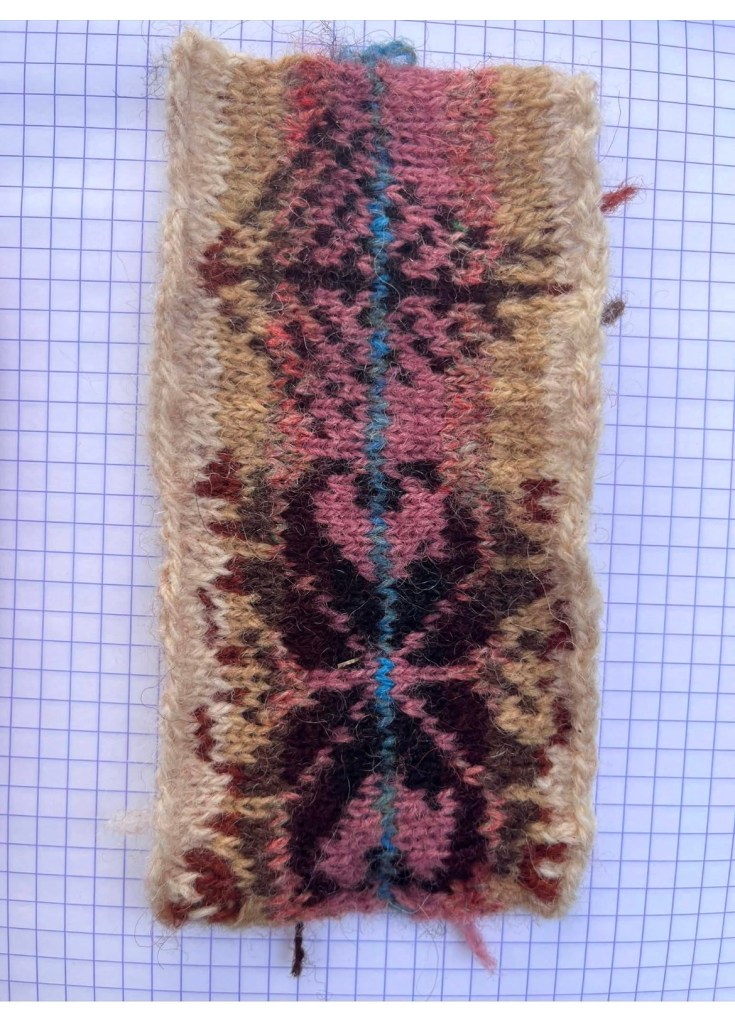
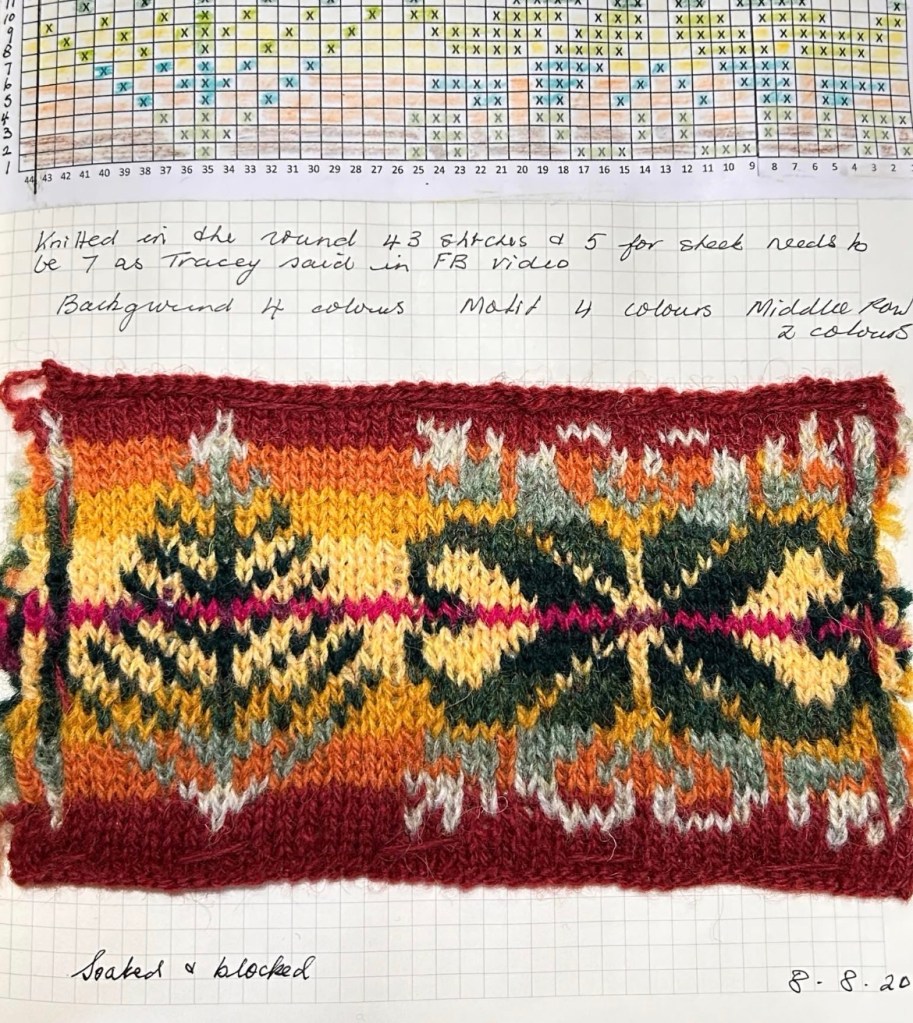
The patterns that I make using Shetland motifs, for example the Kaleidoscope jumper, I blend the colours for the back ground and the motif, I love colour blending. I use between 3-5 colours in the background and 3 or 4 colours in the motif, which gives the knitted article more of a rich colourful knit. I go for a glow.
here is a link to my latest design – but actually, the Dear Susan, Easy Aran jumper pattern which is a very quick and easy knit, also has colour blending on the yoke, cuffs and above the rib.
All of my patterns give clear instructions which row to change your colours but if you would like to do a Colour Blending Class, I have one running on 14th March.
My favourite way to use colours in my patterns is to blend them. 🙂 let me know in a comment how you like to use your colours. and if you would like to subscribe to my posts – just fill in the subscribe box below and you’ll receive any new posts.
Fair Isle Vest and colour blended sleeves for my 2nd Kaleidoscope jumper