Kaleidoscope Jumper pattern

This is a frank and honest request.


If you buy my kaleidoscope pattern when I release it this weekend, please do not forward or share it with your friends or family or knitting group.


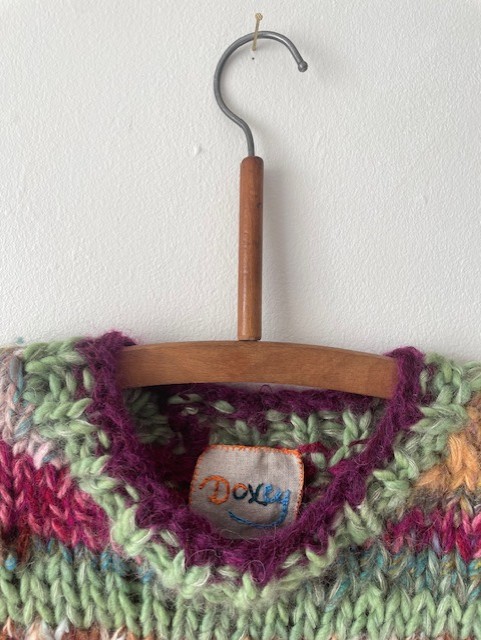
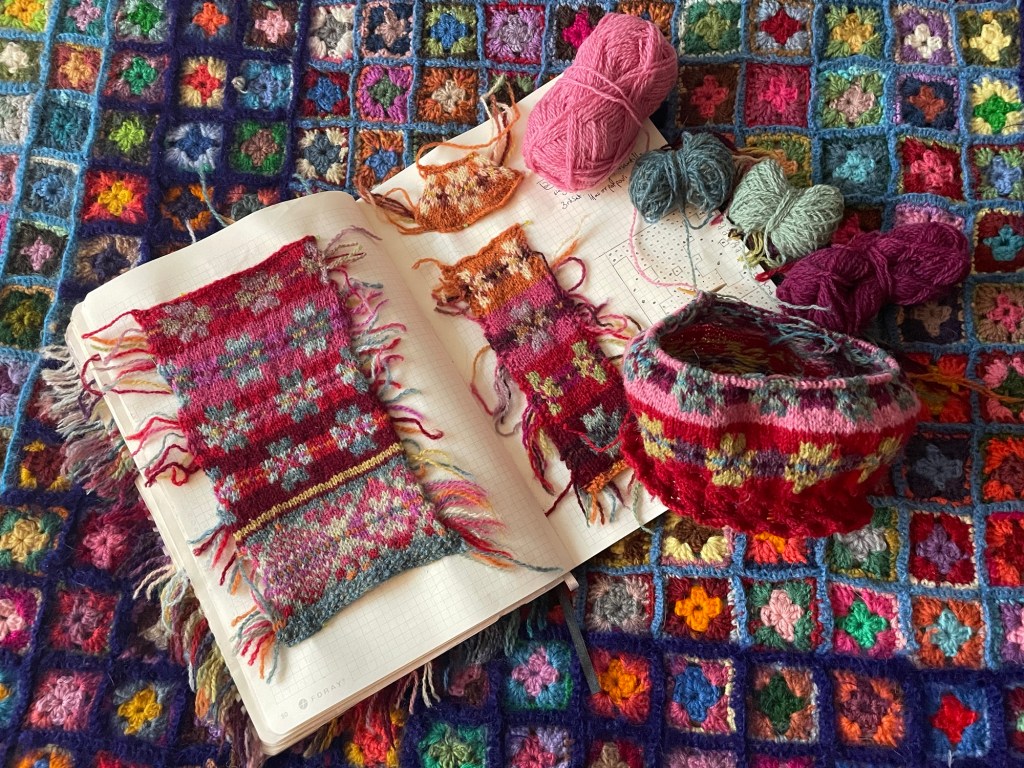
This pattern has taken 4 months of my life. I started at the beginning of May and have spent between 4-6 hours every day, either charting, designing, knitting, promoting, writing blogs, sorting yarn for test knitter, liaising a lot with test knitter, rewriting, printing, reading the pattern, updating charts,altering pattern and constant knitting and figuring out ways round things. When the pattern is released, ravelry charge about 10% and then PayPal always take 10% from the payment. So, my life has been poured into this pattern.


It and I have a value.
PLEASE do not share patterns.
Everyone is happy to buy lots and lots of wool, so please think of the actual design. End of Frank and honest discussion. Let me know what you think in the comments

I am releasing the pattern at the weekend, however, there may be a soft release earlier and I think if you are signed up to my Ravelry, as a ‘friend’ then you hear the moment the pattern comes out.

I would love to hear your comments, and follow me on instagram for lots of regular updates

After the release of the kaleidoscop jumper pattern, there will be the release of an add-on alternative sleeve pattern for the jumper. I am excited about that. Here is ravelry

here is information on why there will be an add-on pattern

Why does the Kaleidoscope jumper pattern only have Tree sleeve charts?
I did a poll on Instagram and my website to ask what people which sleeve they would like for the jumper pattern.
Hundreds of people answered. The options were: – 1: – just Tree sleeves or 2: – just Tree and Star sleeves which are the same as the body, or 3: – Both sleeve charts.

Most people said that they would knit 1: – Tree sleeves only, but
some wanted both charts, just in case. When asked if those people would consider paying more for the option of both sleeves to be included in the one pattern, even though there was more work charting a 2nd sleeve, knitting it,
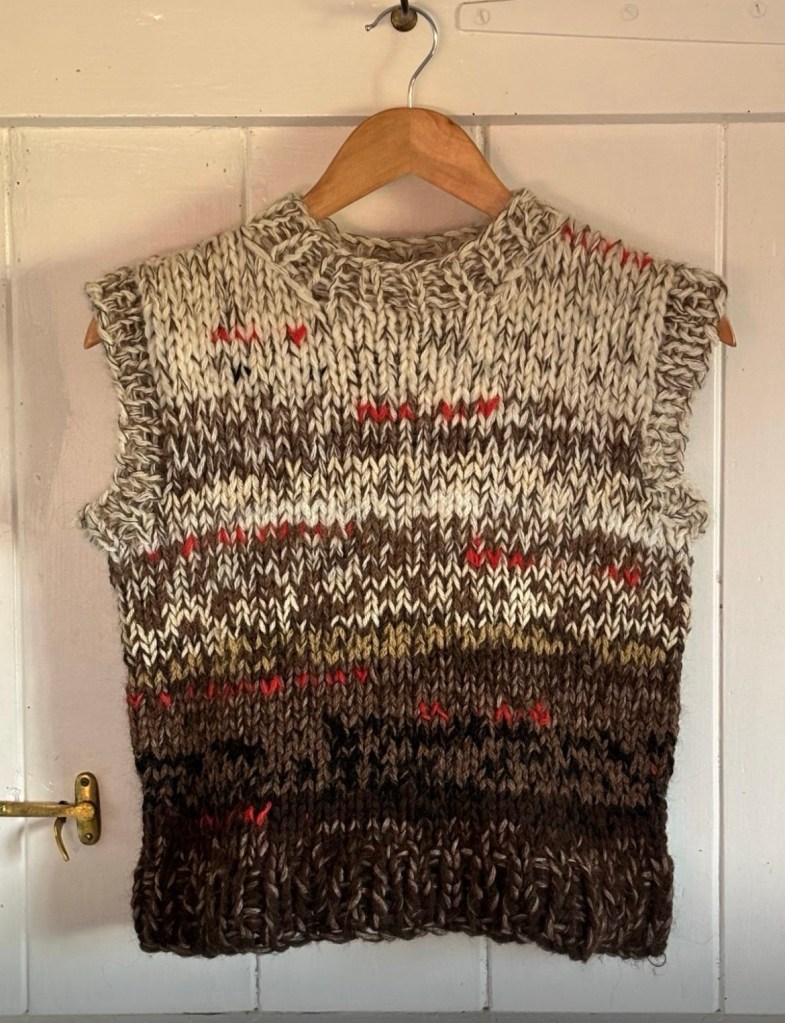
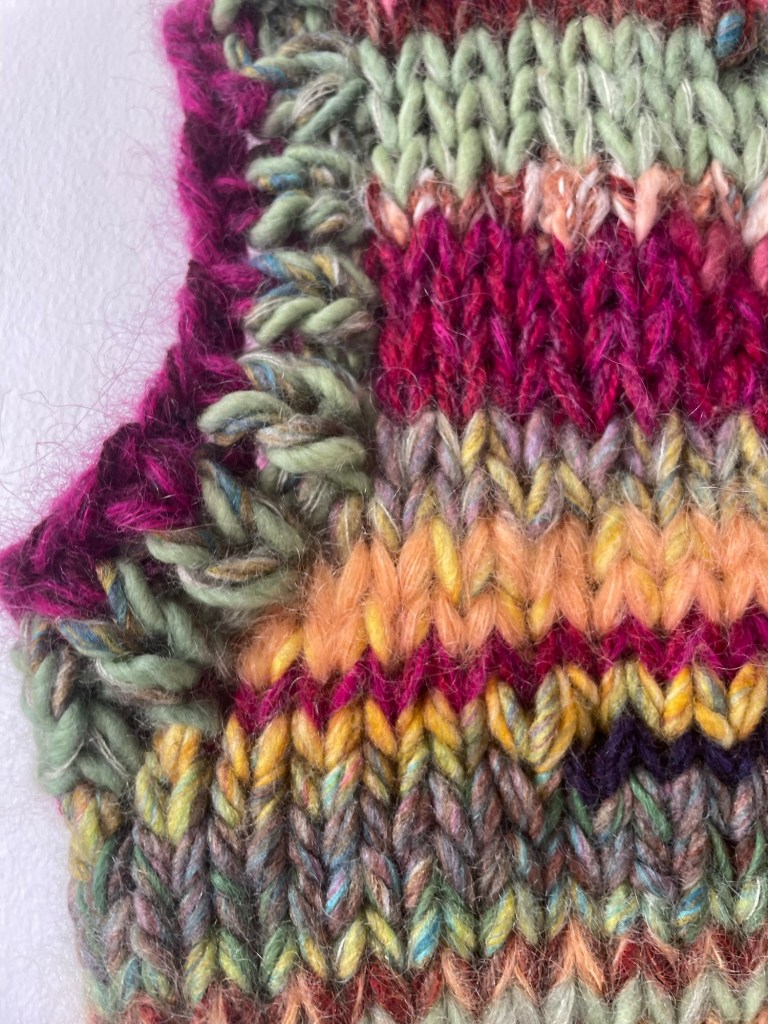
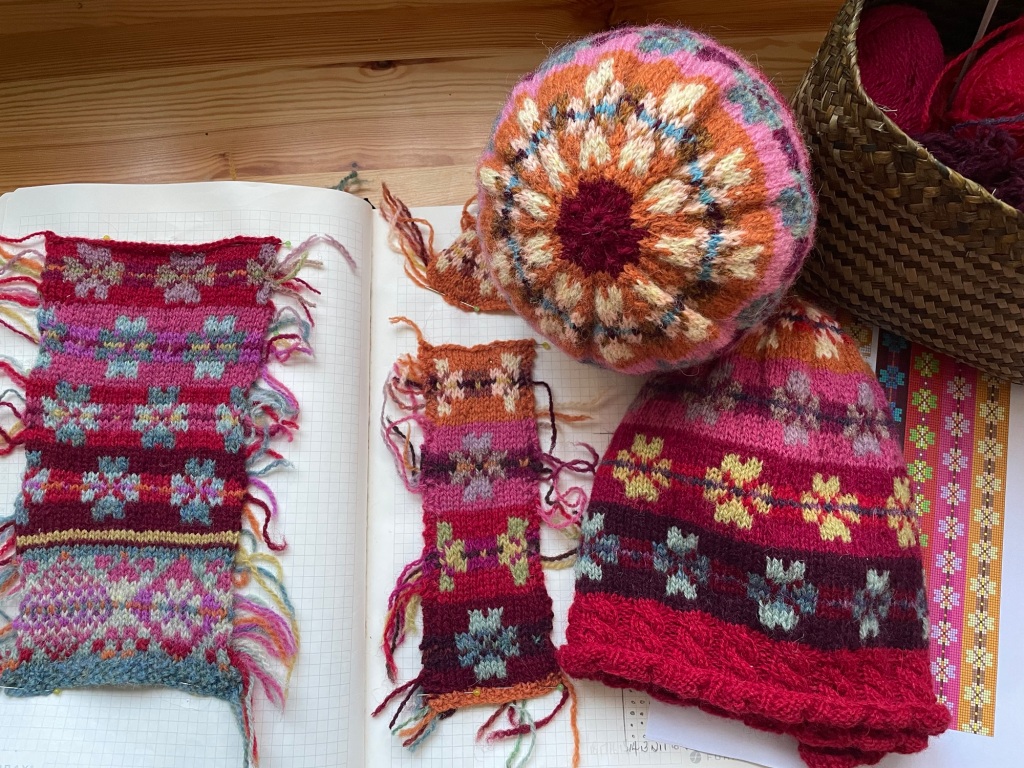
and writing a full pattern, they mostly said no. So, I have happily knitted Tree sleeves in my Kaleidoscope jumperbecause most people requested this and the Trees look a wonderful companion pattern and compliment the body.


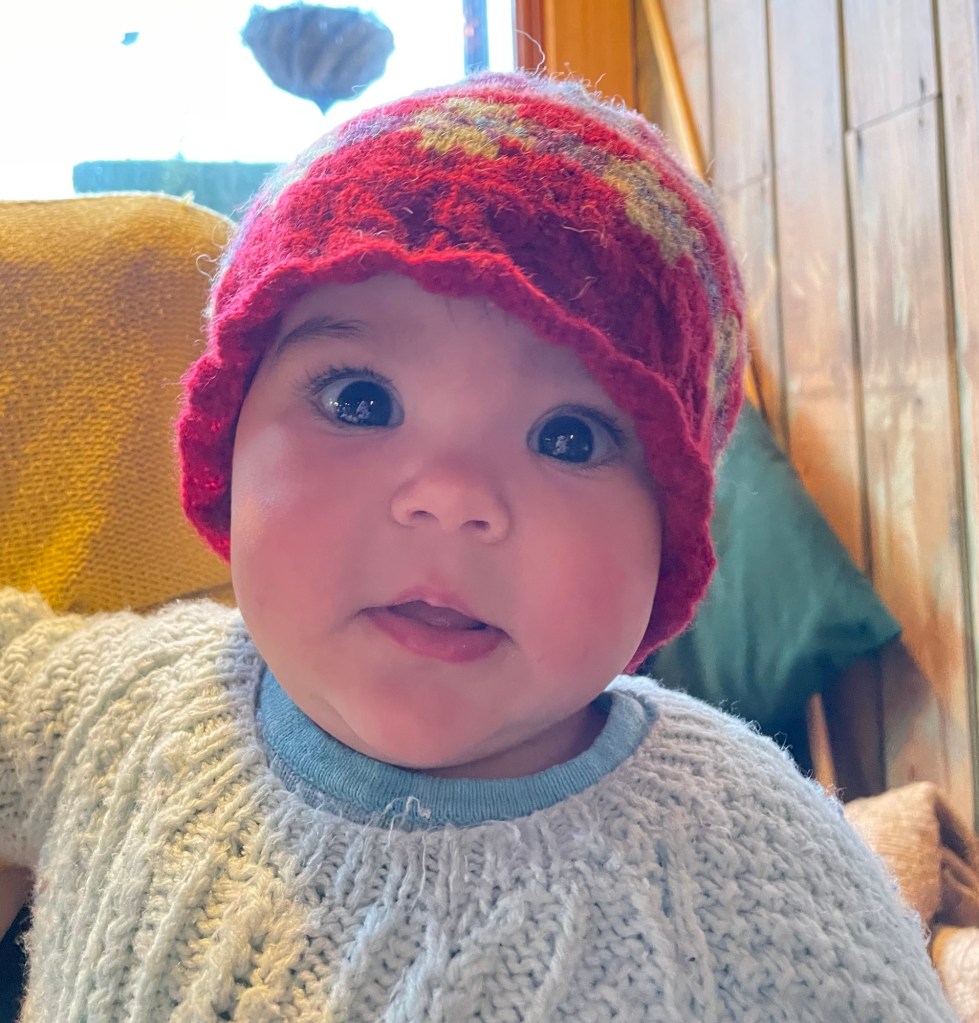
What about the Tree and Star sleeve? Where can I get it?

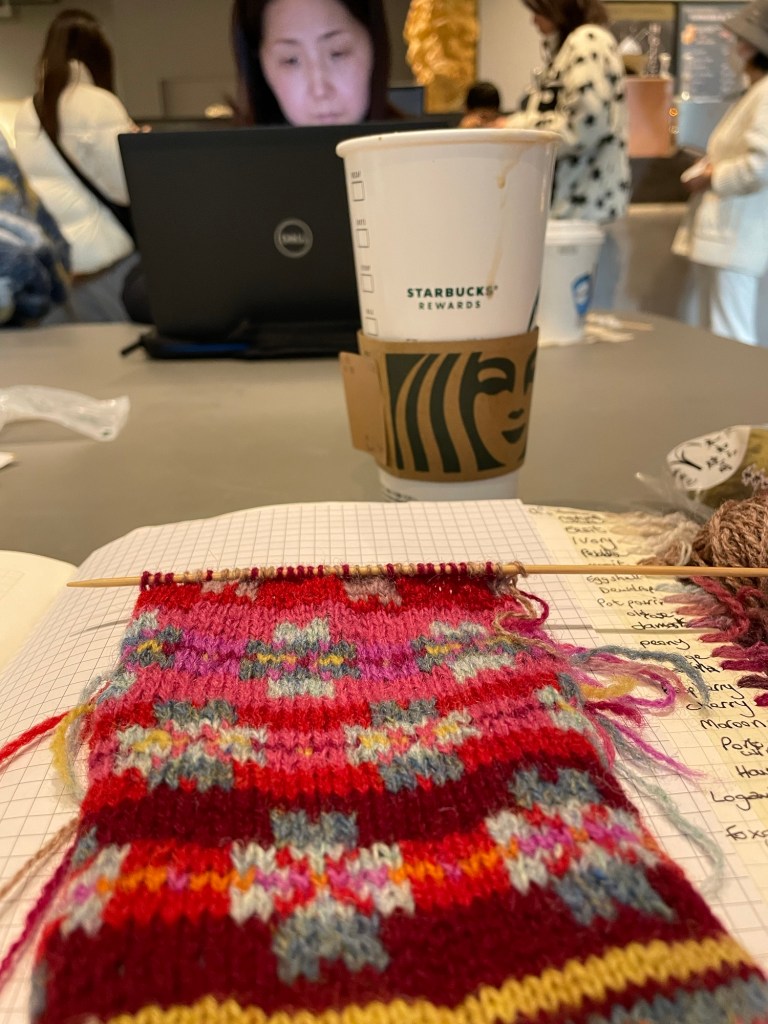
My test knitter has knitted the Tree and Star sleeves, which are the same
motif as the body. The Tree and Star sleeve chart pattern along with the
Sanquhar alphabet pattern to enable you to add your initials and year of
knitting to personalise your work, will be released separately to the
jumper pattern, as an add-on so that the knitter can make their own
choice of sleeve. The name of the bolt-on pattern will be, Tree and Star
Sleeve Pattern. The reason that this is a separate bolt-on pattern, is
because of the extra work to design, create and knit it as well as write the
intricate charts and pattern notes. Plus it gives the knitter the choice to
just pay for the original pattern or pay extra if they want and extra design.
I have also test knitted the Tree and Star sleeve with my initials and the date above the cuff, as a swatch.
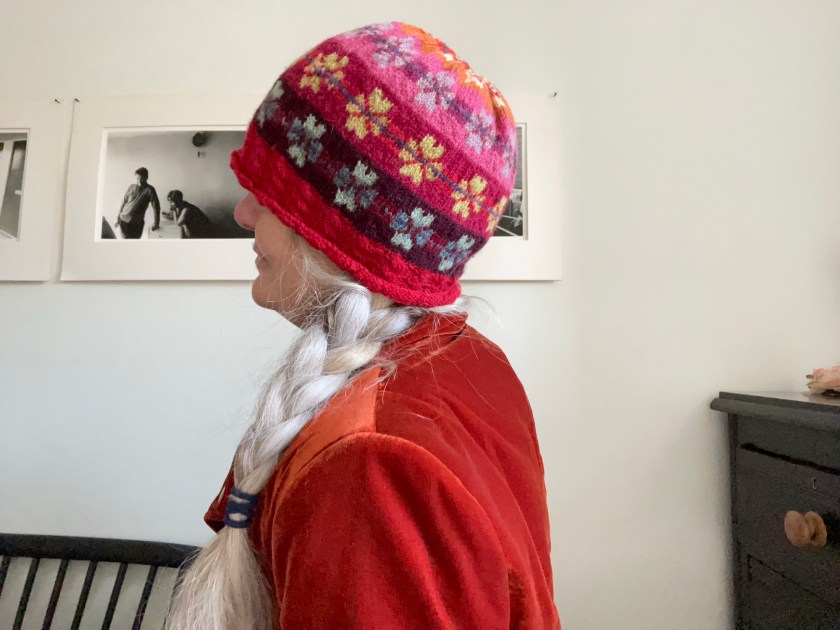
But, for now, I am most pleased to present you with, by popular demand, my Kaleidoscope jumper pattern which
has only a Trees sleeve pattern and instructions.

New Chunky Knit Vest pattern

I’ve made something completely different to what I normally knit and instead of it taking 3 months or more to make, it took me 3 days.  It is a very easy, quick knit vest. There is a lot of pleasure in such a fast growing knit and I have made a pattern so that you can also knit it.  The pattern uses your stash yarn.

If you want to look quickly Here is the link to the pattern, and for the first 24 hours of sales, I will donate £1 per sale of each pattern to the RSPCA in Sheffield – because that is where Alfie cat, was rescued and they are a wonderful animal rescue centre.

The pattern for the Chunky Yarn Vest is made by using stash yarn. I made mine by using some that I have had for 10 years or more.  Anyone with a stash of yarn can make this vest.  It is a very sustainable project – using what yarn you already have but if you would like to make it but don’t have a stash, then I have listed some of the yarns that can be used and given examples in the pattern.

But, I thought it would be good to use what we have already. You have bought your stash because you have loved it at one time or another. If you collect yarn, now is the time to have a go and use some of it to make something that you’ll love wearing. This is the perfect project to use lots of bits up.  Any amount of bits of chunky or plied wool will work.   For my yarns, I tended to go soft and fluffy

The vest is made by using  one chunky yarn or by plying 3 – 5 yarns together to make a chunky yarn. Please be aware that what you make with your plied yarn, may be thicker or thinner than what I plied, which makes precise pattern writing for everyone impossible, so, I have written this pattern for the exact stitches and size used to create the two vests that I have made.

You will need to swatch to get a gauge similar to or the same as the one I made up. My test knitters managed to make the same gauge for their knits and No two vests will ever be the same.

The knitting pattern works best with extra chunky yarn or for you to play around and ply 3 or 4 strands of thick yarn together or one extra chunky yarn with a strand of mohair or 2 strands of Aran yarn together or 2 double knitting yarn with 3 strands of mohair, or by mixing yarns together to give a marl look.

What I was aiming for was a variety of beautiful colours to use up my stash and to have fun whilst making something to wear that I love.

The end result is VERY FORGIVING and it stretches width ways.

The pattern gives you information on brands of yarn that I used from my stash and photographs of the yarns and how I mixed them.  But really, this stash buster project is for you to use your yarns, which will be different to mine and it is a very personal project – you can see that by looking at the test knit image of her vest made by Annie against my striped chunky knits.

The pattern also has photo examples of how to knit the neck area, easy to follow written instructions of how to decrease the stitches around the neck as well as measurement and stitch conversion table giving you exactly how many stitches I used to make this vest.

There is another thing that I think will unexpectedly happen – which is that you will feel it is cathartic to use up yarn that you have had for years, so that it is not wasted.   In this case, the project will cost you nothing now – just what you have put away for some time. 

I knitted my 2nd vest after my cat, Alfie died.   I found it very calming and relaxing to make it, when I was feeling very sad.   I bought the yarn for this vest so that I could knit it for a 2nd time alongside my test knitters.  I loved the outcome.   I made it a little hand sewn label for the back. 

I will be selling my 2nd knitted vest, which you can see in the photos above. It fits a 36 – 42 chest easily.  When flat the front measures 20 inches but stretches to 22 inches.  It has my little ‘Doxey’ hand sewn label in the back and it is really comfy and warm.   If you would like to buy it, please get in touch for a price  – traceydoxey@hotmail.com

Here again, is the link to the pattern, for the first 24 hours of sales, I will donate £1 per sale of each pattern to the RSPCA in Sheffield – because that is where Alfie was rescued before I adopted him, and they are a wonderful animal rescue centre.   Ravelry also take 10% and so do Paypal.   https://www.ravelry.com/patterns/library/chunky-knit-vest

Here is the RSPCA in Sheffield where I will donate £1 from the sale of each pattern for the next 24 hours.  https://www.rspcasheffield.org

Happy stash busting, Happy knitting.   Xxx

Kyoto Baby.

On the way back to the Kyoto guest house, as the light was fading, I passed a small shop in Gion. The front was covered in a grill, at the door, was hanging a traditional Japanese door curtain (Noren).  I was only 3 days into staying in Kyoto and had no idea what the little place was, but, I could see a bent woman, working at a table under a light. A small gap in the grill showed a flash of crimson framed by the window.  I watched the woman carefully sewing, and, as is my habit, I wanted to know more.  At the window, I gestured to ask if I could enter the tiny shop.  The Noren, always bending the guests as they enter.  I, making no exception to this, bowed as I entered the tiny shop.

Inside, the space, the only thing I could see was the colour in exquisite Japanese silk Kimono taking up the entire huge table under the window and the woman standing beside it.


Crimson, peach, orange, ginger, cherry, turquoise, gold, purple, mint green patterned silk covered in cranes (symbolizing honour, good fortune, loyalty, and longevity) in flight shone under the sewing light.  The seamstress was hand sewing the great, padded roll of crimson at the hem of the Kimono.  She explained with few words and many gestures that it was a wedding kimono and entirely hand made by her.  She exuded the gently quality of unassuming dignity. A craft master who had probably worked at that table, under the window for decades.   I was awe struck by her skill.

I returned to the shop a number of times whilst I was in Kyoto – the last time was to show her my ideas to knit using colours that were inspired by the exquisite silk used in the kimono.  I particularly noted the thick crimson roll at the hem.   She understood what I was trying to do but must have thought that my swatch book was rather naive to her own skill, though she never showed it.    We passed small talk about colour, each using our own languages, understanding little in words but everything in the action.

Before I went to Kyoto, I hoped to live in a space between ‘Balance and Beauty’ and here I was, at that exact place.

This little pattern is the result of that experience and inspiration of colour.  I swatched for colour in the little guest house, I swatched the colours in the Sky Garden on the 11th floor of Kyoto Train Station, I swatched in many of the Zen temples whilst viewing the zen gardens. 

This little hat pattern, brings together some of the colours that I found that day.  It is called Kyoto baby.  It’s very easy to knit. The rib is an easy left crossing cable in Crimson to emulate the padded hem of the wedding kimono.  It has a simple Shetland flower motif.  The pattern has 14 colours related to the Kimono but it can be knitted simply in 6 colours.  All the information is in the pattern and it was a joy to make.   It is modelled by a beautiful little Sheffield girl, whose name I will keep a secret.

Kyoto Baby is here.

https://www.ravelry.com/patterns/library/kyoto-baby

there are a number of colour options in the pattern. I swatched for colour and so did my lovely test knitters. Shona Brown In Nova Scotia is has test knitted the baby beanie. – Thanks, Shona 🙂

The adult pattern will be out next week – Let me know what you think –

Kyoto baby